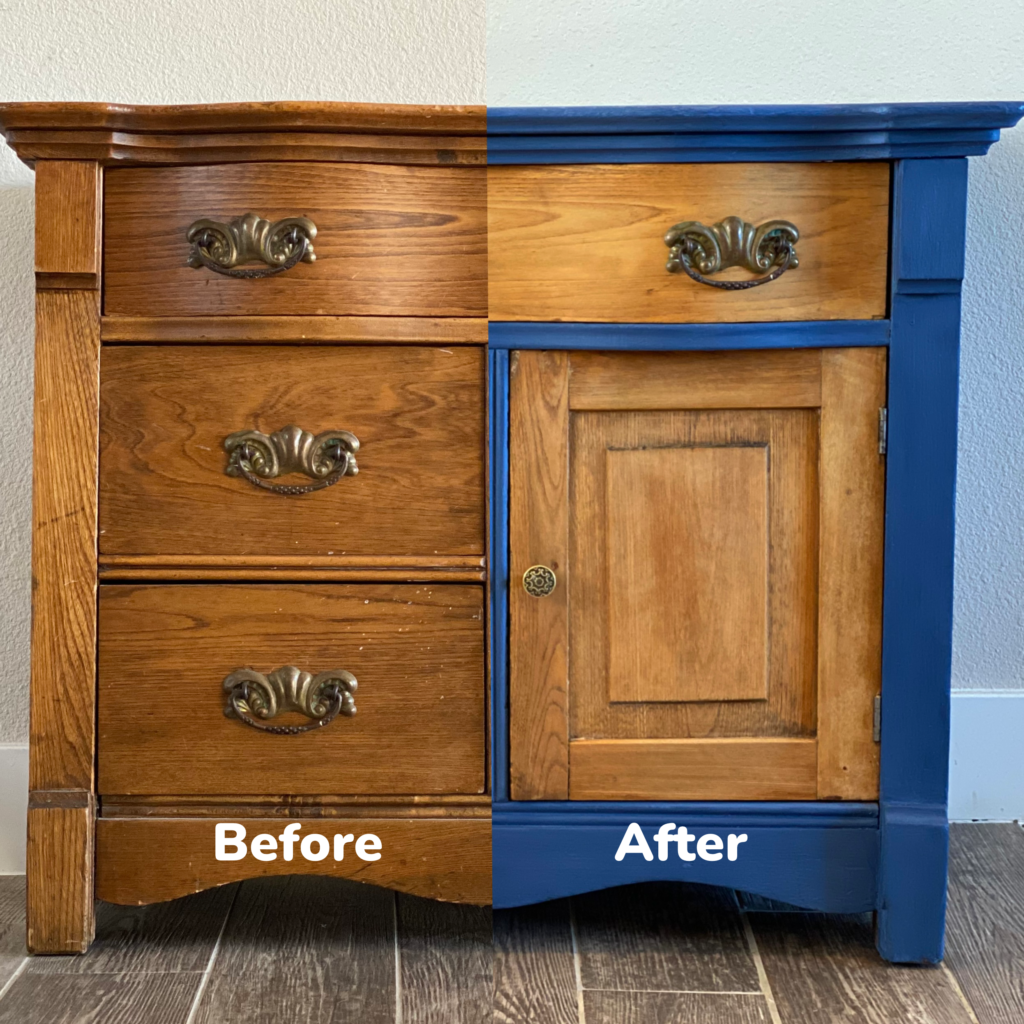
I love the trend of the two-tone painted and raw wood refinishing for furniture pieces. It’s a fun twist that includes the best of two different styles, and I dig the way that the two looks perfectly set one another off.
Check out my web story about this refinishing that includes some video!
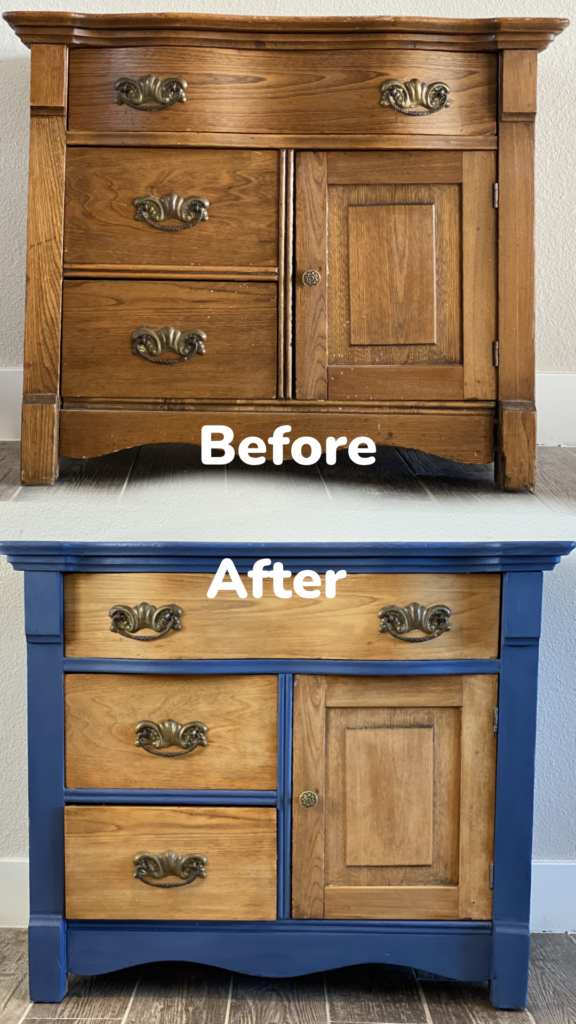
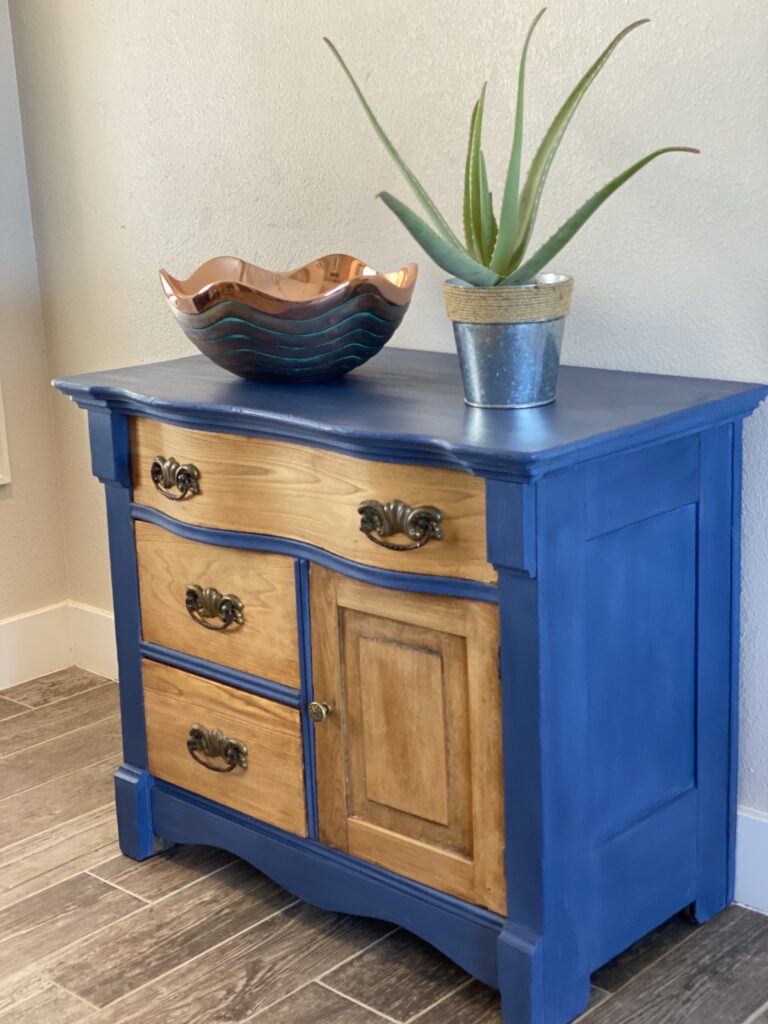
Finding the dresser for a raw wood refinishing
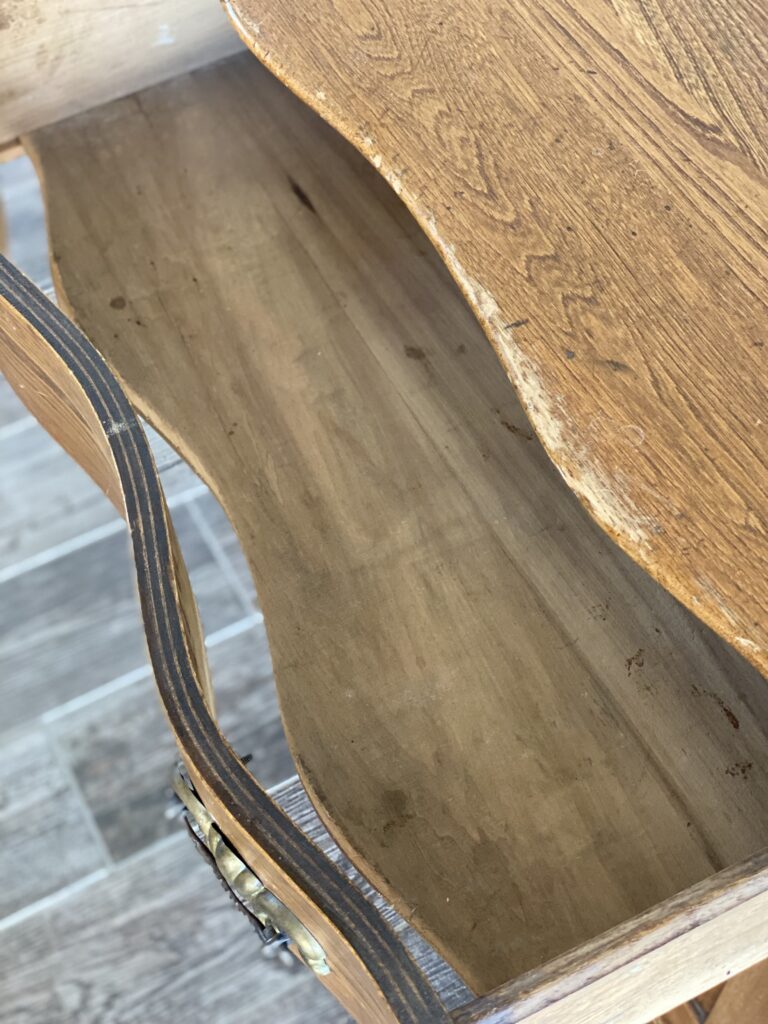
This small piece was in a “trash pile” after a family member’s last move. The wood grain was beautiful, but it was coming apart, and had dent and burn damage all over. The drawers were also coming apart, and needed some love an attention. Given its perfect size and good bones, this is a keeper piece once it’s redone.
Fixing structural issues
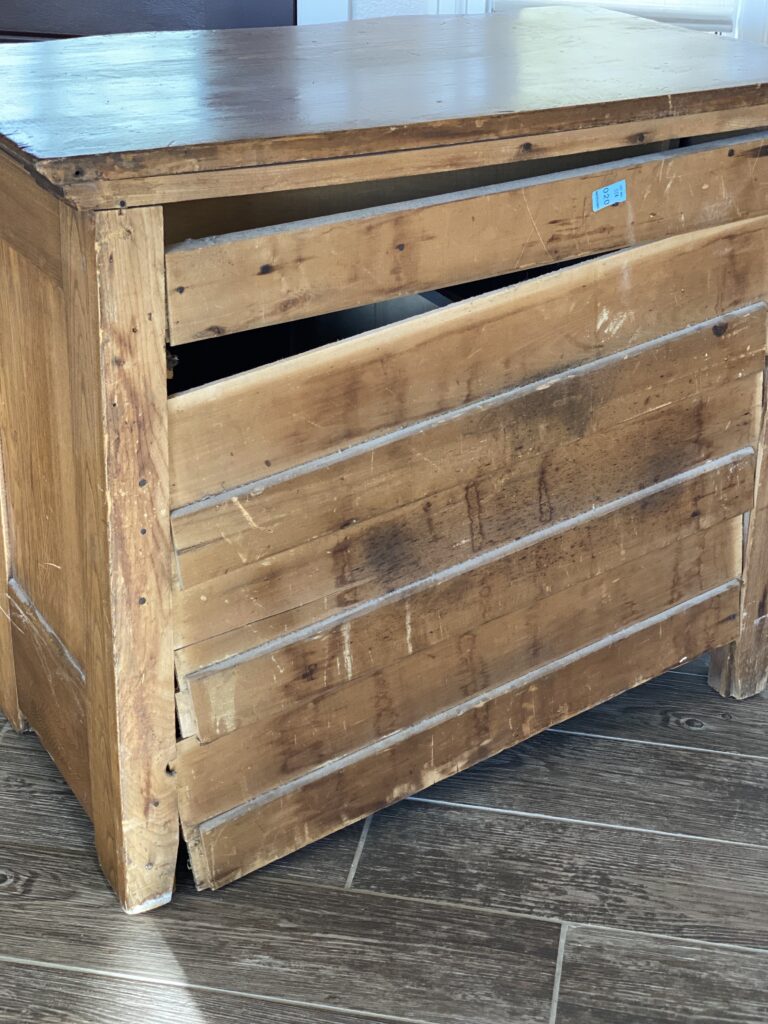
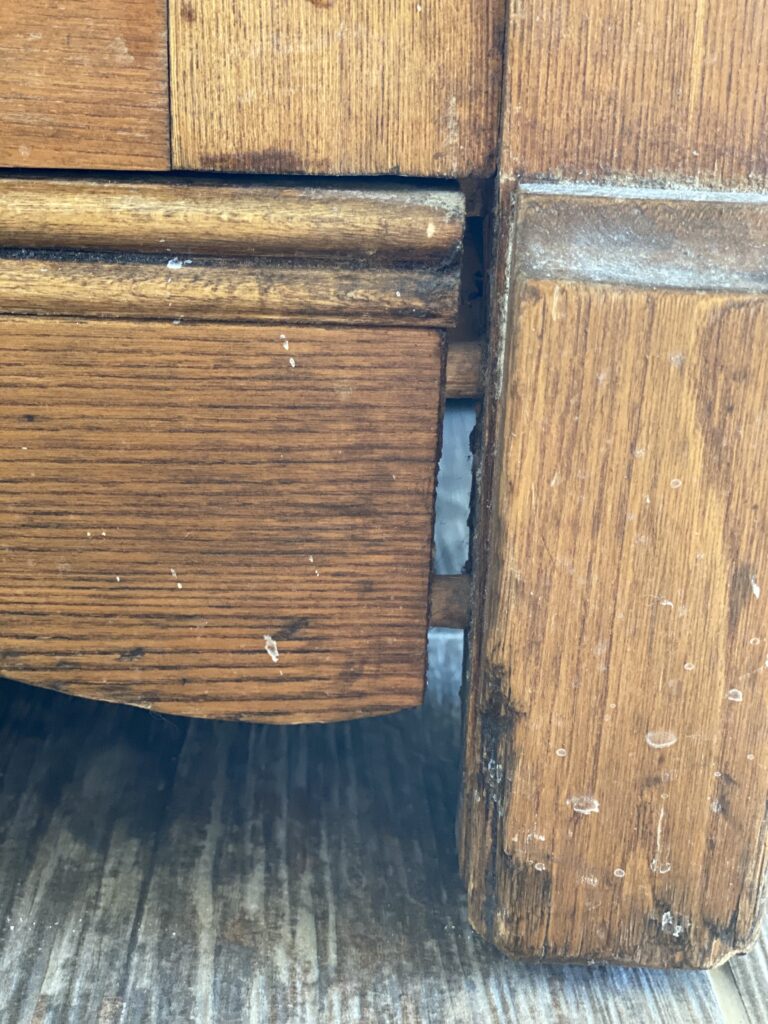
This little chest had a lot of problems, it wasn’t square, so the drawers wouldn’t open and close. The back was falling off. The drawers themselves were totally falling apart.
The first order of business was to use some wood glue, clamps, a rubber mallet to knock the pieces back in place. I even used a ratchet strap to get the piece put back together – square, and functional.
Painting
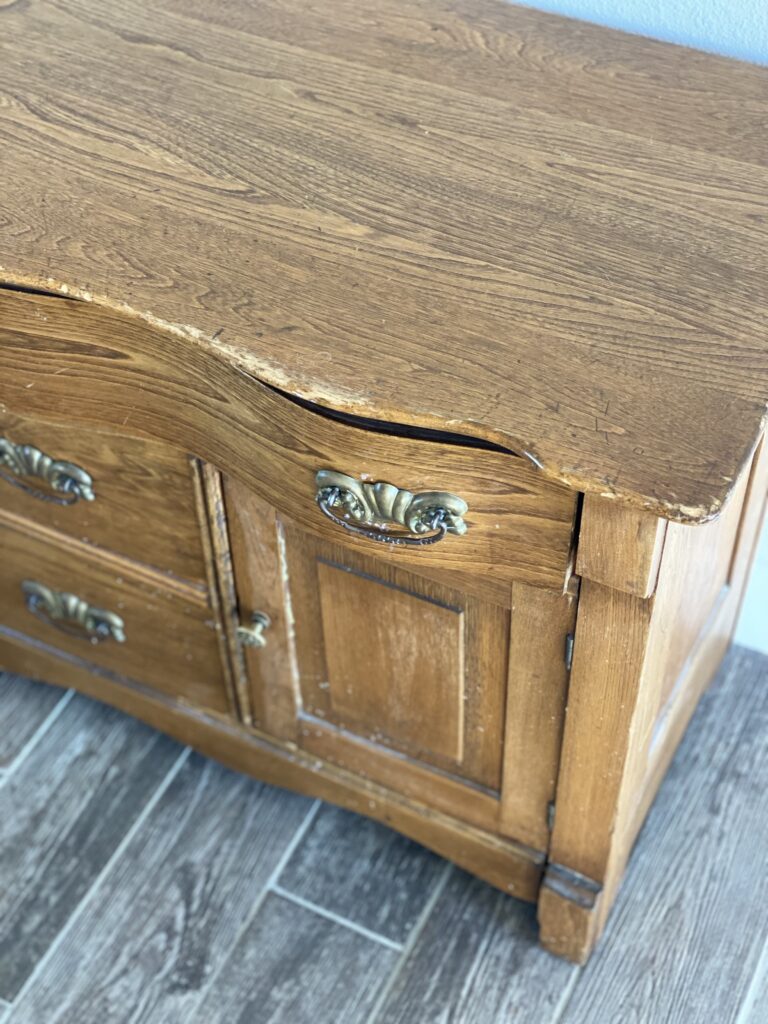
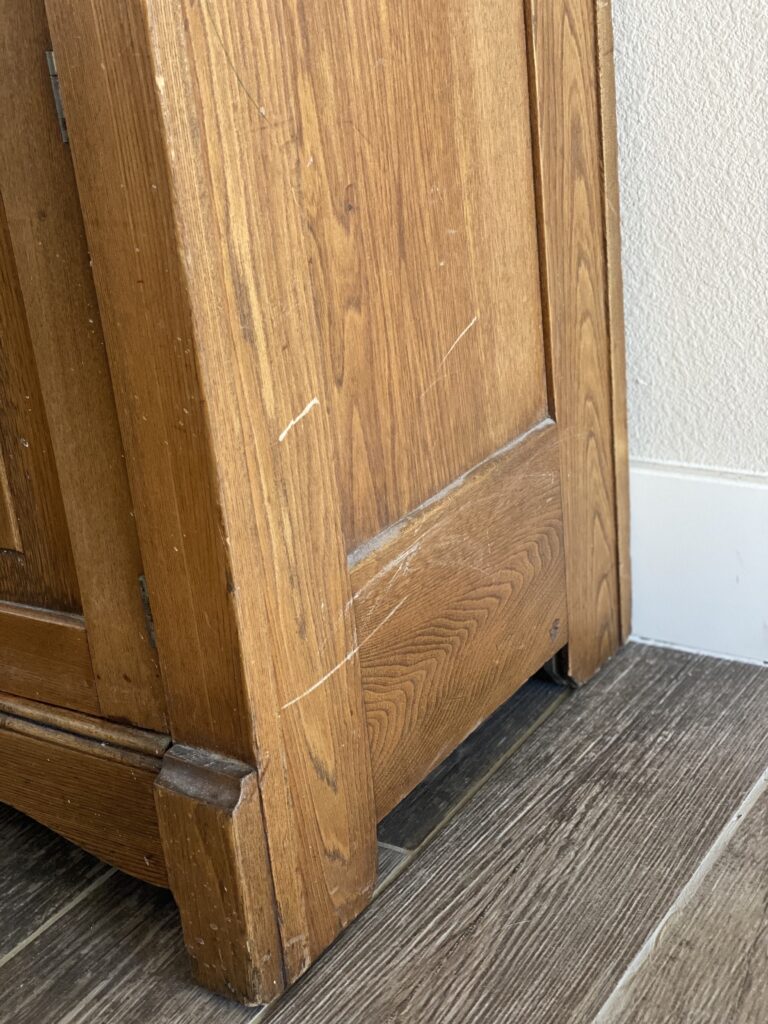
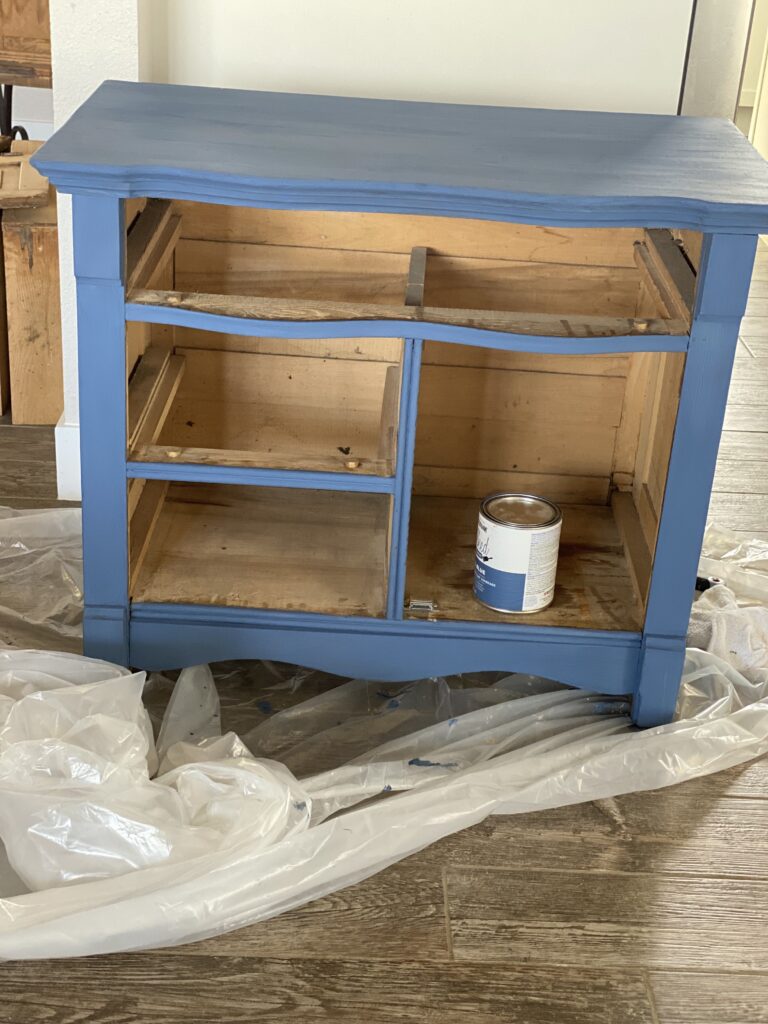
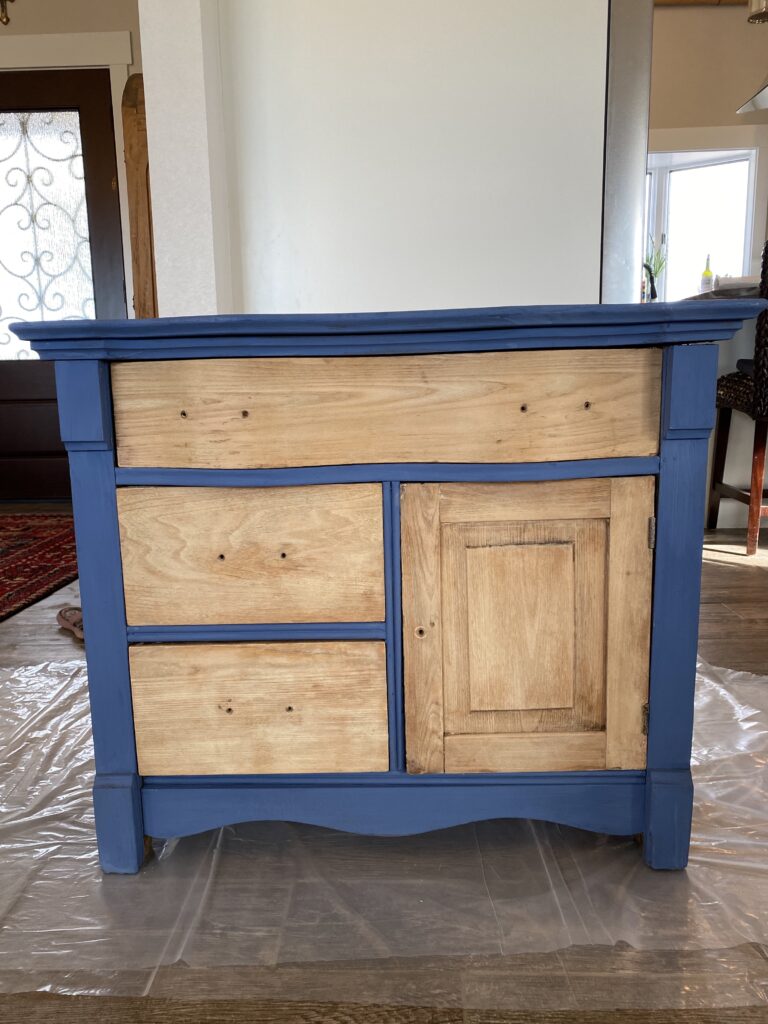
When I first looked at it, I was hoping I could do the whole piece in the trendy (and beautiful) raw wood refinishing look. Upon closer inspection on the top and sides I realized there was just too much damage to do the whole piece that way. I’ve seen some pieces in the combo pained/raw style and decided this would be a great one to try it with.
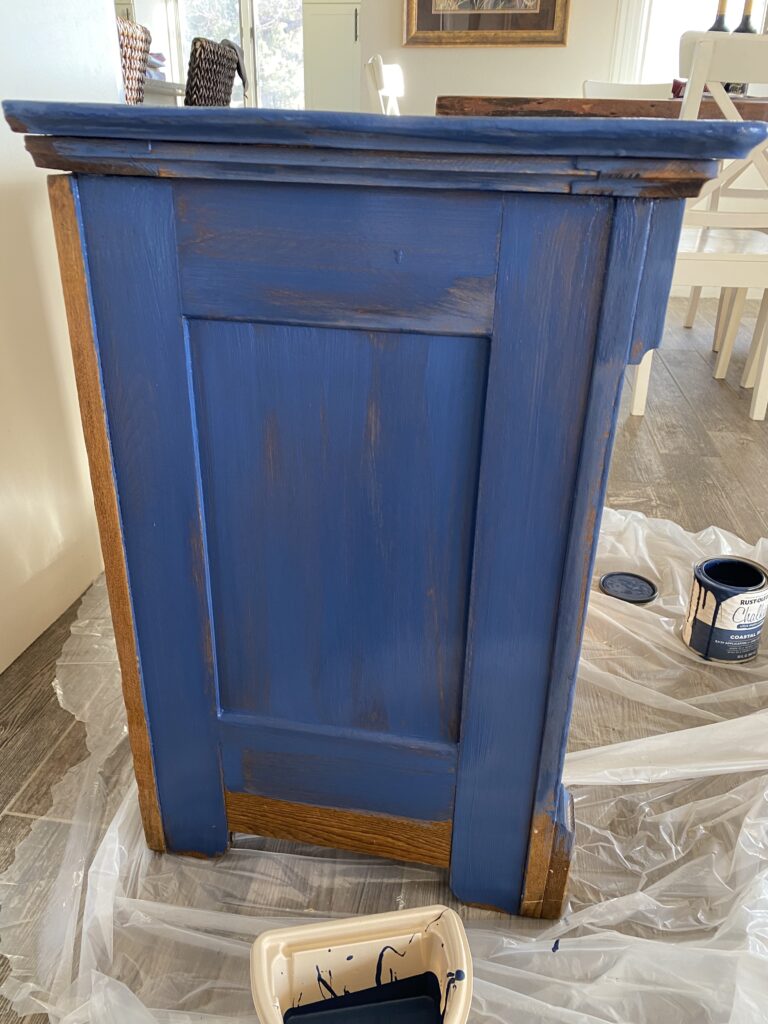
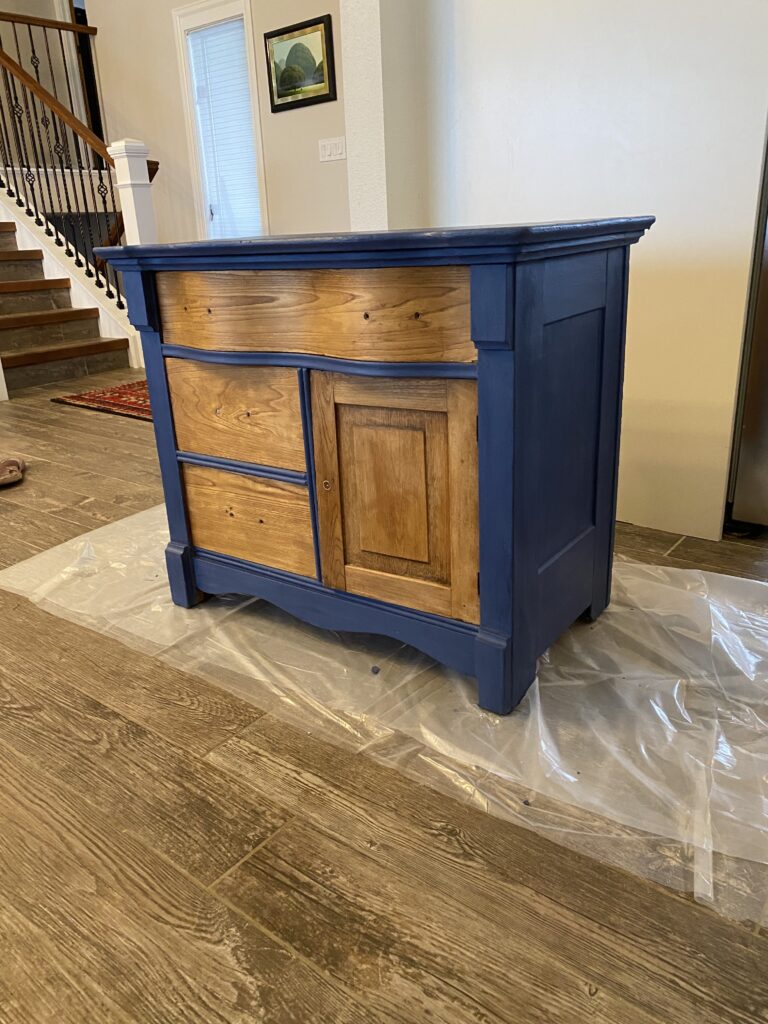
I used Rust-oleum Costal Blue for this piece. Although with a chalk pain I technically only need to do a single coat, I did two. I loved the rich an deep color that came from the paint. I also loved the contrast with the blue and the painted and raw wood refinishing look. The combination sets off each element more beautifully.
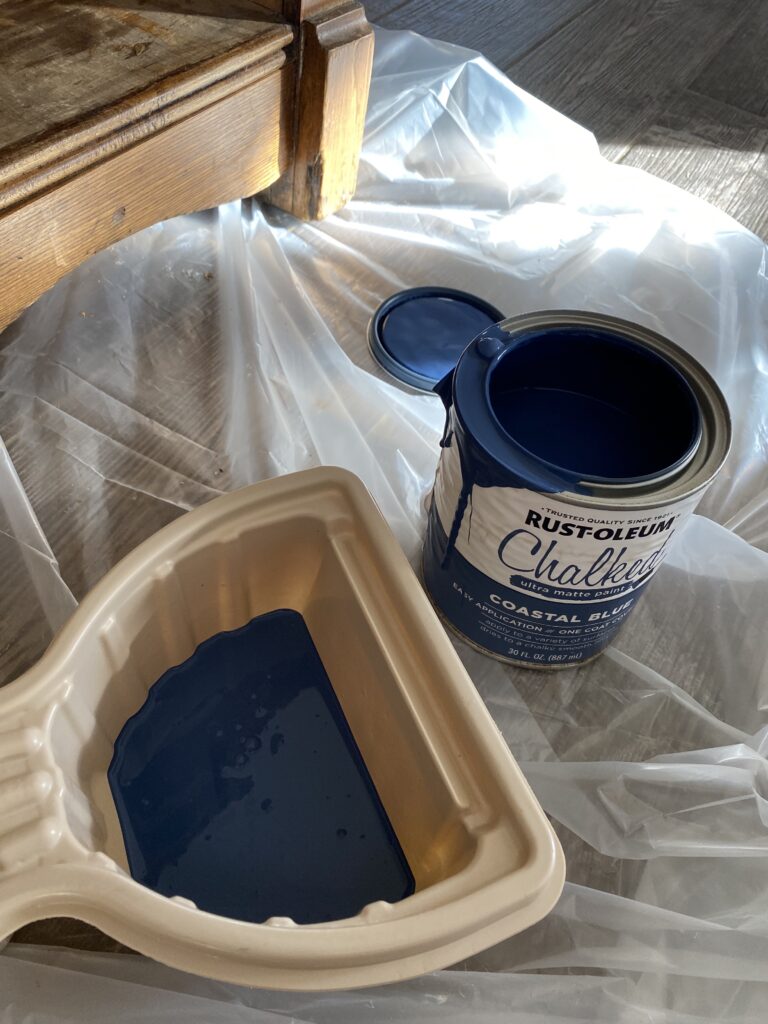
I painted with the grain with smooth long and even strokes, was careful not to let the paint pool or drip.

Stripping for a raw wood refinishing
There’s a new trend to use oven cleaner to strip wood. Will it work? Technically, yes. Will spraying peroxide straight into your hair strip the color? Technically, yes. It’s basically the same thing. In my experience, oven cleaner leaves the wood dry and damaged.
I prefer to use Citristrip over oven cleaner because it’s actually designed to strip wood and the other thing is designed to . . . clean your oven.
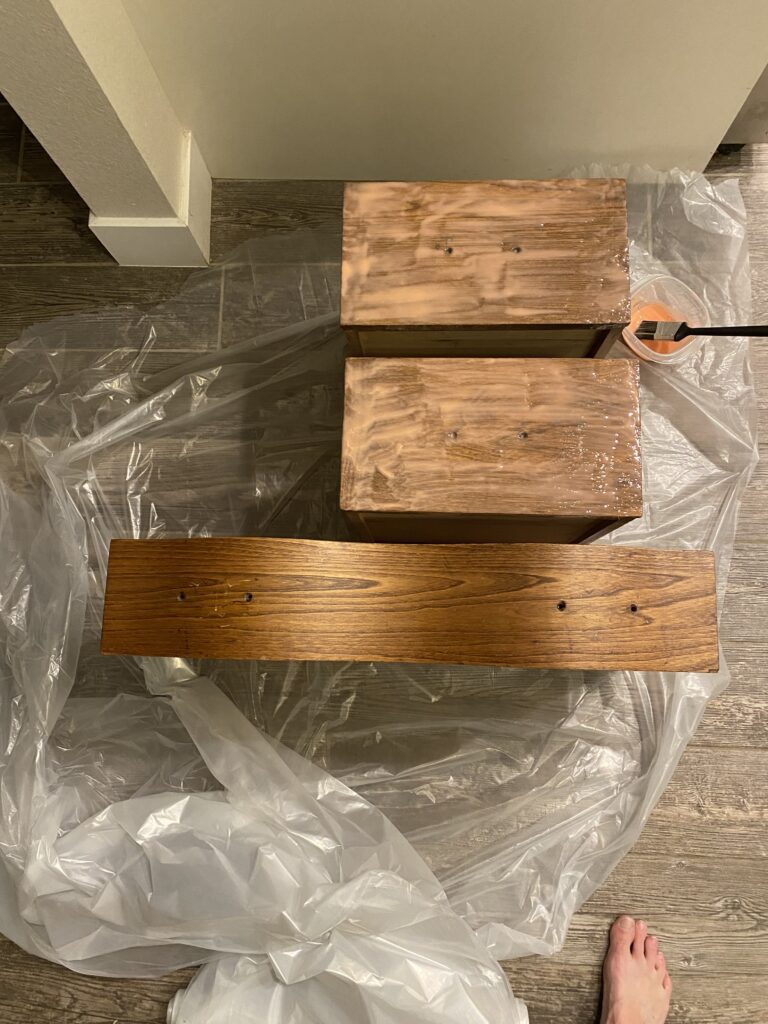
When I use Citristrip I prefer to paint it on, put a plastic sheet or garbage bag over it to prevent it from drying out, and then let it sit overnight. I use a scraper to pull the rest of the stripper and gunk (that’s the technical term) off, and the drawers were almost done.
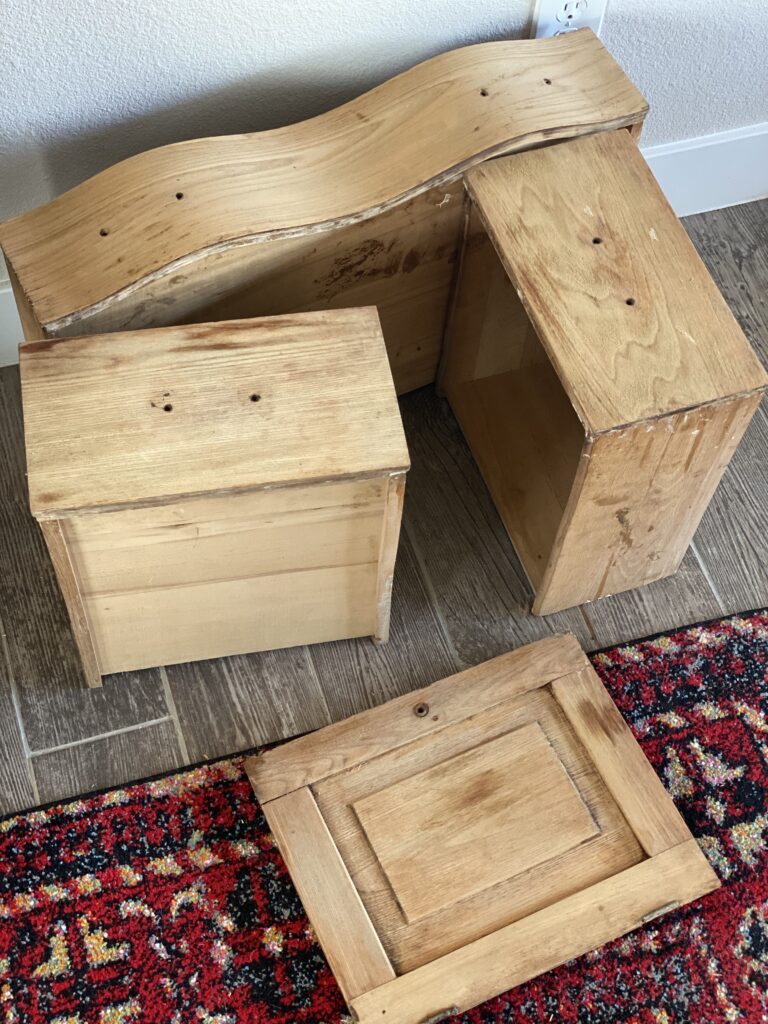
The beauty of the raw wood look is that once you get the years of finish and wear off you can see the real beauty of the wood underneath.
Light sanding
After I stripped the drawers and cabinet door I used a light sand to even out all the tones. It was fast and easy, but worth it to get that beautiful, soft, and smooth finish. When I ran my hands over the drawers they had an almost buttery feel. I used a wire brush on the details, but the light hand sand gave the drawers and door a perfect look and color while still retaining the beautiful wood grain.
Waxing
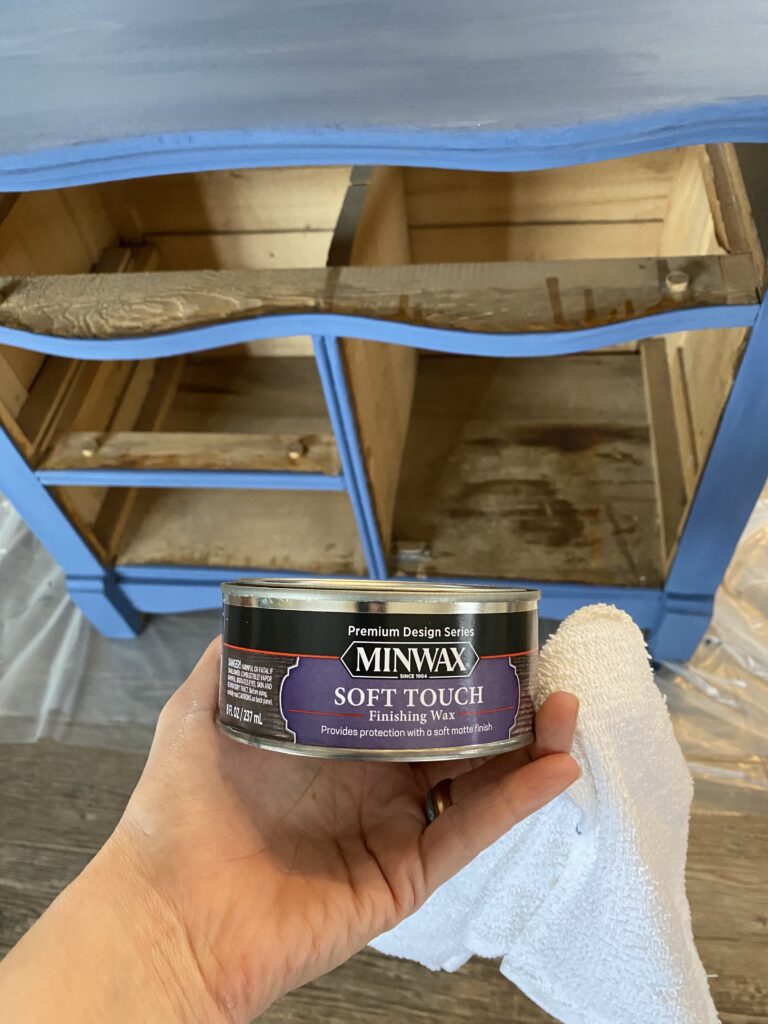
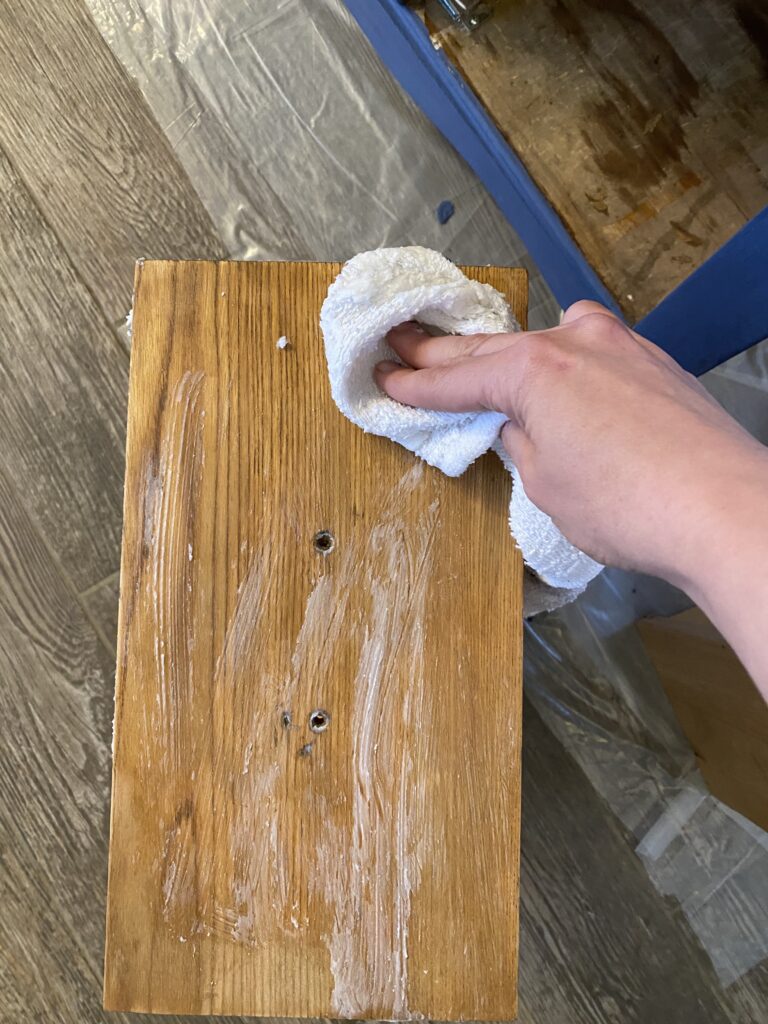
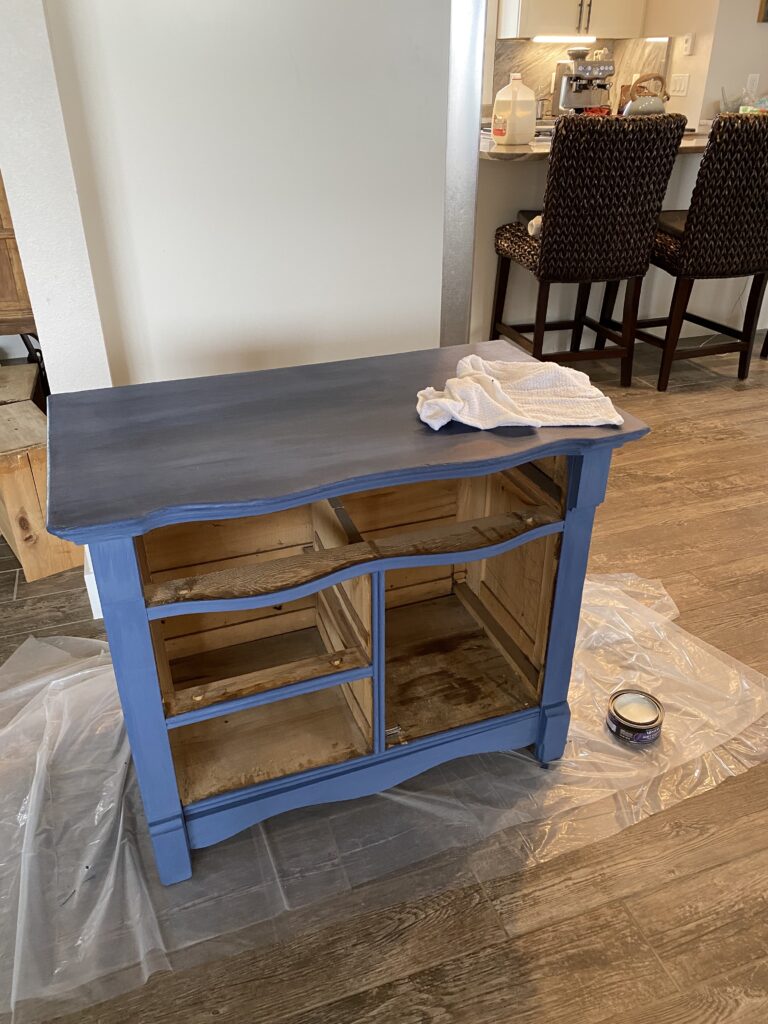
The final product is sealed on both the painted and raw portions with a Minwax furniture wax. The raw wood drank it in and ended with a really pretty natural exposed wood look. The painted wood got darker and deeper with the waxing. The piece just came to life with that final step.
Waxing also ensures the color and finish will last.
Hardware
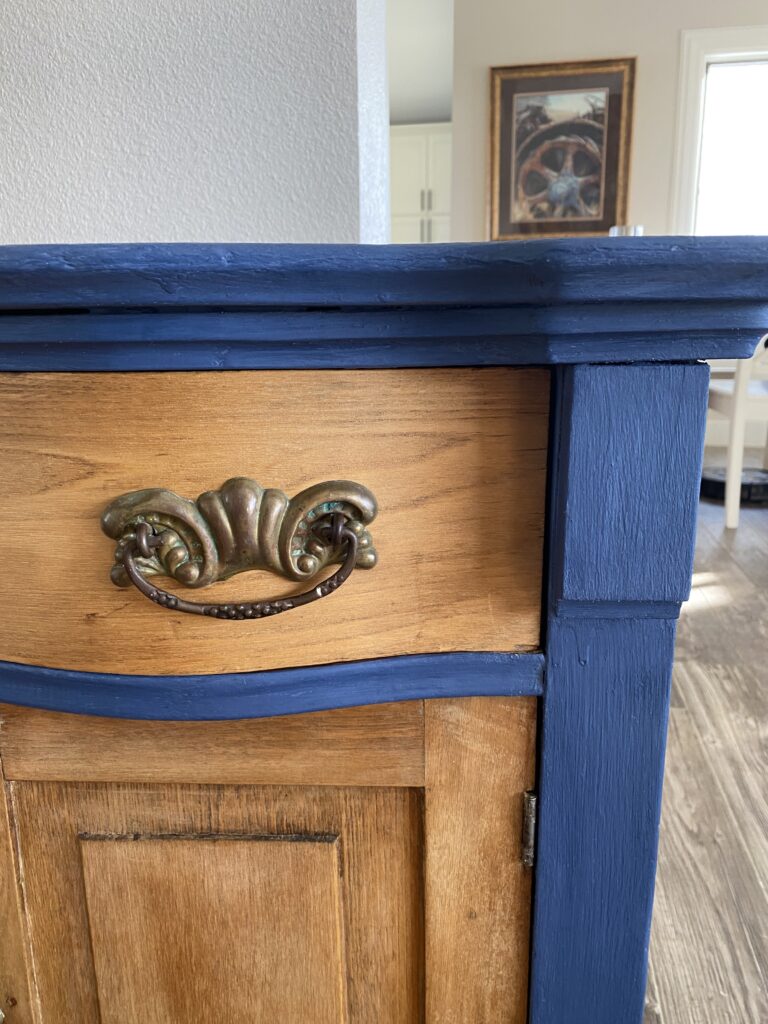
Luckily with this piece the original hardware was in great shape and fit the piece well. So, I just replaced the same drawer pulls and knob.
Done with the painted and raw wood refinishing!
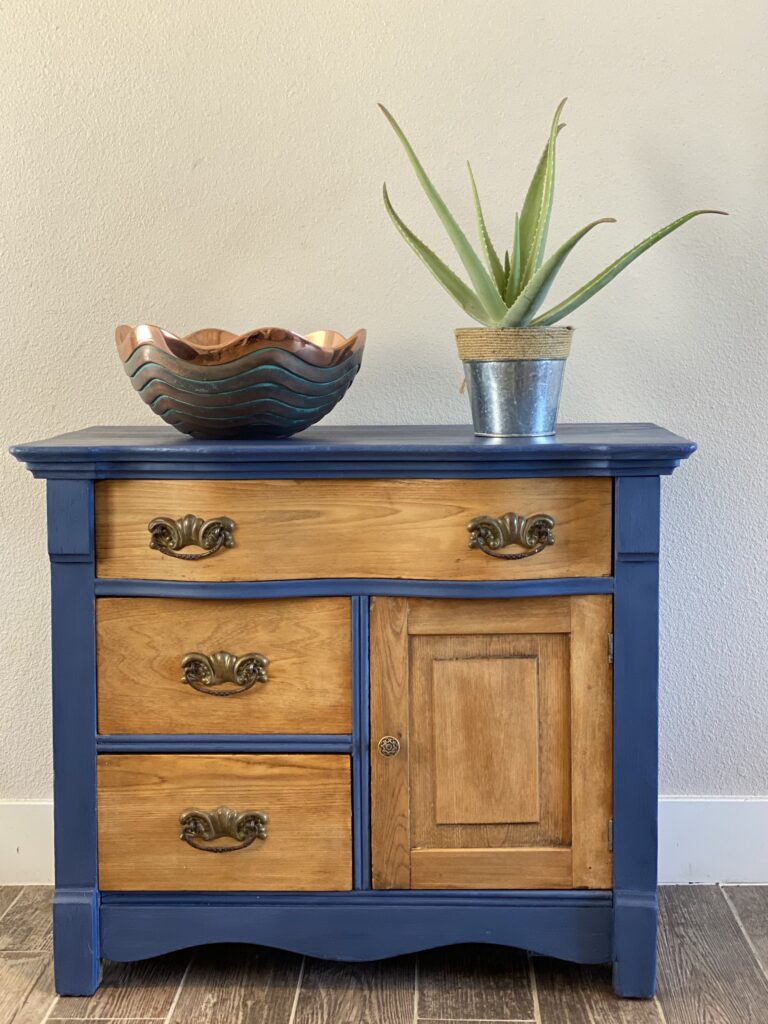
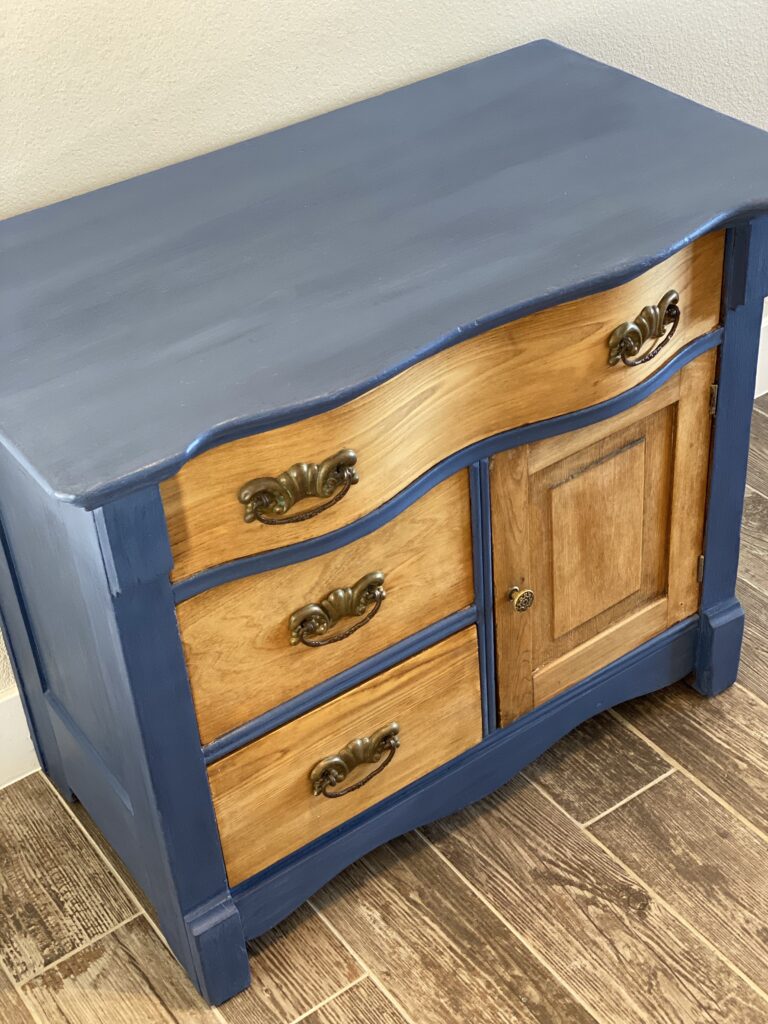
What do you think? Do you have a piece of furntiure that could use the painted/raw wood treatment?
And it perfectly matches your stove!
It turned out really cute!