• Skip to primary navigation
  • Skip to main content
  • Skip to footer
RealBestLife
  • Food, furniture flips, and farming – making urban farming a lifestyle
    • food
    • furniture flips
    • farm
  • Stories
  • Recent Posts

Blog

Addictive candied kumquats

Apr 16, 2019 ·

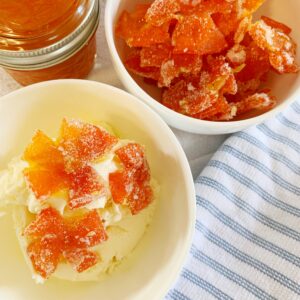
candied kumquat recipe

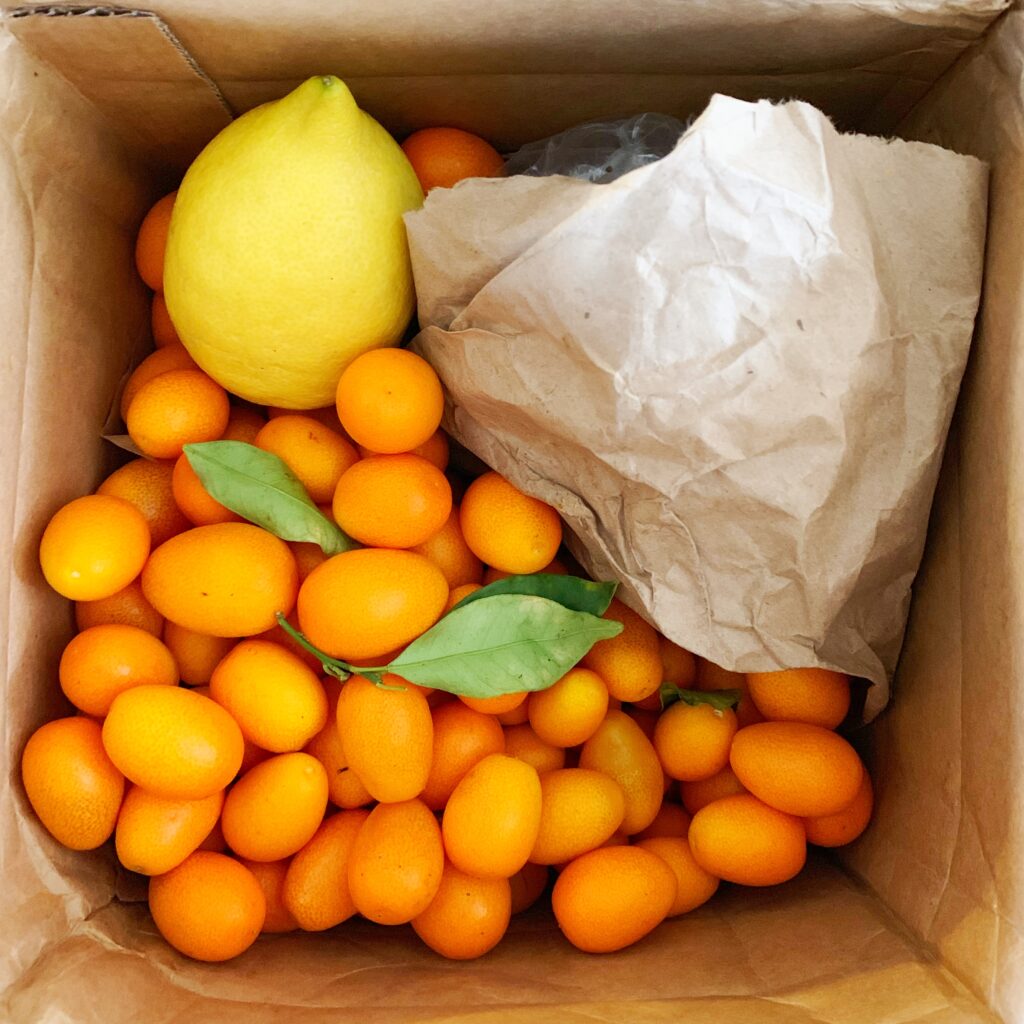
Despite living in Colorado, I have a bestie in California with a kumquat tree in her yard, so I was happily surprised and excited to open a box full of beautiful kumquats in the mail!
The husband and I love watching cooking shows on Netflix and have now watched the entire season of Flavorful Origins at least three times (highly recommend this show, it’s amaze). I suggest watching it in the original Mandarin with subtitles rather than the English voiceover – it’s beautifully done. Each episode covers a single ingredient and the different ways it’s used in Chinese cuisine.

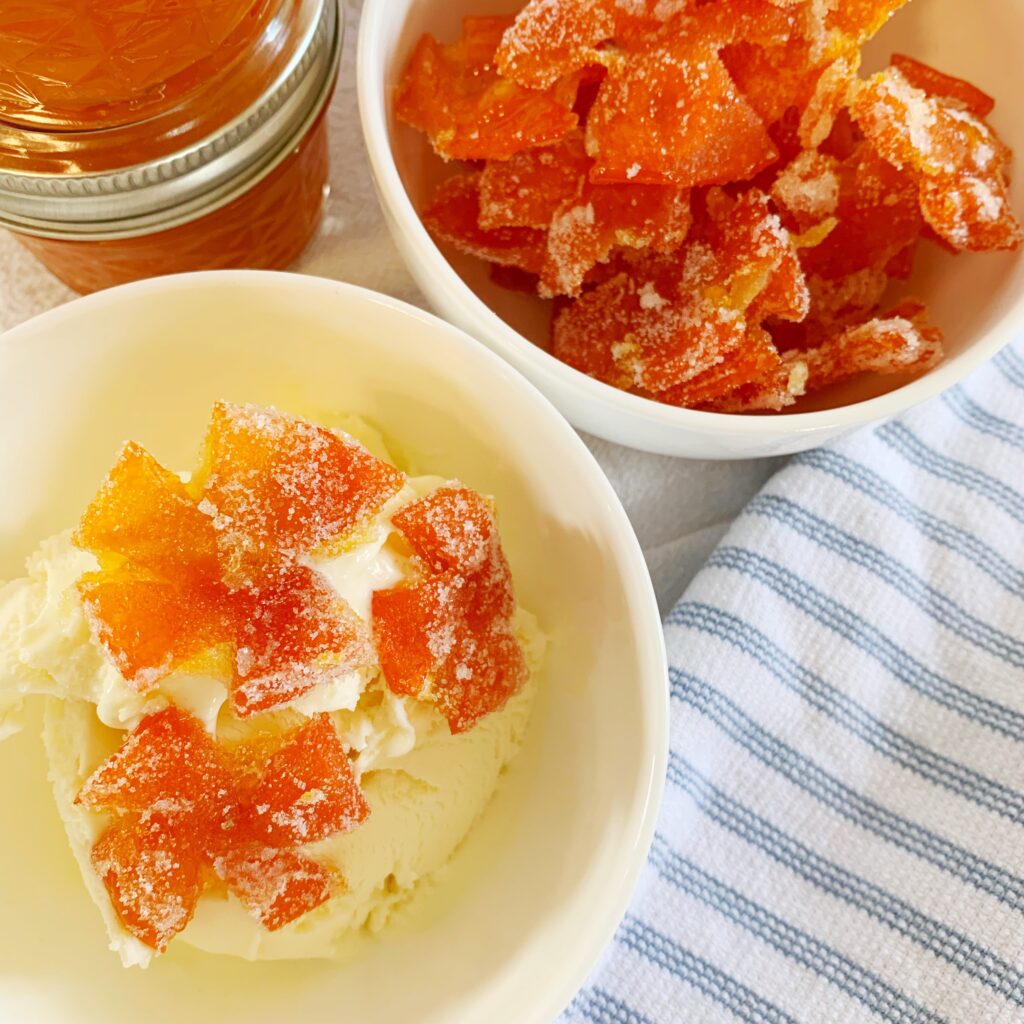
One episode covered various preparations of citrus. I was inspired to use the methods outlined in creating the “Chaozhou Mandarin Orange Cake” and apply those to these little kumquats. A unique aspect of the kumquat is that the rind is sweet and the meat and juice is sour – the opposite of almost all other types of citrus. As these steamed then candied little cakes are very rind-centric, I thought trying this at home would be the perfect method. These addictive little candies add a pop of color and flavor as a garnish and are even delicious alone.
Ingredients:

50 – 60 ripe kumquats

1 cup sugar (and some for sprinkling)

Directions:

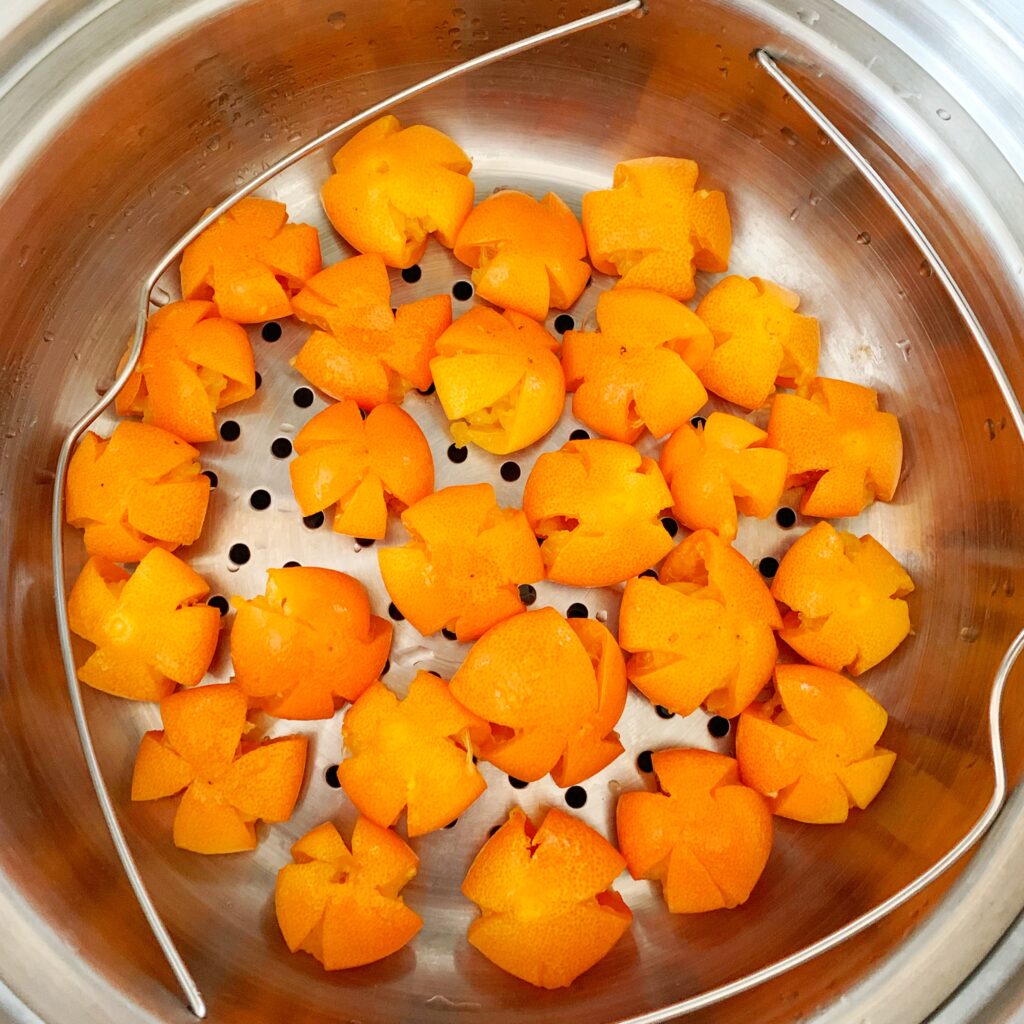
Cut 4 small slits in the side of each kumquat and smash with the broad side of your knife. This will allow you to easily remove most of the seeds and a lot of the juice.

Place processed fruit into a steamer basket over a pot of hot water and steam for 15-20 minutes, flipping occasionally. You’ll see they start to get shiny and slippery. According to the cooking show, this makes the pores of the skin tighten and close. Remove the fruit and any additional meat sticking out of the slits is easy to slip out of the rind (remember, the rind is the best part so don’t feel bad about tossing the meat you can get out in the composter).
After allowing the kumquats to dry for just a few minutes, place them in a pan on medium heat. In the show, the ratio of sugar to fruit was 1 to 5, so I started with 3/4 cup sugar sprinkled over the top and added another 1/4 cup. Honestly, I just eyeballed what I thought a fifth of the fruit looked like to pick my sugar amount. It’s better to start with less and add, so be conservative and feel free to add if it looks like it needs more.

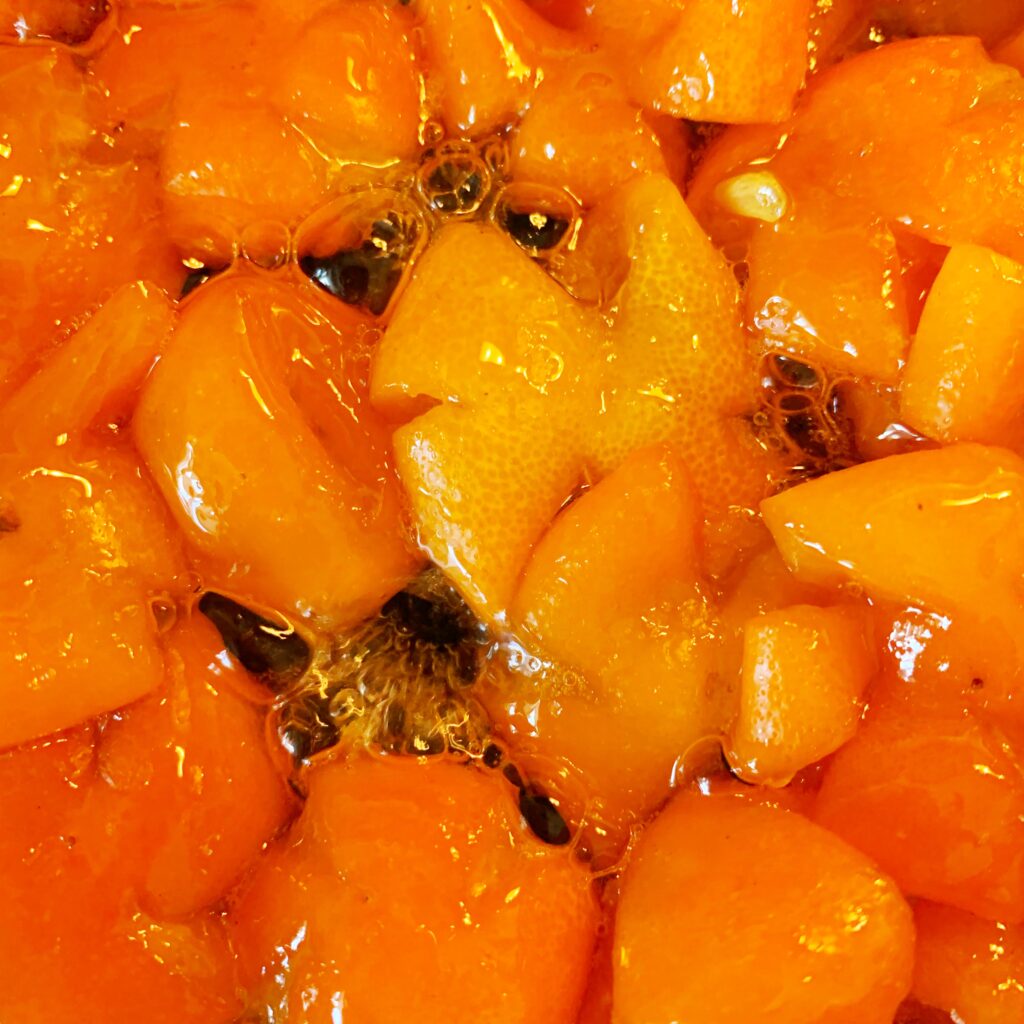
The sugar will quickly turn to syrup. Make sure to allow it to bubble but not brown. Turn each fruit several times to ensure it’s fully coated with and absorbs the syrup. Lay out the fruit to cool on a baking mat or parchment paper.
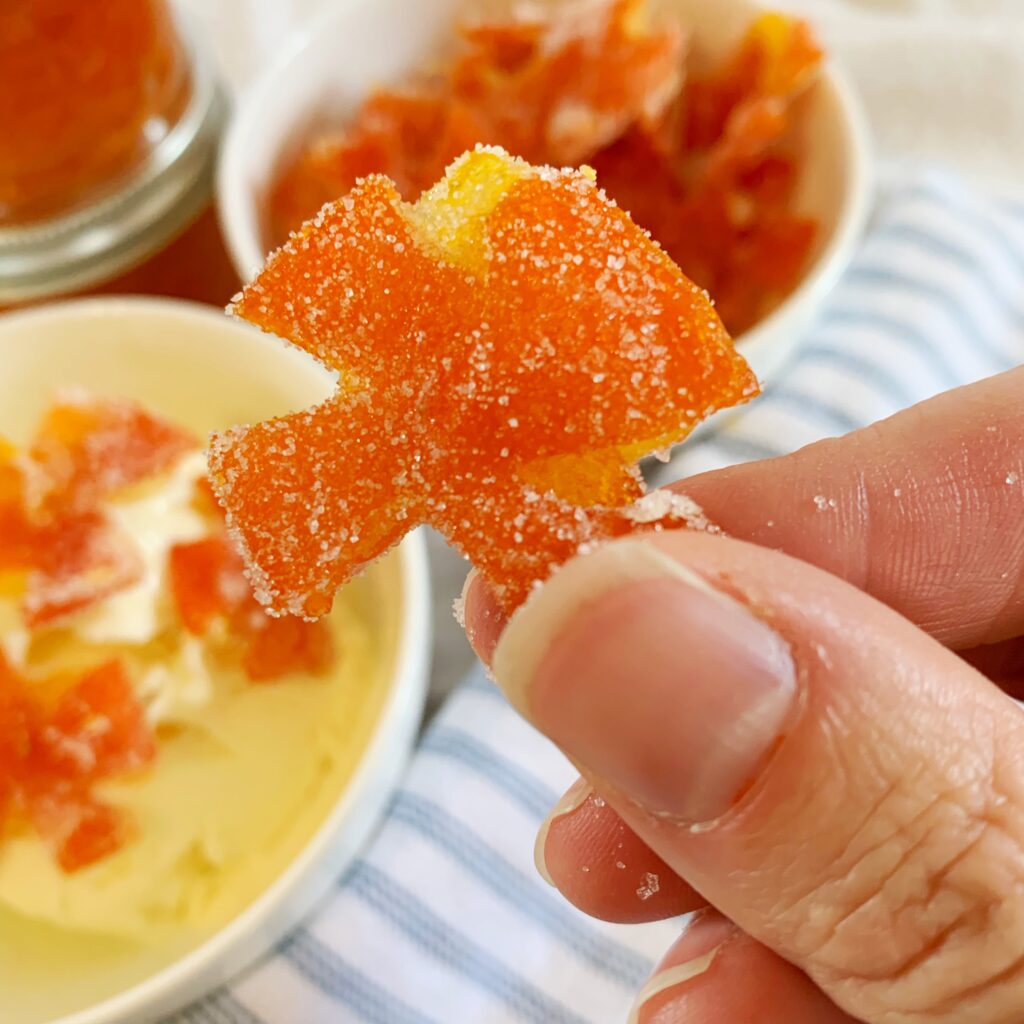
Optional: I sprinkled mine with sugar after they’d cooled overnight. It created a crunchy and perfect finish.
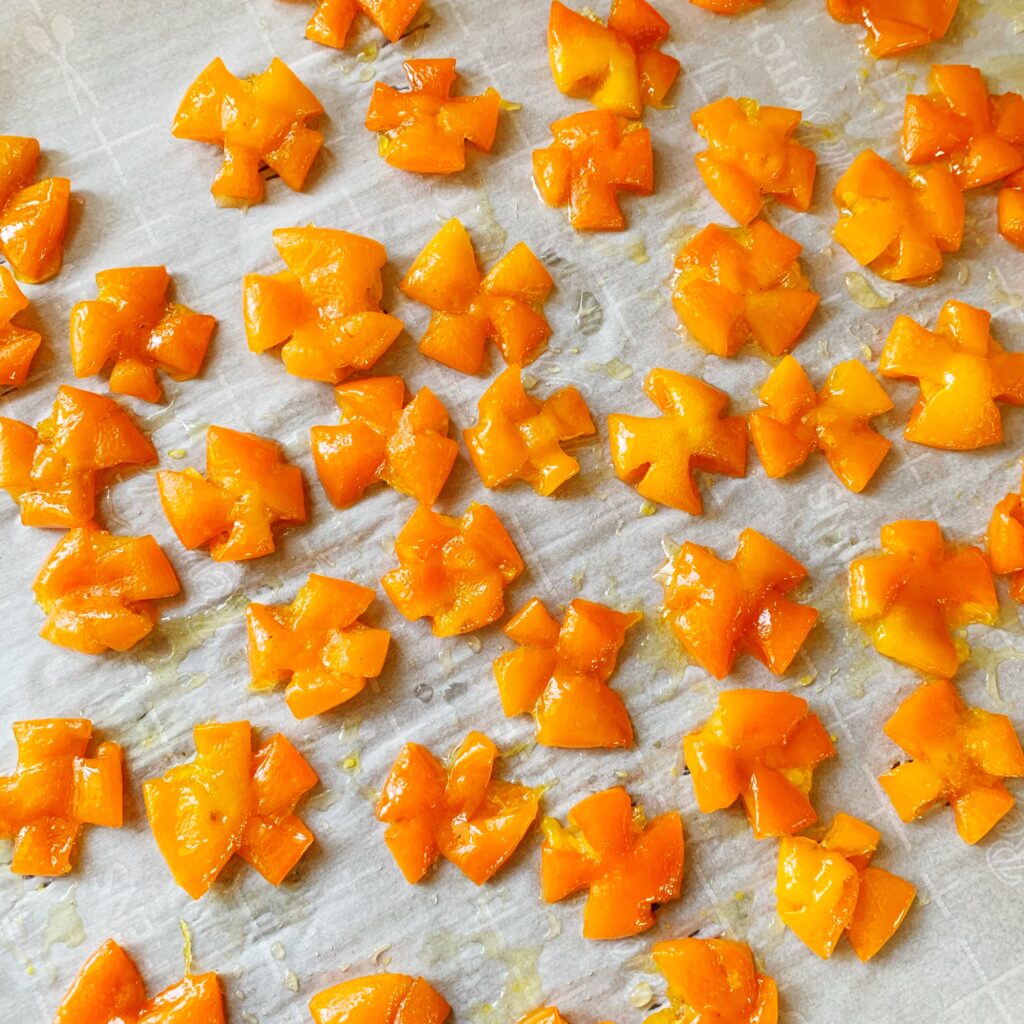
Enjoy! Use as a topper on ice cream, muffins, on the edge of a cocktail, or eat alone.

Easy peanut butter s’mores peep pie

Apr 12, 2019 ·

s'mores peep easter pie recipe

If there’s one time of year to create a recipe with a rainbow of pastel-colored marshmallow spring animals – it’s now. So, we’ve created a super easy-to-make pie that’s sure to delight anyone at your brunch. I spent a lot of time trying to make peeps yummier – and they’re surprisingly not terrible (although slightly less attractive) if you toast them. Once they get all toasty and gooey, that nice caramelized sugar on the top makes them much better. So, try it out!

Ingredients:

Keebler Ready Graham Cracker Crust (can you make your own? Yes. But come on, this is a Peep pie – ready made is fine)

8 ounces cream cheese

5 ounces (half a bag) of Reese’s peanut butter chips

1 – 3.6 ounce – package Godiva Dark chocolate pudding mix

1 cup whole milk

3/4 cup heavy whipping cream

Peeps

Directions:

Soften cream cheese and peanut butter chips in a microwave (be sure to use a microwave safe bowl). Stir. Spread mixture over the bottom of the pie crust.

Whisk pudding mix, milk, and whipping cream in a bowl until it starts to thicken. Pour over the top of the peanut butter layer.

Allow pie to set in refrigerator for at least 2 hours.

Just before serving, toast peeps in oven on broil. Be sure to use a non-stick baking sheet (mine were perfect at 4 minutes on low broil) watch them carefully to ensure they get toasty and puffy, but not burnt. They can get a little brown on their heads – that’s ideal.

Top pie with Peeps and serve.

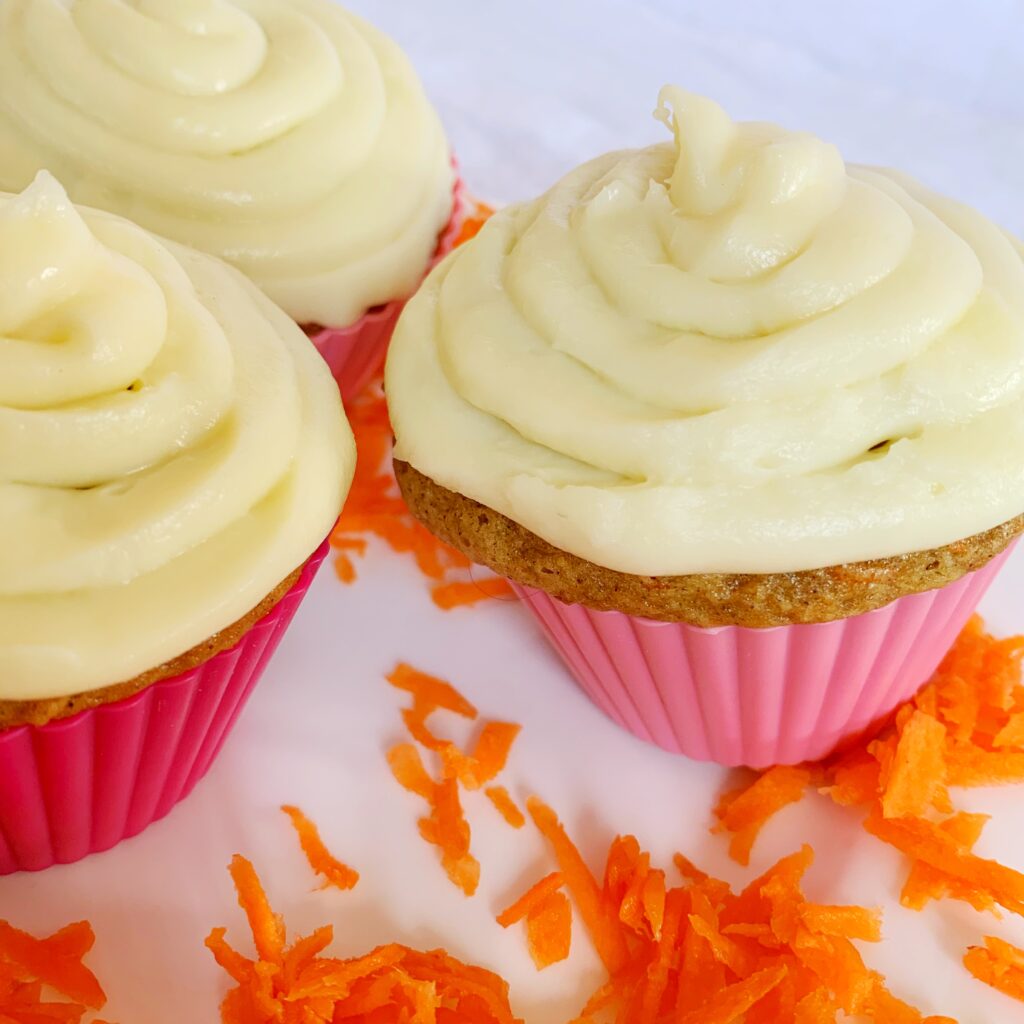
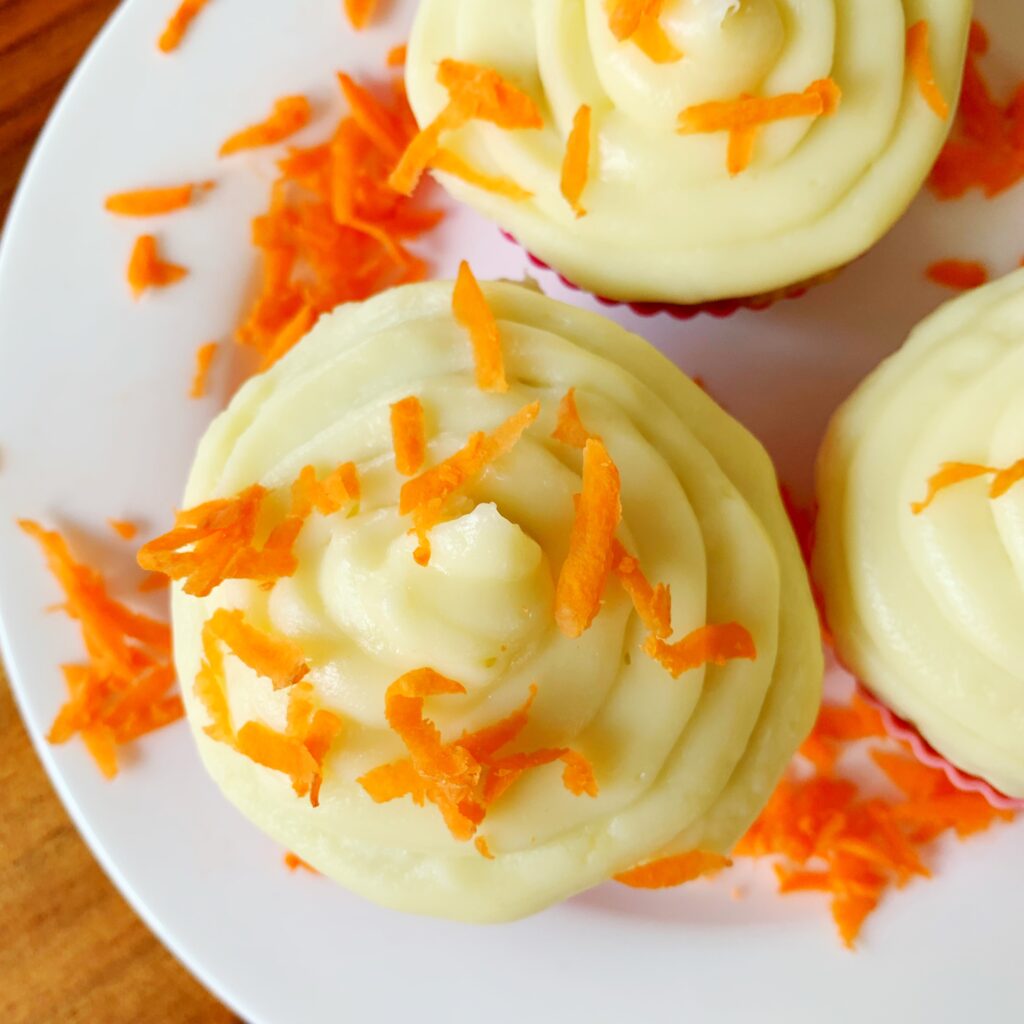
Ultimate carrot cake cupcakes

Mar 31, 2019 ·

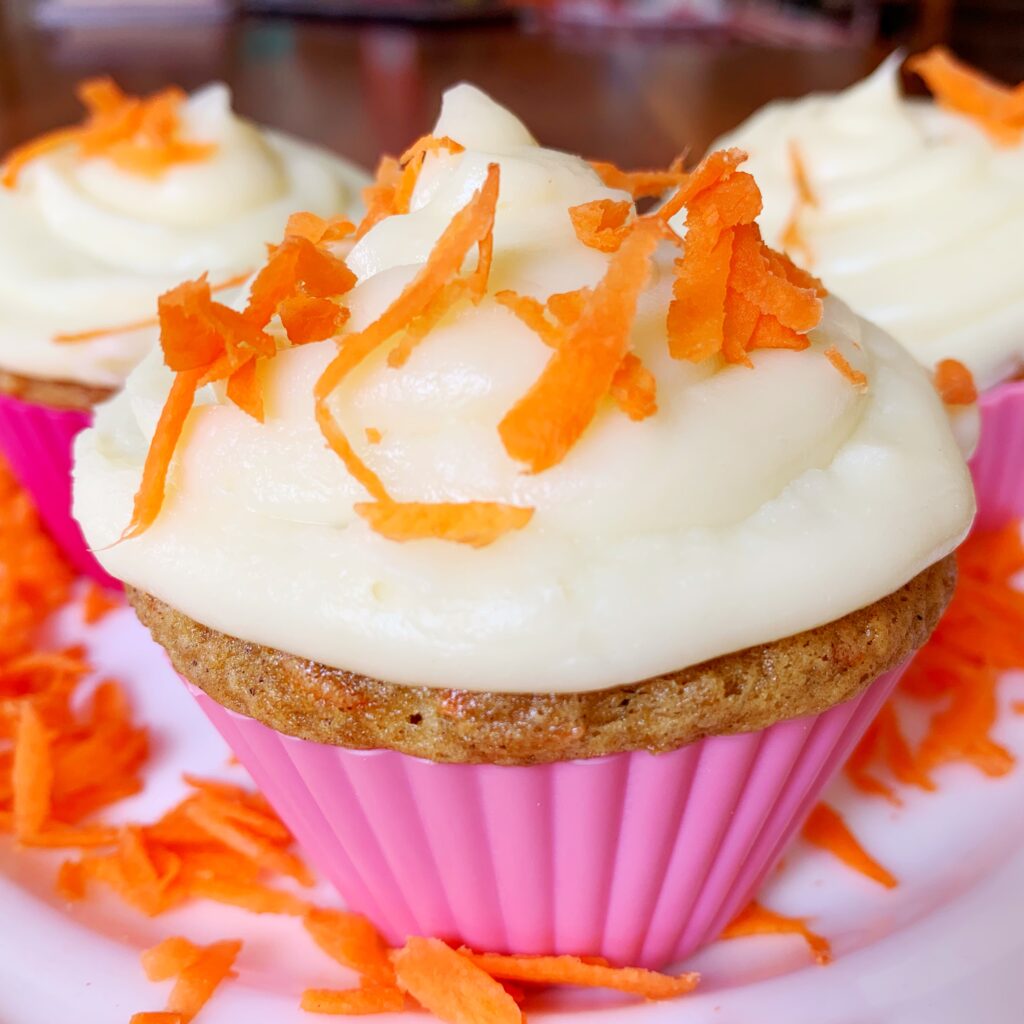
carrot cake cupcake cream cheese frosting

Is there anything better than being handed a carrot cake cupcake with a cream cheese frosting on top? I think not.

Ingredients:

Cakes:

1 1/2 cups flour

1 cup granulated sugar

1 teaspoon baking soda

1/2 teaspoon baking powder

1 teaspoon cinnamon

1/4 teaspoon nutmeg

1/4 teaspoon sea salt

3 large eggs

1/2 cup of vegetable oil

1 teaspoon vanilla

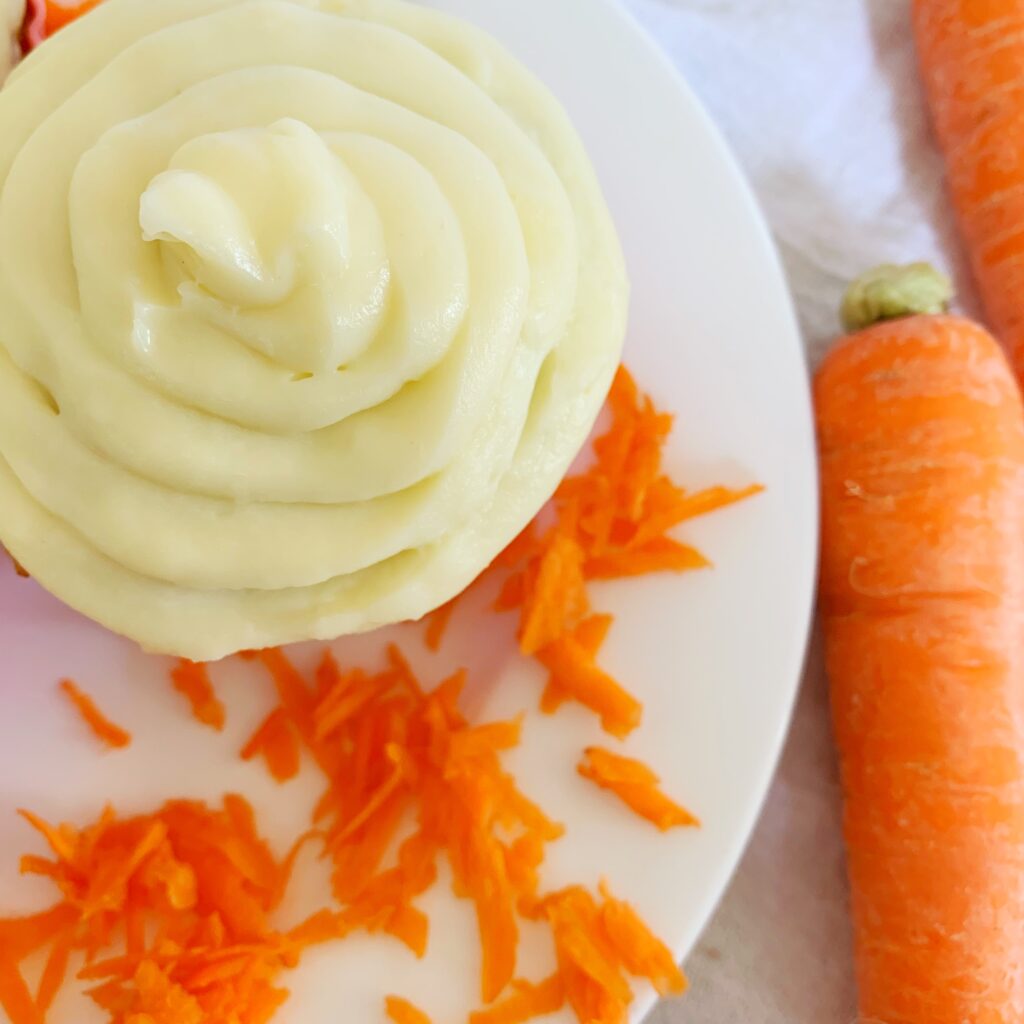
5 large shredded carrots (2 1/2 cups of carrots)

Frosting:

12 ounces cream cheese – softened

4 ounces butter – softened

1 cup confectioners sugar

1 teaspoon orange juice

1 teaspoon vanilla

Directions:

Preheat oven to 350 degrees.

Combine dry ingredients in large mixing bowl. Whisk oil, eggs, and vanilla. Fold into dry ingredients – this batter will be thick (I burned out the motor on my small beaters with this one).

Fold in carrots.

Distribute batter evenly between 12 cupcake cups.

Bake for 25 minutes or until the centers of the cakes spring back to the touch.

Let cool completely.

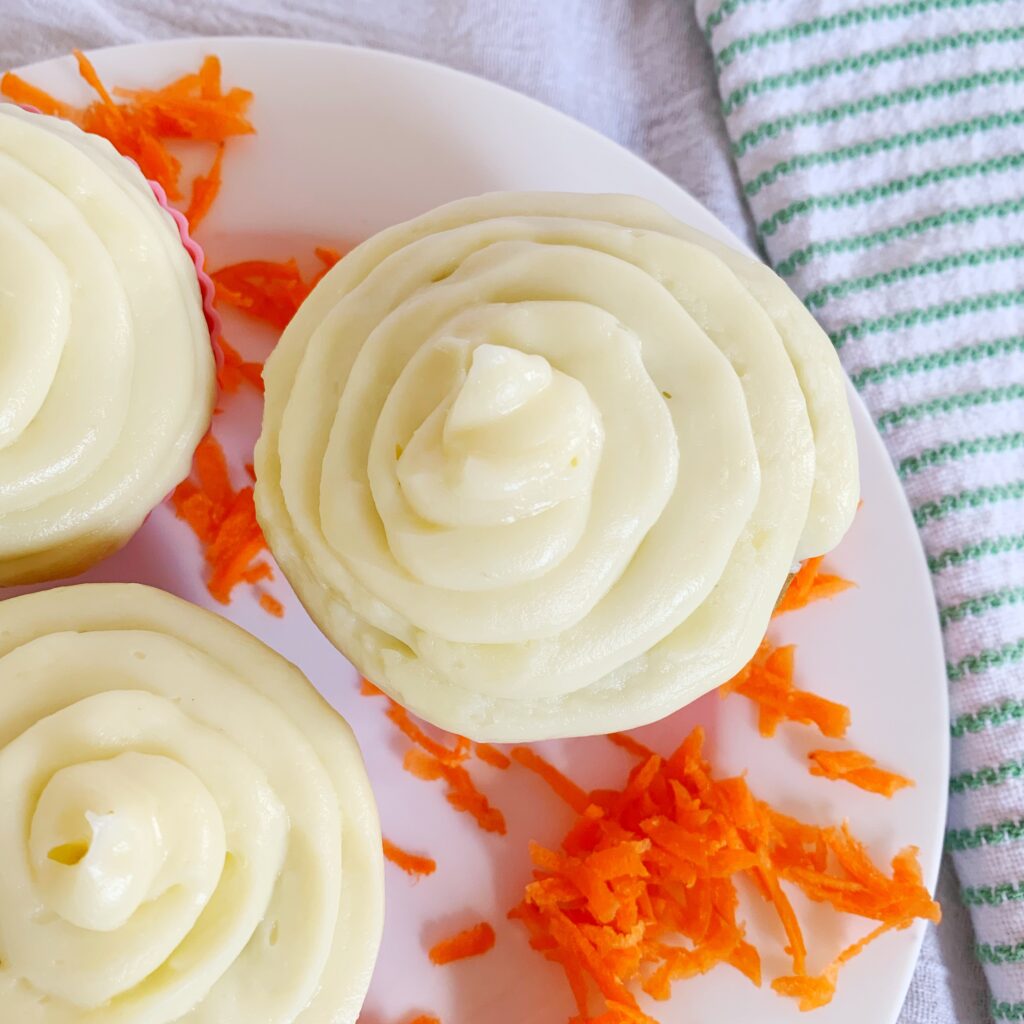
Combine frosting ingredients and pipe, smear, or slather onto cupcakes.

Eat.

Hints: For the frosting, because I’m too cheap to buy myself frosting piping bags I put the frosting in a ziplock bag and just snip the corner off with a pair of scissors. It’s the same principle as a piping bag and works fine.

I was a good Mom – and then I had a baby

Mar 27, 2019 ·

Before they gingerly set that little baby on my chest I was the best Mom. Granted, it was all in my head, but it was so beautiful.

I was such a good Mom I believed I would give birth in a birth center. Free from drugs, it would be the transcendental experience so many of my friends have had, (one is so good at having babies she literally had her last baby in a car). I would meditate, walk around, breathe through the pain – and have the perfect birth experience. I was THAT Mom.

Then, partway through the pregnancy, we thought there was something wrong with the baby. So the birth center visits and discussions of lavender candles and soaking tubs turned into neonatal surgeon interviews and terrifying late-night WebMD searches. Next, the gigantic baby in my belly stayed that way, (99th percentile). Then, we found out he was breech and couldn’t flip. Finally, we scheduled the section.

After I’d resigned myself to a new birth experience I didn’t want but begrudgingly agreed to, fate laughed at me. I went into early labor anyway and had to have the non-scheduled “emergency” surgery. This occurred three days before what was supposed to be our first wedding anniversary and the last celebration of the two of us alone as a couple. Surprise.

The nurse conducting the pre-procedure interview asked me all the questions for which they needed answers prior to the surgery I didn’t want, to get the baby we were scared was sick. When she got to the mental health section and said “I’m just going to just put ‘anxiety’ down in this section,” it’s the closest I’ve ever come to telling a nurse to go to hell.

Spoiler alert: it was still a transcendental experience. We were lucky. The baby was fine.

I was such a good Mom before we had the baby that I nursed perfectly and had more milk than I needed, just like my own Mom had. My baby was always full and we bonded deeply because I performed the magic of feeding him from my body and soul.

Then, I had a gigantic and starving baby, and the truth was that I’m not my own Mom. I physically could not keep up with him. As the nurses taped tiny tubes to me to try to both feed him and help me make more milk, we spent months’ salaries on donor breast milk. I ate lactation cookies and tried “power pumping” until I bled. As he cried – I cried. I looked down at this little creature and felt for the first time like he was a tiny alien who had been delivered onto me to destroy my life.

I told my friends who used formula that “fed is best” and that I didn’t judge them – and I didn’t. I couldn’t extend myself the same courtesy. I judged myself. When we finally gave the baby formula my Dad held me as I cried. He cried too because there was nothing he could do to help me.

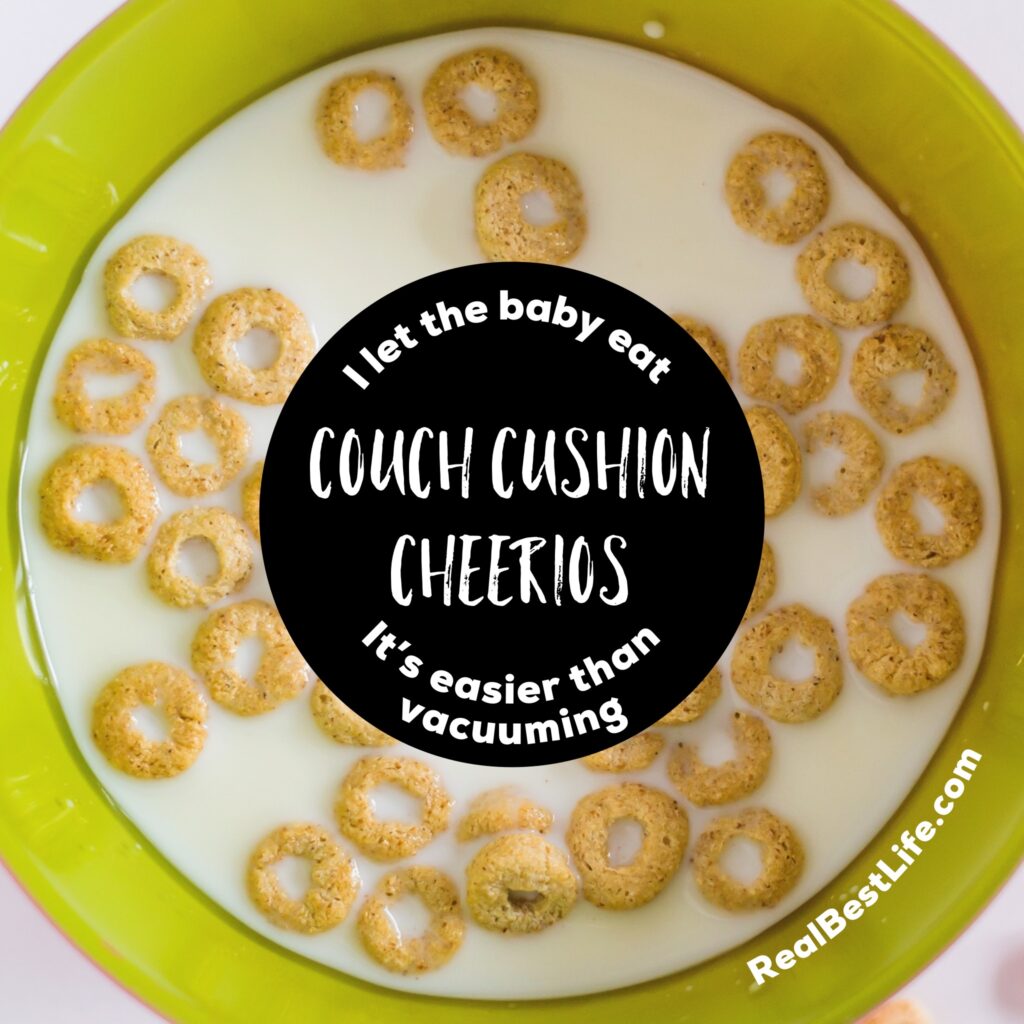
Spoiler alert: my baby is totally fine and now finds old Cheerios under couch cushions and eats them. I don’t even stop him, it’s easier than vacuuming.

Before I had a baby, I was such a good Mom that both my baby and I were great sleepers. I swaddled and rocked him gently to sleep then took my own refreshing nap. There were no waves of panic where I would have to make sure he was breathing for no apparent reason. He would relax and I would relax too. I never had to look down at his tiny angelic face staring back at me and beg him to please, for the love of God, just go to sleep.

Then, they handed me the baby. The first few days I was so thankful for the nursery at the hospital. When we got home the “you sleep when the baby sleeps” advice I got from everyone seemed like an insane proposition. I had a whole life just a few weeks prior that needed tending to before this little person showed up and inserted himself into it all. When he slept it was the only time I felt like myself again.

So, I got exhausted. I told my friend – the one who is so good at having babies that she had one in a car – my biggest fear was that I would go crazy from a lack of sleep. Before the baby, I was a solid 10-12 hour a nighter. I was afraid I would never get to sleep in again. Her response “you just get used to it.” I never thought that I would get used to it.

Spoiler alert: I got used to it. I don’t think I’m even physically capable of sleeping in anymore. It’s ok.

Before I had a baby, my child would NEVER see a screen. No television, and no ipads. I wouldn’t even — USE a phone in front of my child. I always gave him my full attention, made eye contact, and spoke to him in complete sentences.

Once I had a baby I realized that if I never used my phone when he was around I would be both a social hermit and completely broke. I now do my best and put it away as much as possible, but I still have to operate within the current confines of the real world. I compromise and try to explain to him what I’m doing on my phone as I do it. I read aloud to him what I’m reading from the screen, but life now happens in both the real world and virtually.

When he runs up to me and grabs the phone out of my hands yelling “mine,” as he darts off, I’ll admit that some days I skip a beat. I just enjoy the 30 seconds of silence as he changes my phone language to Portuguese before I take it back from him.

When we watch tv, we try to at least do it together – but at the end of a long day of work – sometimes that’s all I can manage. I feel victorious that I found a new Netflix show about food in Mandarin that’s subtitled. So, really it’s a cultural experience. Or something.

Spoiler alert: real life doesn’t lend itself to absolutes in parenting. Get over yourself and your preconceived notions.

Before I had a baby, I was the perfect chef Mom. My child would eat all cuisines with gusto. He would not balk at vegetables. He loved to eat whatever the adults were having that night. I didn’t buy cases of mac and cheese as if I was stocking up for the Kraft-free apocalypse. His little toddler body would get the perfect mix of vitamins, minerals, and protein. His complex palate would allow us to travel as a family almost anywhere.

Now, I look back on the sweet summer child I was then with a mix of awe and pity. What was I even thinking? Great – there’s a parenting book about how to raise your baby like a tiny Frenchman where he eats everything you do – or you can be a Tiger Mom and have him in a differential equations class at 18-months – but zero of these things will actually happen.

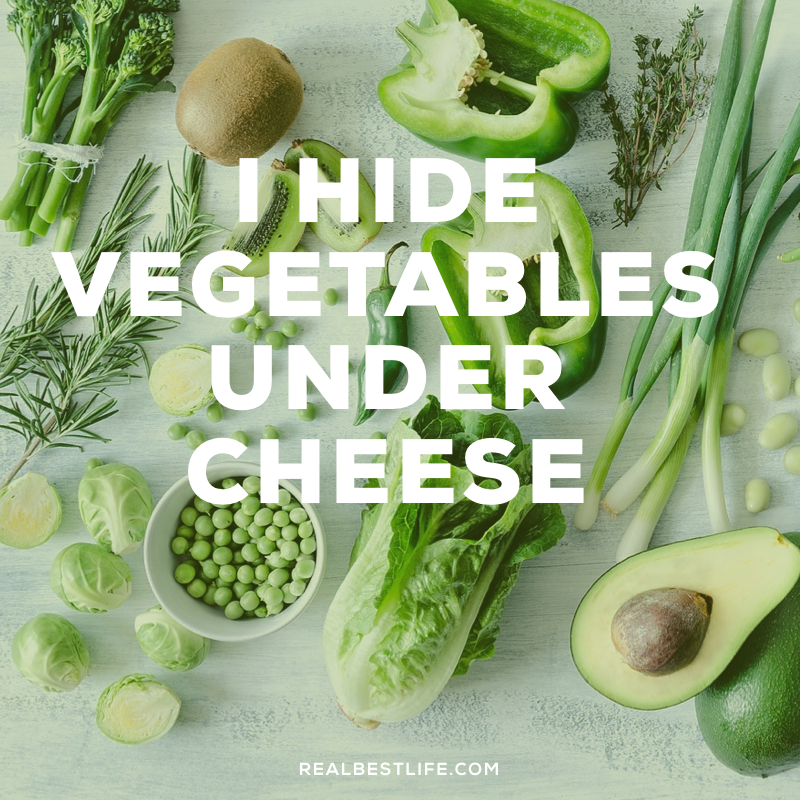
I have seen my child lick a wall before. He eats dirt. That doesn’t mean that I don’t try to sneak veggies into meals by covering them in his favorite food group, (cheese – he’s mine). Some days we’re blue box people – and that’s ok.

The last time I took him on an airplane? My screen-reticent-self bought a Leap Pad just for the flight, and it was STILL the 7th circle of hell. I cashed in all my spare points for a first-class flight home without realizing it just meant I got to feel horrified by his behavior in front of rich people instead of normal people like us. He doesn’t need a complex palate for all our travel because at this rate I won’t fly with him again until he’s 30.

Spoiler alert: sometimes adjusting your expectations is the only way to survive the ride.

Before I had a baby I was the Mom who was forever changed for the better by this tiny person. I looked at the world with new and refreshed eyes. I thought of the days before him and they seemed like a lifetime ago. I couldn’t imagine a day without him and was so overwhelmed with love that truly contemplating it could bring me to the edge of tears. It gave me a renewed sense of purpose and being. I was such a good Mom.

Spoiler alert: I am a good Mom.

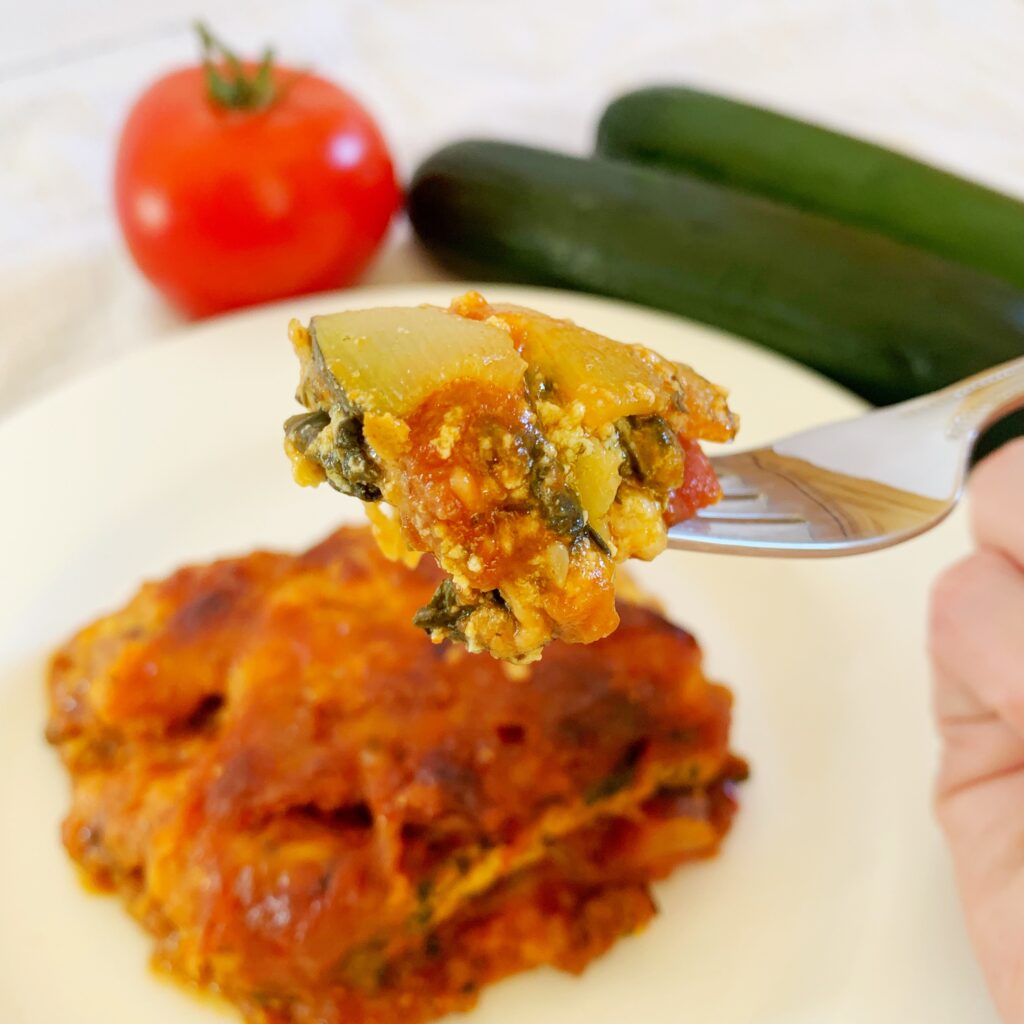
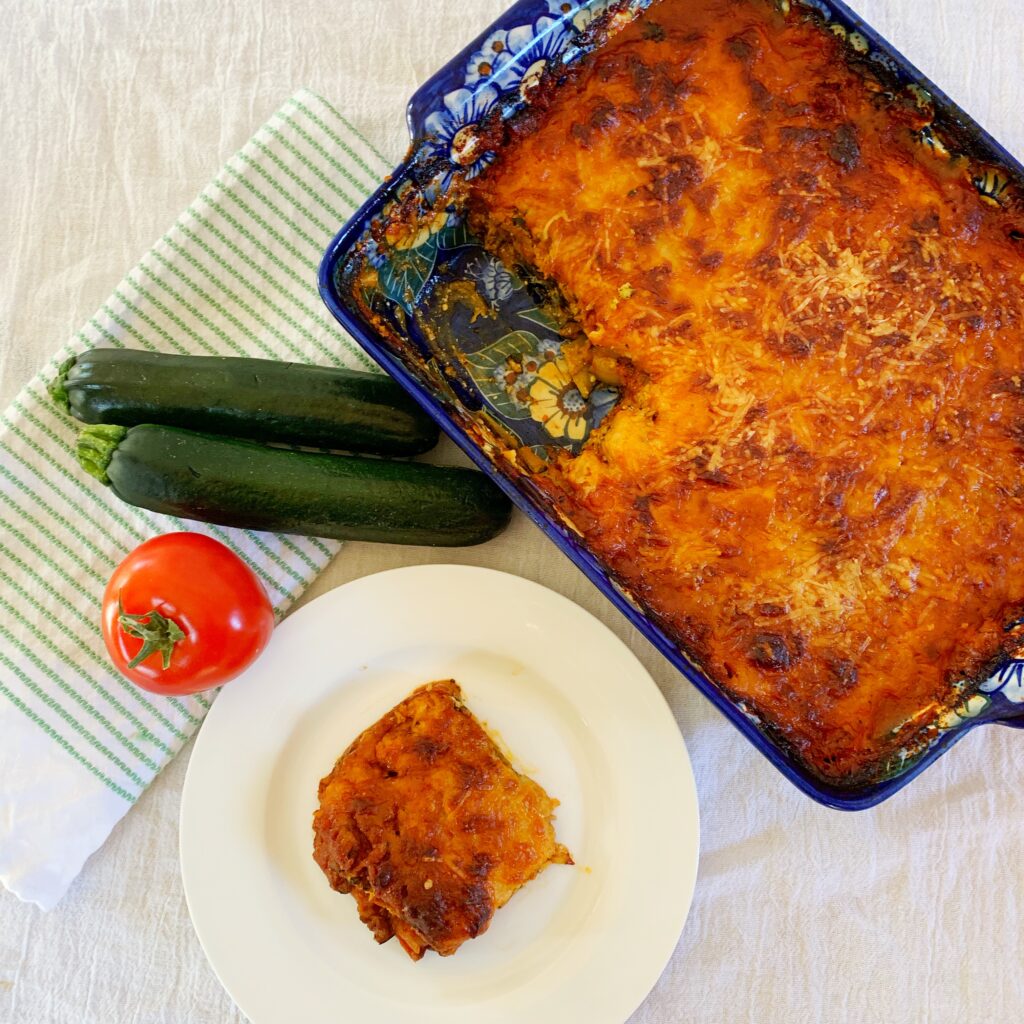
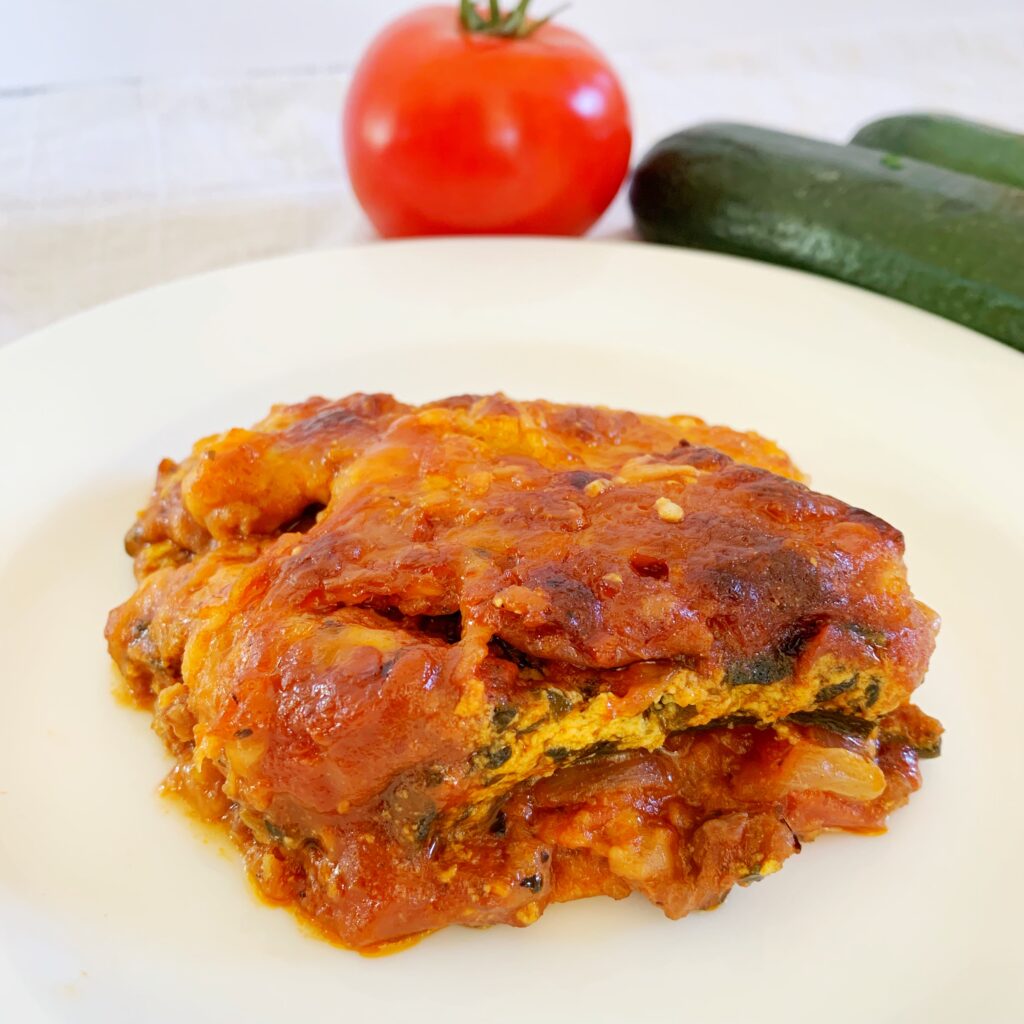
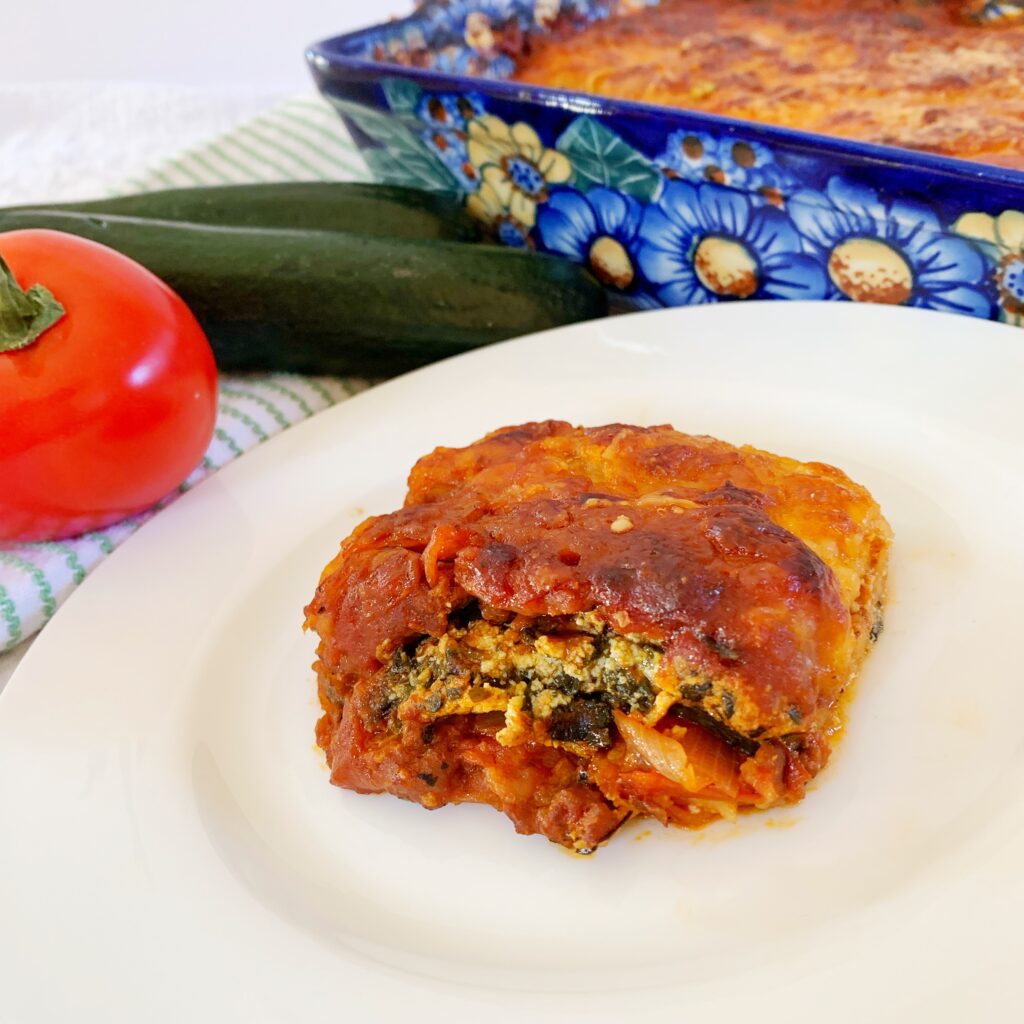
Delicious zucchini ​​and turkey sausage lasagna

Mar 26, 2019 ·

I generally am in the “use whipping cream and butter” camp when it comes to cooking. That’s great for weekend recipes. However, we all need some recipes to make in a delicious way that still makes us not feel guilty about feeding it to the family at least once a week. This is perfect for a family recipe staple, (adapted from my Mom’s.)

1 teaspoon olive oil

1 large onion – chopped

2 cloves garlic – chopped

1 pound Italian turkey sausage

1 jar – 24 ounces of a very nice marinara (or make your own if you’re feeling ambitious)

1/4 cup red wine

15 ounces ricotta cheese

12 ounces frozen spinach (drained very well)

1 small jar (6 ounces) pesto

1 egg

1/2 cup parmesan (reserve 1/4 cup for topping)

3 small or 2 medium zucchinis – sliced thin

1 pound mozzarella (reserve 1/2 cup for topping)

Directions:

Preheat oven to 350 degrees.

Sauté onion and garlic in olive oil until translucent, reserve. Add Italian turkey sausage to oil, chopping up and browning. Once brown, add the jar of nice marinara and use the wine to swish out the jar into the pot. Add garlic and onion back into pot.

Mix ricotta, spinach (make sure you squeeze the liquid out of it), pesto, egg, and parmesan to a large bowl and mix.

Slice zucchini thin (1/8th to 1/4 inch). I suggest either using a mandolin or slicing the zucchinis in half and using a veggie peeler from the middle to make nice thin slices. Blot and dry the zucchini strips as much as possible.

Layer zucchini, ricotta mixture, sauce, and mozzarella in a 9 x 13 baking pan.

Bake covered in foil for 1 hour – remove foil and sprinkle mozzarella and parmesan on top and bake, uncovered for an additional 30 – 35 minutes until top cheese is brown and bubbly.

Enjoy!

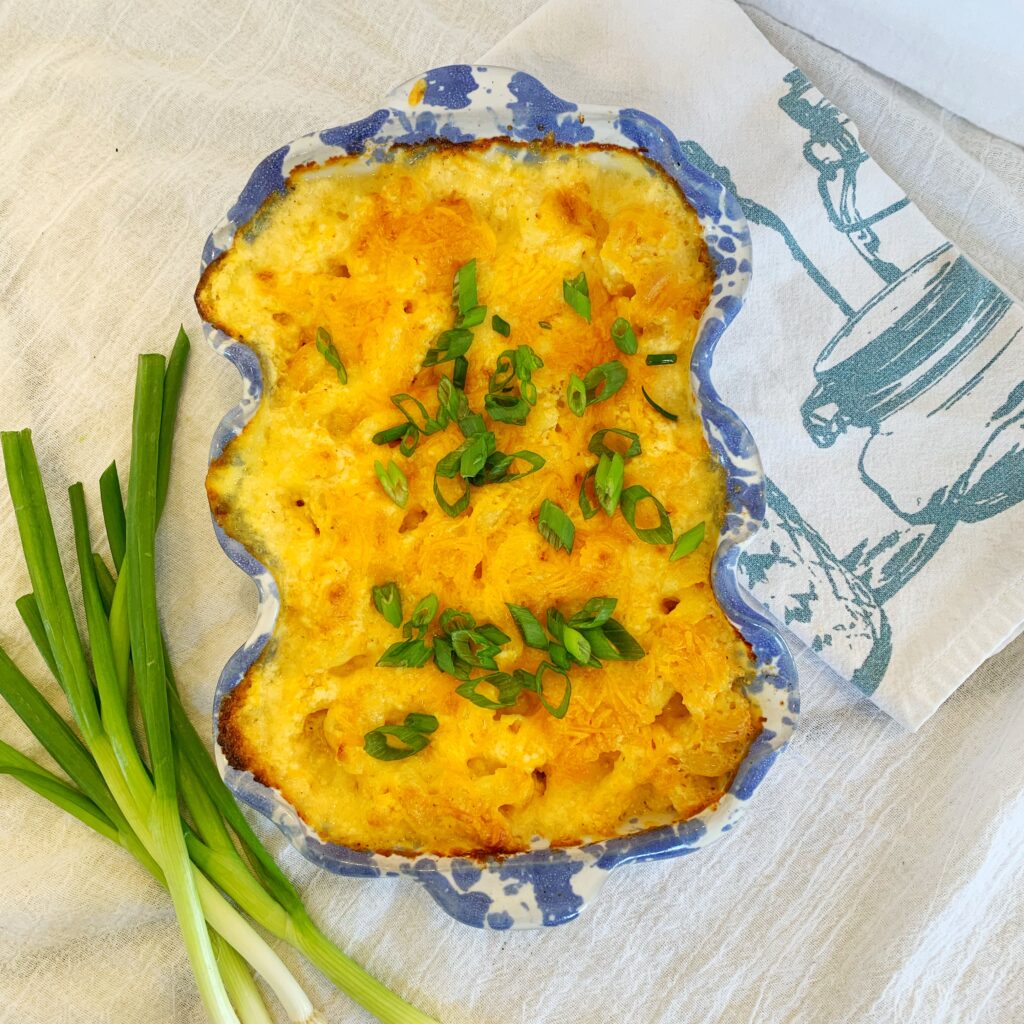
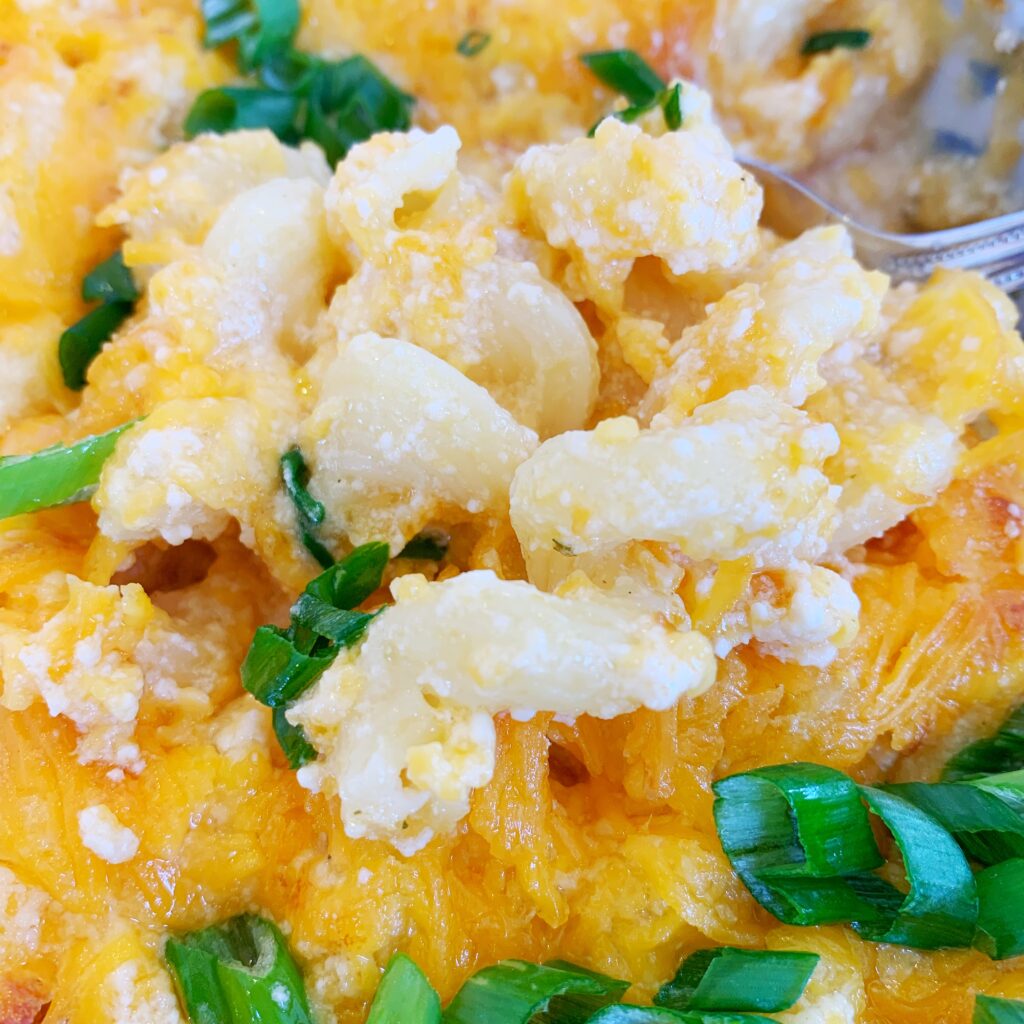
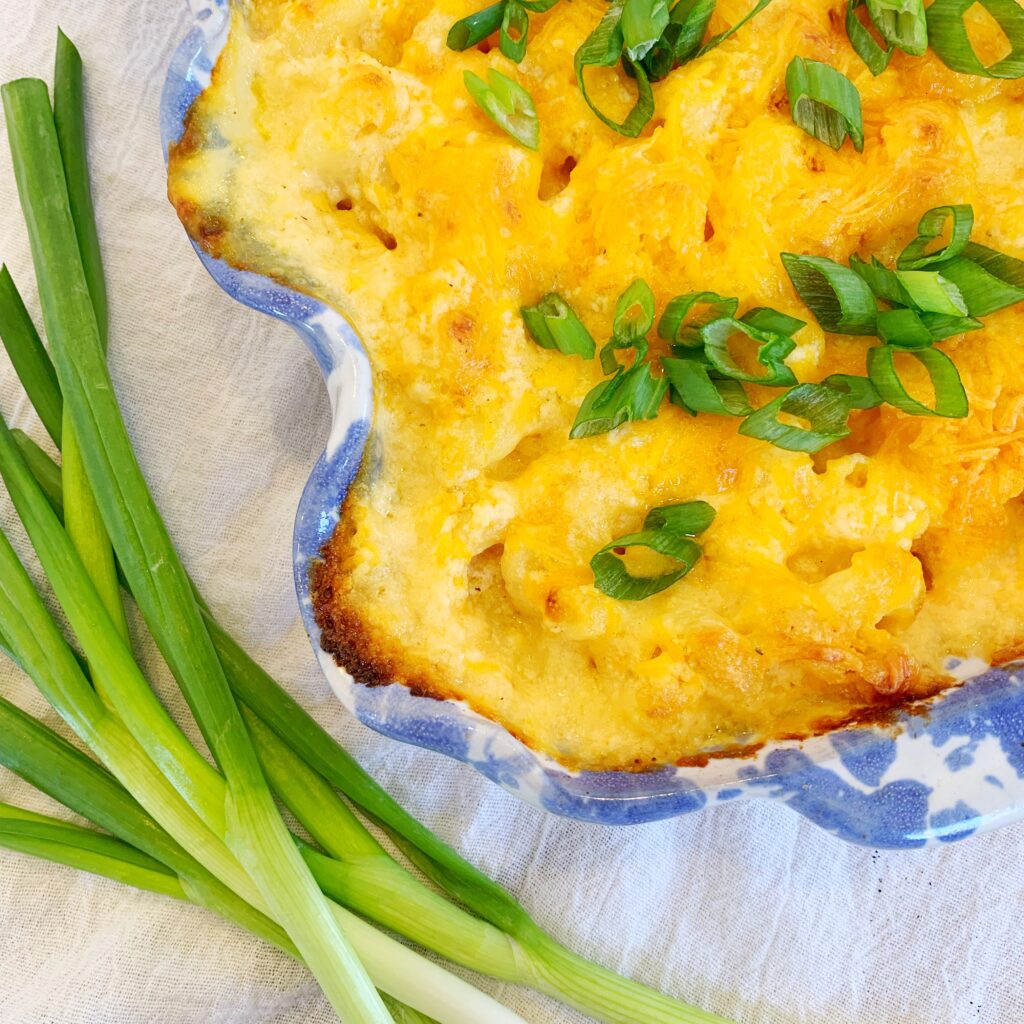
Baked unreal mac and cheese for the whole family – no boil

Mar 22, 2019 ·

One of my besties asked me to post my simple and delicious mac and cheese recipe. This is good for even sophisticated adults but will be beloved by children, too (not that there’s anything wrong with the blue box some days – as long as you’re feeding your kids you’re basically winning at the game of Life). All these ingredients are full fat – why? Because if you’re going to make mac and cheese you should probably just own it.

Ingredients:

2 Tablespoons Butter

1 cup cottage cheese (full fat)

2 cups whole milk (I use goat’s milk but I am your weird friend who has that on hand – cow milk is perfect)

1 teaspoon dry mustard

3 dashes of your favorite hot sauce (I use Louisiana for this – but anything works)

Pinch of nutmeg

1/2 teaspoon garlic salt

1/4 teaspoon black pepper

3/4 pound (12 ounces) of sharp or extra sharp cheddar cheese (1 and half average bags)

1/4 cup shredded parmesan cheese

1/2 pound macaroni (average box is 1 pound, so half a box)

Directions:

Heat oven to 375 degrees and place a rack in the top half of the oven. Use half of the butter to grease a 9″ round or square baking dish.

In a food processor or blender combine cottage cheese, milk, mustard, hot sauce, nutmeg, garlic salt, and pepper. I like to leave mine a little chunky, but the husband prefers his smooth – you make the call (I’m making it today so it’s my way – ha.)

Set aside 1/4 cup of the cheddar cheese as a topping later. Combine blender or food processor contents, remaining cheddar and all parmesan cheese, and macaroni in a large bowl and mix. Pour the mixture into your baking dish. Cover tightly with foil and bake for 30 minutes.

Uncover your dish and sprinkle remaining cheese and butter on top. Bake uncovered for 30 additional minutes until browned and bubbly.

Cool (trust me, it’s basically lava). Top with green onion if you want to attempt to delude yourself into thinking that if there’s something green on it, it’s healthy. It’s not.

Serves 6.

Stuffed jalapeños – keto recipe

Mar 19, 2019 ·

Spice up your appetizers this week with a Keto-friendly and vegetarian stuffed jalapeño. This is keto, vegetarian AND gluten-free – also they’re freaking delicious. If you’re having friends over double the recipe. This is good for about two people – or one of me.

3 large jalapeños – halved and seeded

1/4 cup whole milk ricotta

1/4 cup shredded parmesan

1/4 cup cream cheese (either the cream cheese whip or softened from the brick)

1/2 teaspoon garlic salt

1 egg

1/2 cup shredded cheddar cheese

Directions: Preheat oven to 350 degrees.

Top and slice jalapeños in half – seed. (I highly suggest using gloves for this part – DO NOT TOUCH YOUR EYES). Some people prefer to just slice the top 1/4 – 1/3 off the pepper lengthwise, seed and stuff the remaining portion with the stem – making a cute little boat. That’s prettier, and totally up to you. I prefer this method because there’s less pepper waste.

Mix ricotta, parmesan, cream cheese, garlic salt and egg in a mixing bowl. Spoon into jalapeño halves.

If you halved the jalapeños as I did, I prefer to roll up a little bit of foil and prop up the cut half so all the stuffing doesn’t spill out. Because of the egg, it will chill into a nice creamy consistency that won’t get everywhere, (see picture).

Top with cheddar cheese.

Bake at 350 for 25-30 minutes – until the cheese on top starts to bubble and brown. Cool and serve. Makes 6 jalapeño halves.

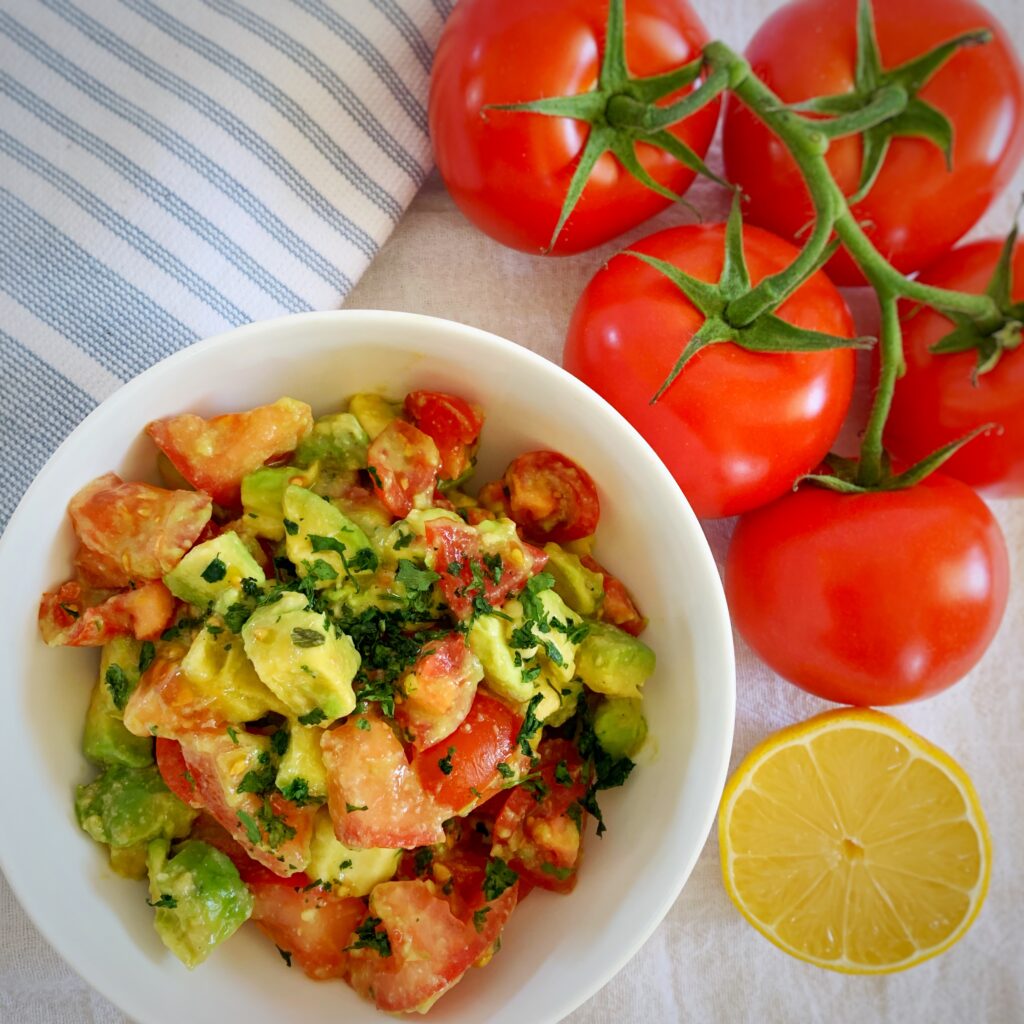
Tomato and avocado salad

Mar 16, 2019 ·

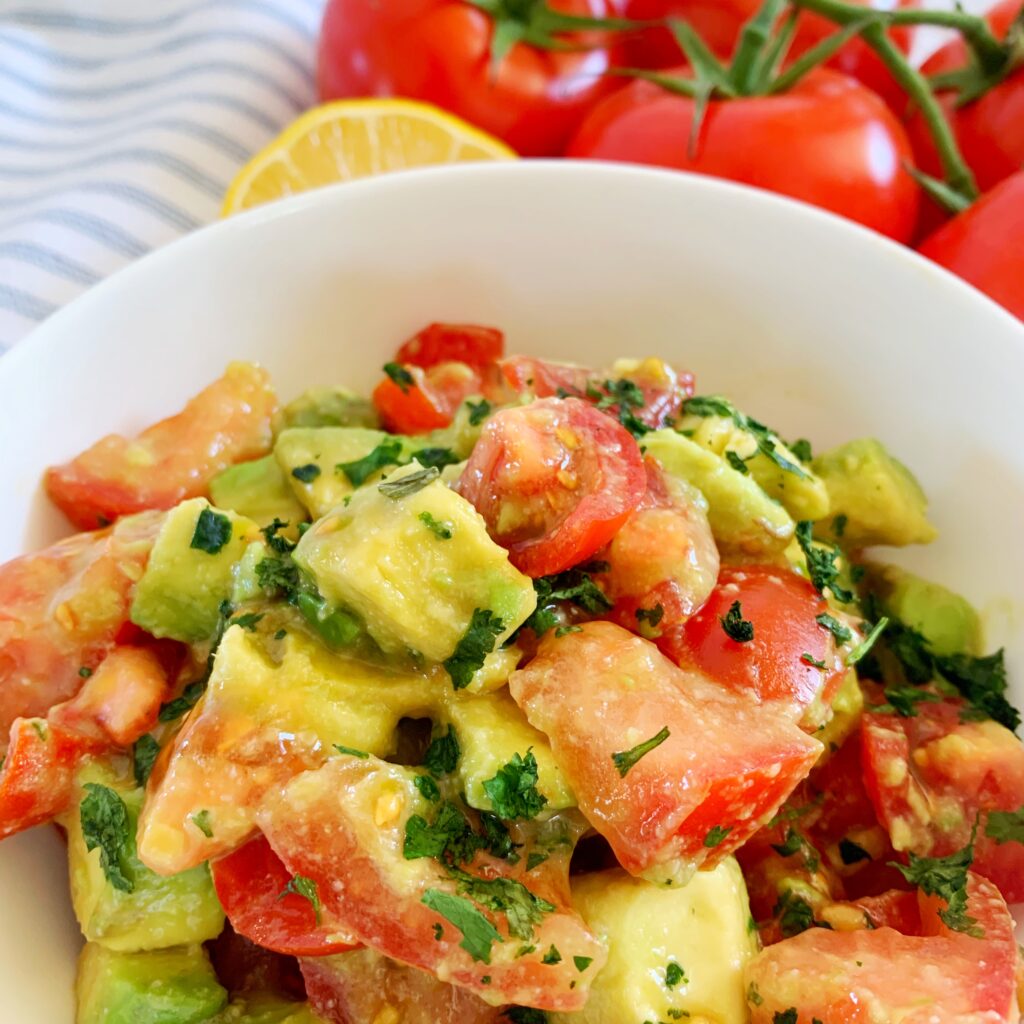
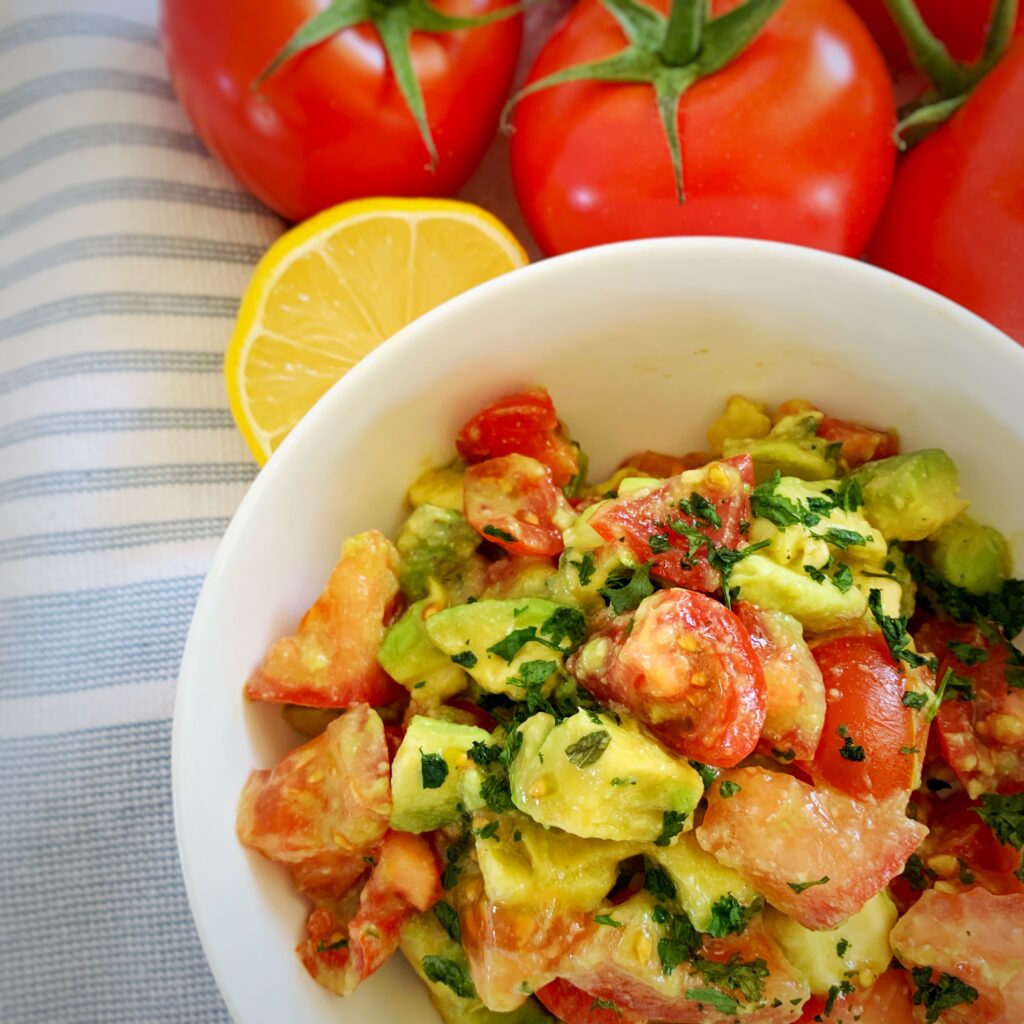
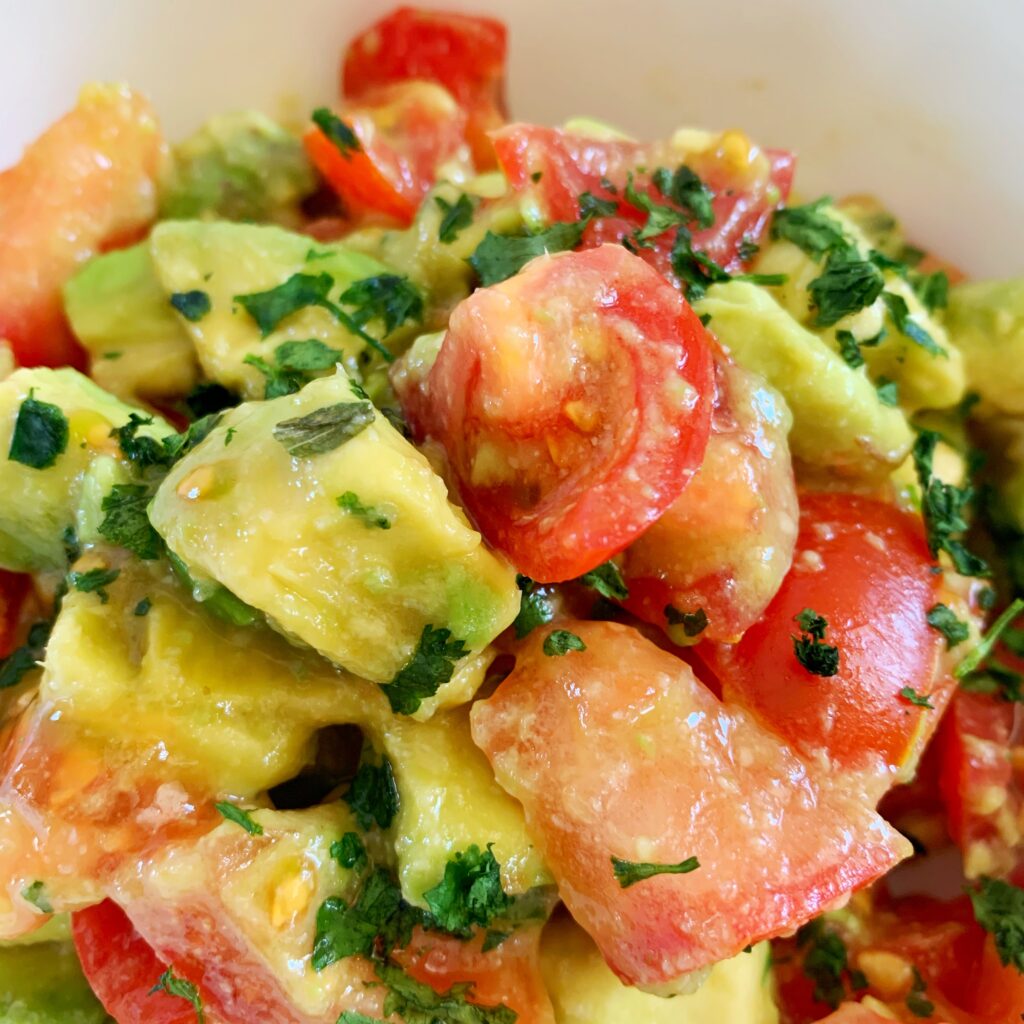
This simple and fresh side is almost a fusion between a deconstructed guacamole and a salad. It takes fewer than five minutes to make and you can feel good about eating it (avocado and olive oil are good fats). My family has eaten a slightly different derivation of this ever since I can remember. Double it to serve at a party and watch it disappear.

Ingredients:

2 avocados (chopped)

3 large tomatoes (chopped)

Juice of half a lemon or 1 lime

2 teaspoons white wine vinegar

1 teaspoon olive oil

1 Tablespoon cilantro (chopped) – (unless you’re one of those people to whom cilantro tastes like soap – there are people like this – you can skip this one)

1 teaspoon garlic salt

1 teaspoon chives (chopped)

Directions: Mix all ingredients in a serving bowl. Refrigerate for 15-30 minutes to allow all the flavors to fuse. Serve alone as a salad, with chips like a guacamole, or on bread or toast like a bruschetta.

Makes 4 servings (or one – if that person is me).

This simple vegan salad is fresh and can be made in under 5 minutes. It's  the perfect addition to almost any meal or can be eaten alone.

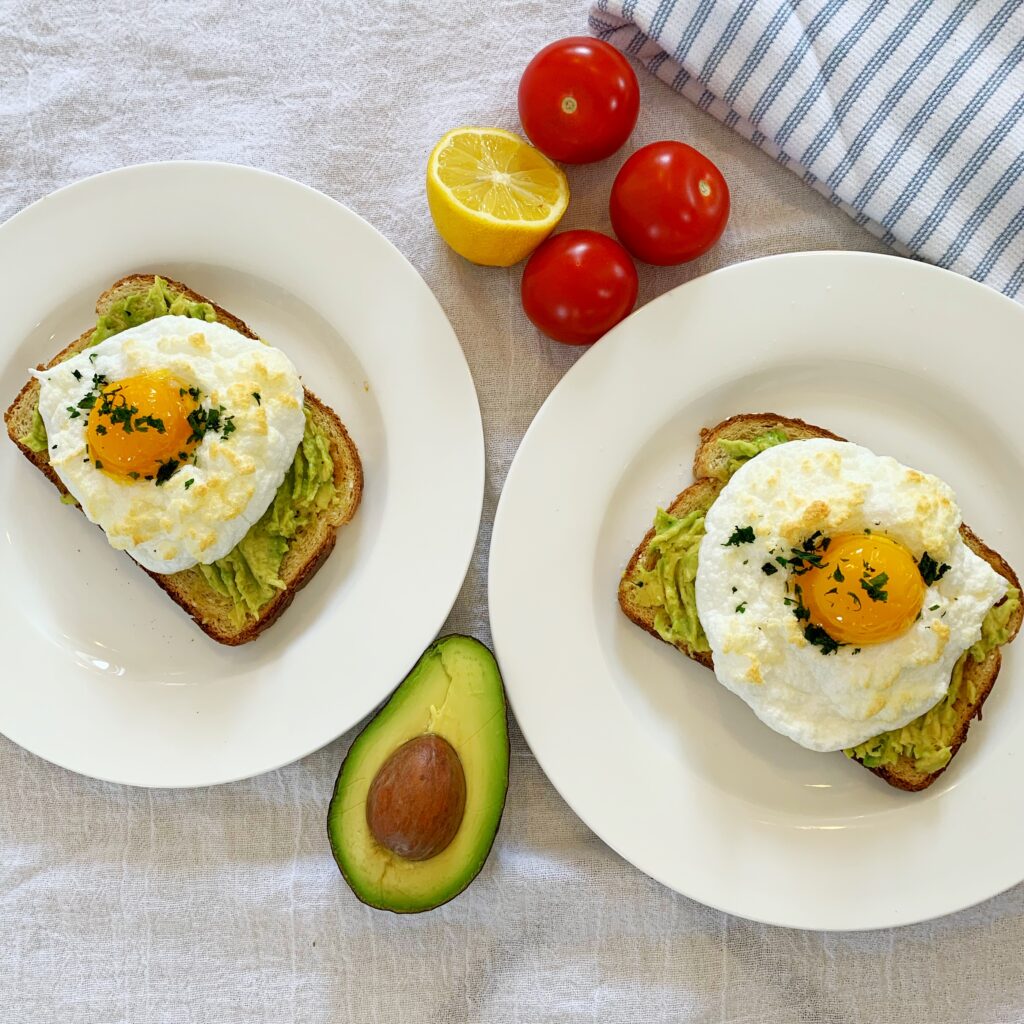
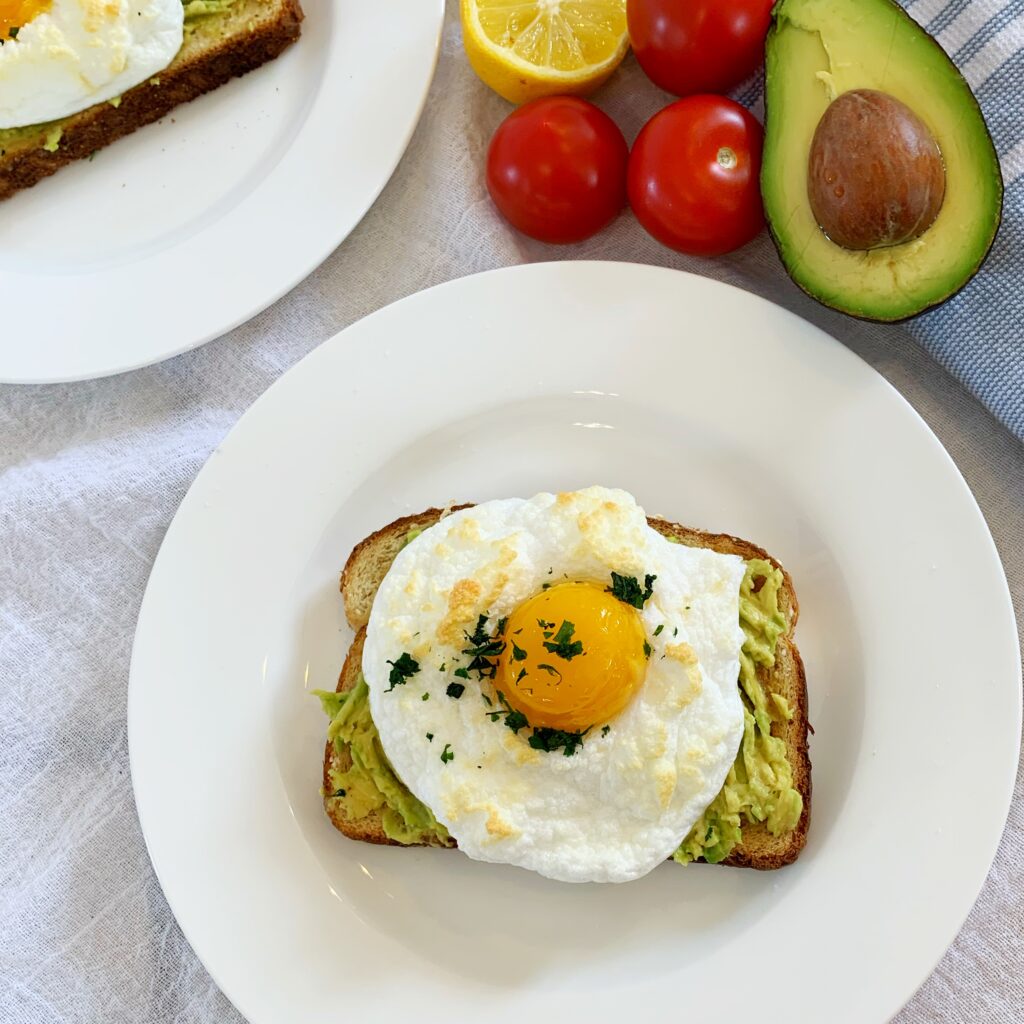
Cloud eggs on avocado toast

Mar 15, 2019 ·

Hipsters have given us two really good things: 1) They brought back knitting – and I do love a good sweater. 2) They have given us avocado toast. Sorry not sorry, but I love it.

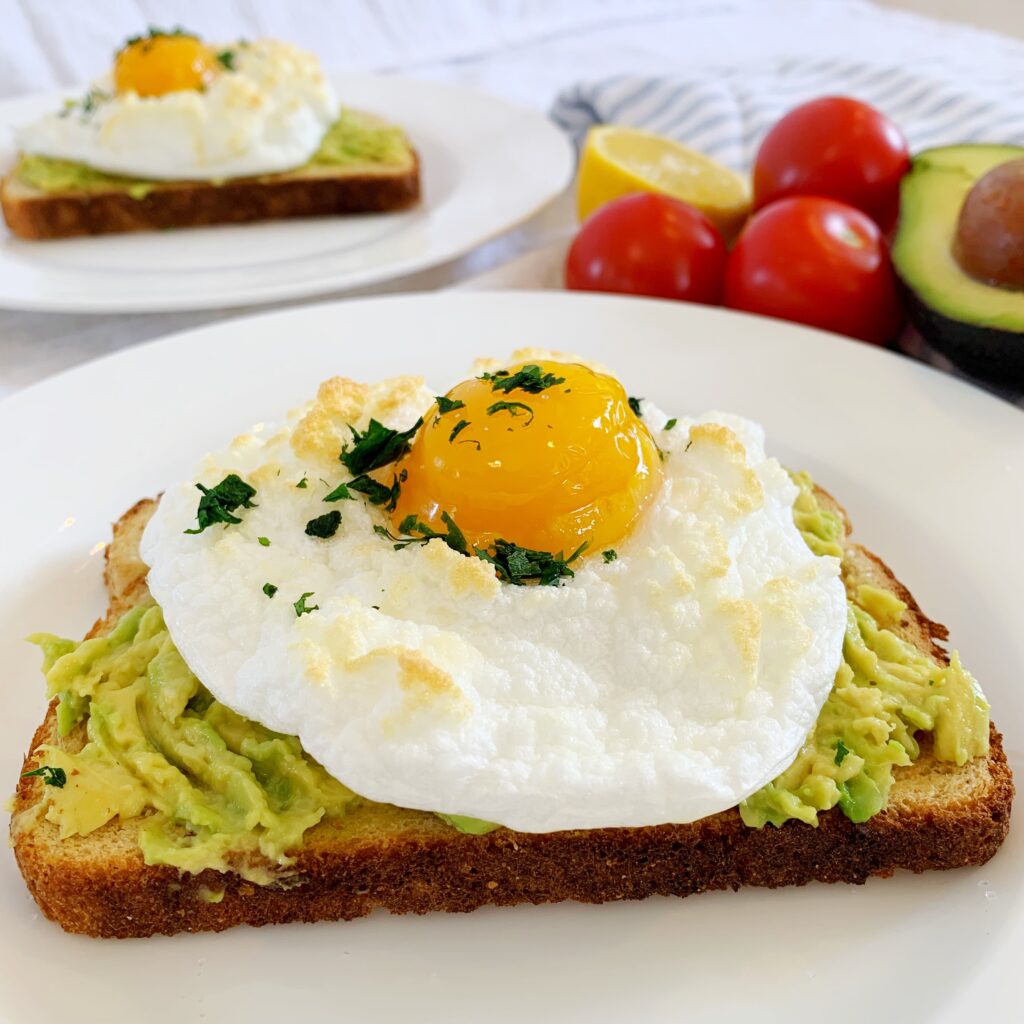
There’s very little that’s better than a crusty or grainy bread slathered with fresh avocado – unless that entire situation is topped with a farm-fresh egg. Try it and you’ll eat it all the time. (Also, this is a great meal to make on Fridays during Lent and it’s vegetarian – just saying.)

Ingredients:

4 slices of a nice bread (I went with a whole nut and grain variety for this)

1 ripe avocado

1/2 lemon (or a tablespoon lemon juice)

Sea salt

Cracked pepper

4 eggs

1 pinch cream of tartar (optional)

2 Tablespoons of a decent shredded parmesan

Directions: Preheat oven to 425 degrees.

Separate yolks and whites of the eggs (I discuss various methods for this at the bottom of the post). Add a pinch of cream of tartar to whites (unless you have a copper bowl, then it’s not necessary.) No stress if you don’t have any on hand, you can beat your whites without it, it just helps the eggs set better. Beat until soft peaks form.

Gently fold parmesan cheese into whites – don’t over-stir, fat is the enemy of fluffy eggwhites.

Spoon whites into four little egg white nests on a parchment paper-lined cookie sheet, creating a small indentation for the yolk.

Bake for 3-4 minutes to set.

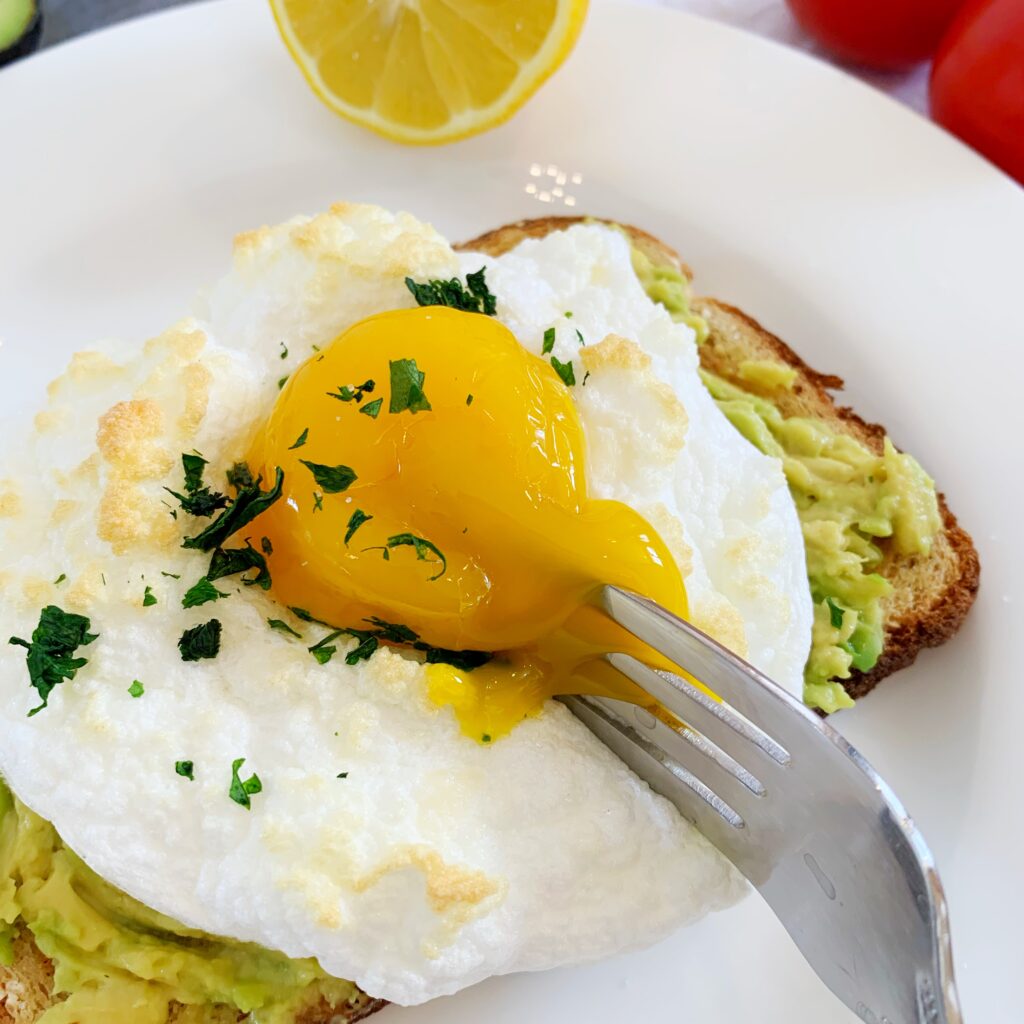
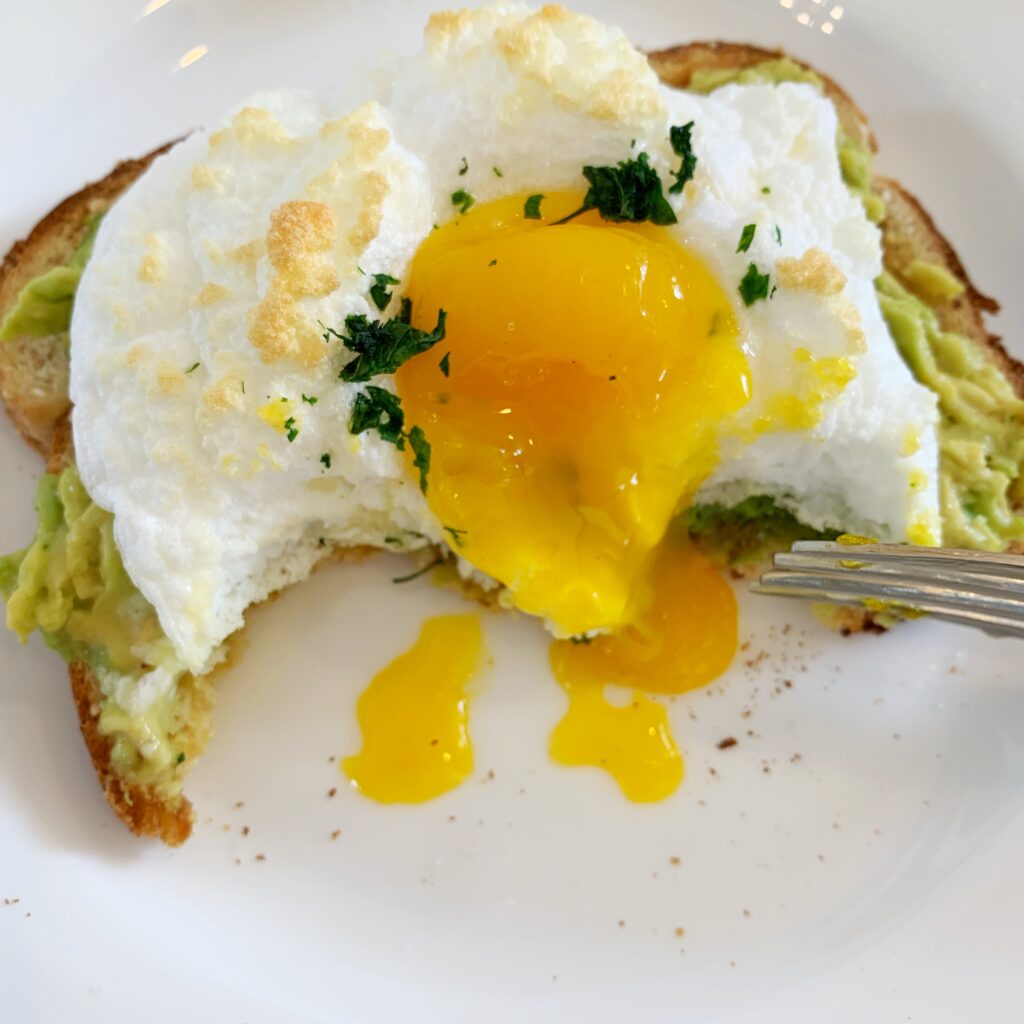
Add yolks back to the center of each egg – bake for an additional 3 -4 minutes – until the top of the yolk just starts to cook and crust up a little.

Toast bread. Cut avocado into 4 sections. Smash avocado onto toast, squirt with lemon juice and season with sea salt and cracked pepper.

Place a cloud egg on each toast.

Makes four avocado egg toasts.

Note: When it comes to egg separation I have tried several methods:

First, the most classic way to separate eggs is to crack the egg in half and pour the yolk back and forth between the two halves of the shell until all that’s remaining is the yolk. It takes a little practice to make that work. Secondly, the “water bottle hack” is actually quite effective, too. Lastly, there are egg separators that resemble little slotted spoons – you don’t need one of these unless you do lots of eggs. I do a fair number of angel food cakes, so I have one but it’s not something you probably need.

The most important thing is that you don’t break the yolk. As I said earlier, fat (egg yolk included) is the enemy of fluffy egg whites. So, if you’re planning a party and you’ve never separated eggs before, grab extras and use a spare bowl to transfer them, in case you break a yolk. There is nothing more frustrating than working on a recipe that calls for 12 separated eggs and busting your 11th yolk into the whites. Ask me how I know.

8 steps to konmari your friendships

Mar 12, 2019 ·

One of the biggest determining factors for success in your life is something that’s often overlooked. No, it’s not how tall you are, how much money you have, where you went to school, or how much you weigh. It’s with whom you decide to spend your time. Who your friends are is one of the most influential factors to your successes (or failures) for the rest of your life.

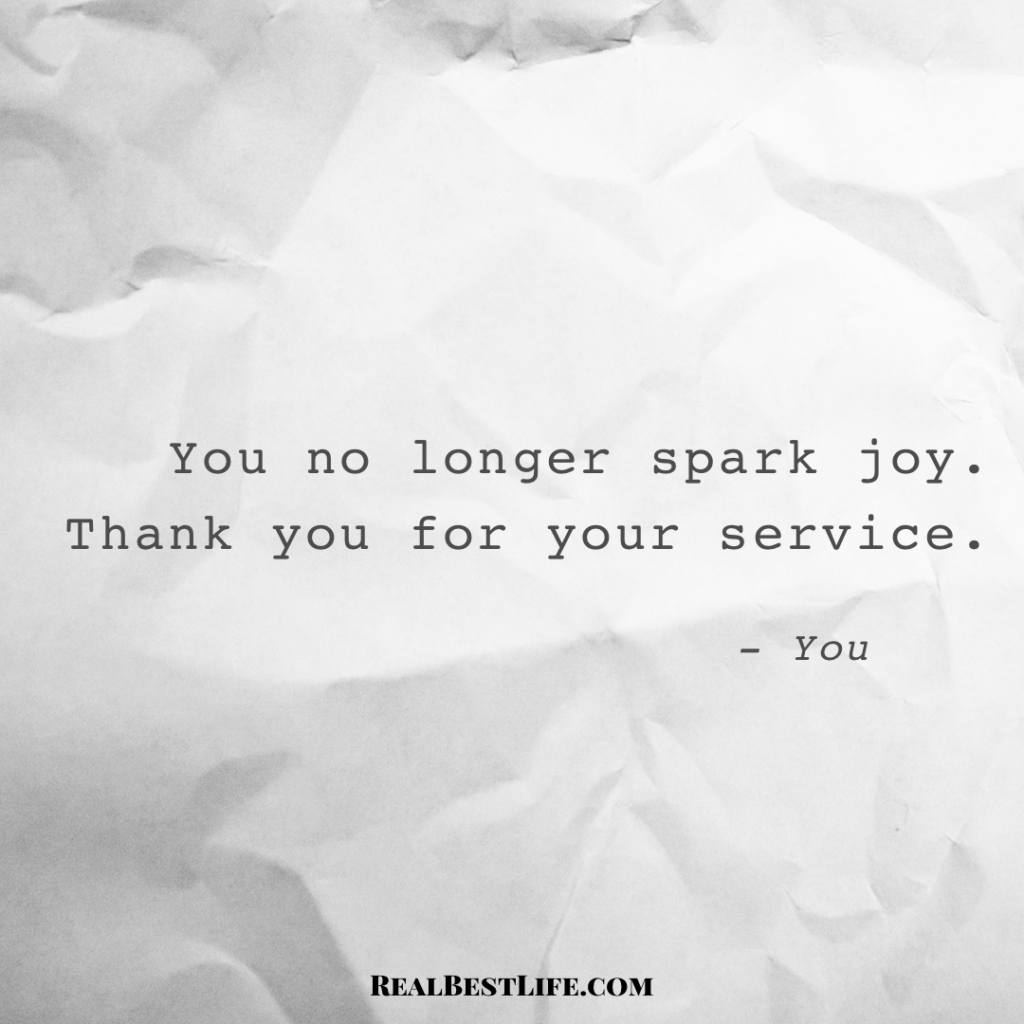
I am not advocating for you to go slashing through your friends like a pile of dresses, telling many of them, “You no longer spark joy, thank you for your service.” However, taking a hard look at how (and on whom) you’re spending your energy and your most precious resource – your time – can transform your life.

This is less about sending some friends to the proverbial Goodwill store of life, and more about refocusing your time and attention on the people who help make you your best self.

From your income to your habits, your choices about your love life and your health, religion, politics, philosophies, even your career – the people with whom you choose to go through life have an outsized effect on every facet of your wellbeing. When you see a friend who is really striving and stretching her or himself, you can see yourself doing it too. When you’re surrounded by people sitting on the couch eating Cheetos, it’s hard to imagine anything different.

You know that you have some friends in your life who drag you down and others who push up and move you forward – it’s time to take a hard look at them, and yourself.

Before you can decide what friendships to foster, you have to figure out who YOU want to be

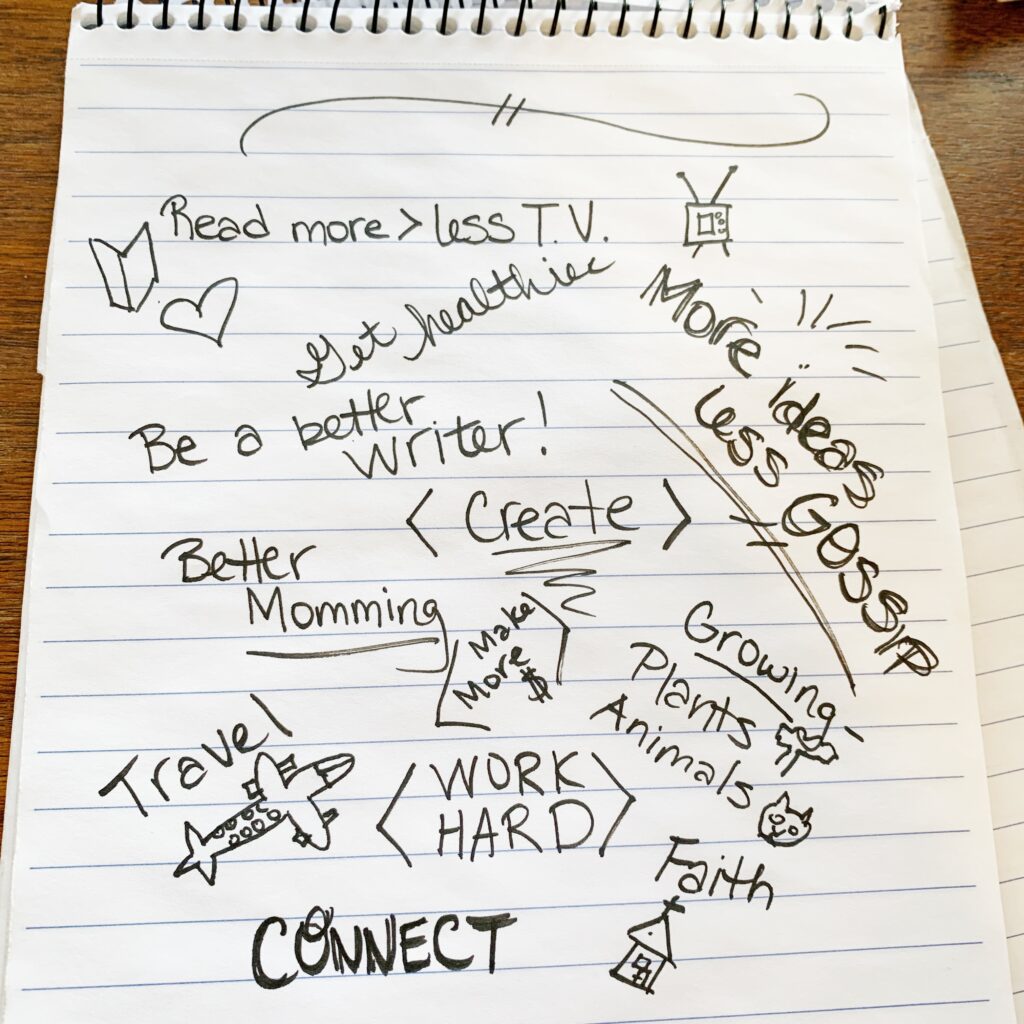
This just makes sense. You can’t figure out who you want to spend your time with if you can’t take a few minutes and figure out your own goals and priorities. Are you stuck in a rut you want out of? Are you moving forward but need to take it up to the next level? Some brutal self-analysis is needed before you can analyze outward toward others. Here are just a few of things I considered in my own process:

Evaluate who’s giving you the most

Once you’ve deeply looked at yourself, it’s a lot easier to look to the people around you. Who’s doing the kinds of things you want to stretch yourself to do, too? Who in your life feeds your goals and makes you feel supported? Which friends do you have, that when you walk away, you leave feeling more energized and which friends make you feel down and tired? With whom are you talking about ideas and not about people?

It’s important in this process to realize that sometimes the friends you need can and will push you – comfort and support are not the same thing. It’s ok to get a little uncomfortable and add or emphasize people to your life who can serve you some hard truths as long as you come out on the other side a bigger and fuller version of yourself.


Evaluate who’s costing you the most

Every friendship costs. If it’s money, time, your mental energy, or opportunity cost – that’s totally normal and okay. It’s not okay if you’re the only one giving, or if the gifts you provide to the relationship are completely one-sided. All relationships, friendship included, need to have appropriate levels of give-and-take to be sustainable and healthy.

This doesn’t mean, by the way, that when your friend gets sick, loses a job, or goes through something hard in life you should kick her to the curb because she’s costing you too much. The strongest friendships are forged in the midst of adversity.

You know the difference between the friend who somehow is constantly down on her luck (and it’s weirdly everyone else’s fault), who spends more time gossiping than talking about ideas, and who uses your kindness to manipulate you – and the friends who are good people, in a bad spot and need your help. There’s a big difference, and it will show itself over time if you’re not sure yet. Back away slowly from the first kind of friend and lean into the second.

Reevaluate and reconnect with people you’ve let go you want to reach out to

We all have friends we think of periodically and think “Gosh, she’s so cool – I wish I saw her more.” Write a list of them down – send an email or text to each. Reach out. The people you need are all around you, it’s just a matter of making the time, effort and space for them.

Reconnecting with people you admire and growing those deeper bonds won’t happen unless you make it happen. If you approach friendship methodically like you approach other parts of your life, it will up your game in all the other aspects of your day.

There’s a misconception that friendship should always be easy. Sometimes it is. We all have people we’re closer to, where it seems to just come naturally. With others, it won’t necessarily be easy, but those friends that take some work can be just as valuable. It’s worth it to put some in some of yourself to find out.

Get honest with yourself about backing away

Once you start this analysis, it becomes clear pretty quickly who needs the “you’re not sparking joy, thank you for your service,” treatment. That doesn’t mean, by the way, that you actually have to say that. In fact, you don’t really need to say anything at all.

Unless you’re in a super tough spot, this doesn’t need to be a huge and dramatic shift. For instance, someone I’m very close to spent some time going to AA meetings and realized to be succesful and save his own life, he needed to move states and ditch all his friends. If that’s you, do that huge thing and be bold about it, but if not, this can be less overt and just a subtle shift.

Most friendships don’t necessitate the DTR, the “define the relationship” talk. Just become more selective about how you spend your time. If there are people who are dragging you down or merely facilitating your stagnation, use the limited resource of your time and energy on the people who are heading in the same direction as you.

Backing away slowly from people who are not aiding in your growth will create space for you to fill with people who help bring out the best version of yourself.

Maybe she’s just not that into you

Most of this piece is about evaluating what you want and need in a friend and seeking that out. Remember though, friendship is a two-way street. If someone you admire or are trying to reconnect with isn’t receptive, you can try again in a few months. However, don’t just assume that because you want to be friends with someone it’s reciprocated. Be okay with that. Not everyone has to like you.

One of the best ways to attract amazing friends is to work on yourself first. Be the kind of person others aspire to be friends with. It’s a process. Don’t take it too personally.

Practice the eternal rule of: Act like you’ve been there.

Break the routine

It seems like there are the big three of hanging out: coffee, drinks, lunch. Friendships can be fostered in so many other ways, too. Is one of your goals (like mine) to read more? Think of a friend who’s a bookworm and suggest you two read a book together to compare. Want to get in better shape? Ask someone to go to the rock climbing gym. Ask your brilliant writer friend to critique your work. See if the blogger who takes beautiful pictures will go out and shoot with you.

Just because there’s a rut of ways to hang out doesn’t mean you have to feed into it. I have one friend who was constantly posting comments on the Royals and I asked her to go get afternoon tea. It was a great time and felt good to mix it up.

Communicate with people in their love language

When we did pre-marital counseling, one of the best suggestions my husband and I got was to read the love language book together. This book applies not just to marriages, but also to every relationship in your life. I have one girlfriend who sends me gifts from Amazon because I send her gifts from Amazon, and we end up both loving it. If someone shows up for you, show up for them. If someone wants to talk things out with you, talk things out with them back.

Learning how to express love and support for others outside of how you receive love and support is an important skill to have and you will learn new things about yourself in the process.

______________

What things am I missing? What has worked for you? Please share and comment. Thanks! -K

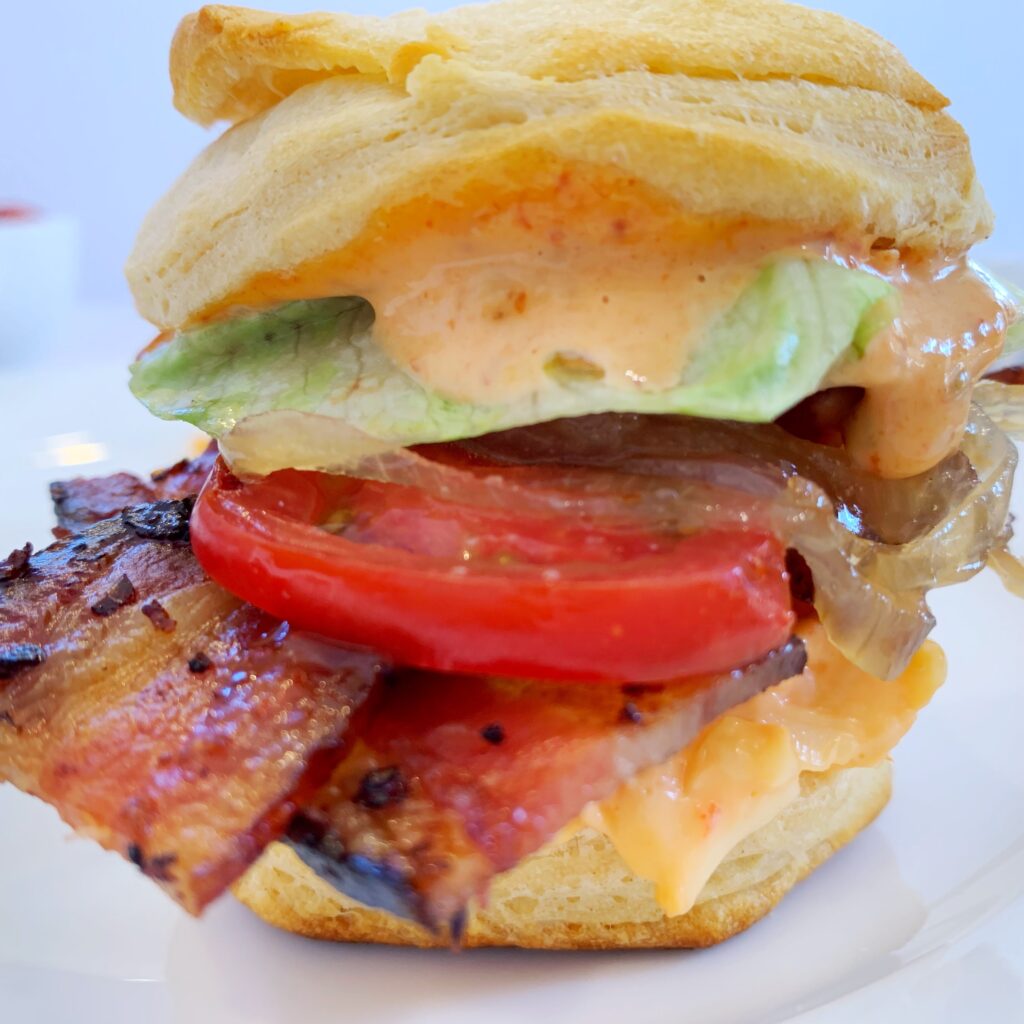
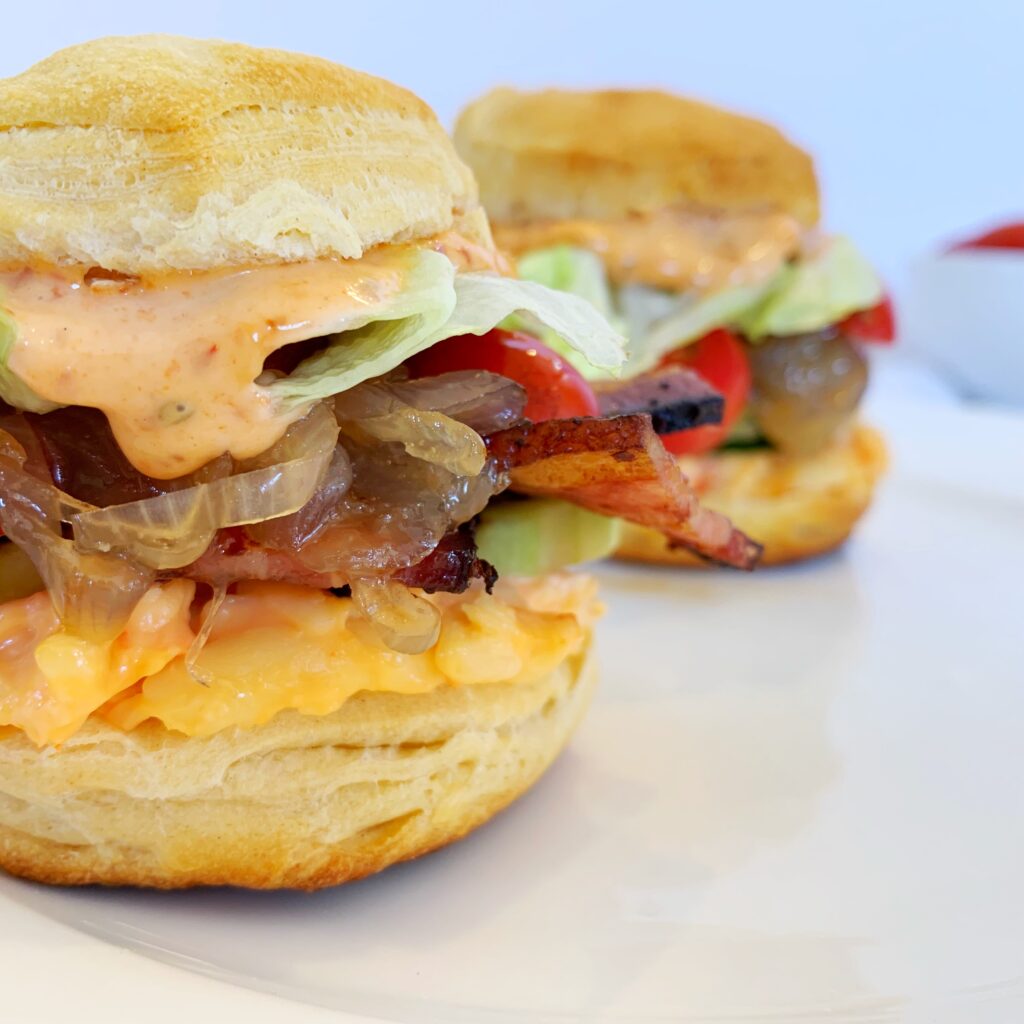
Sunday sliders – bacon, pimento cheese, chipotle mayo, and honey shallots

Mar 10, 2019 ·

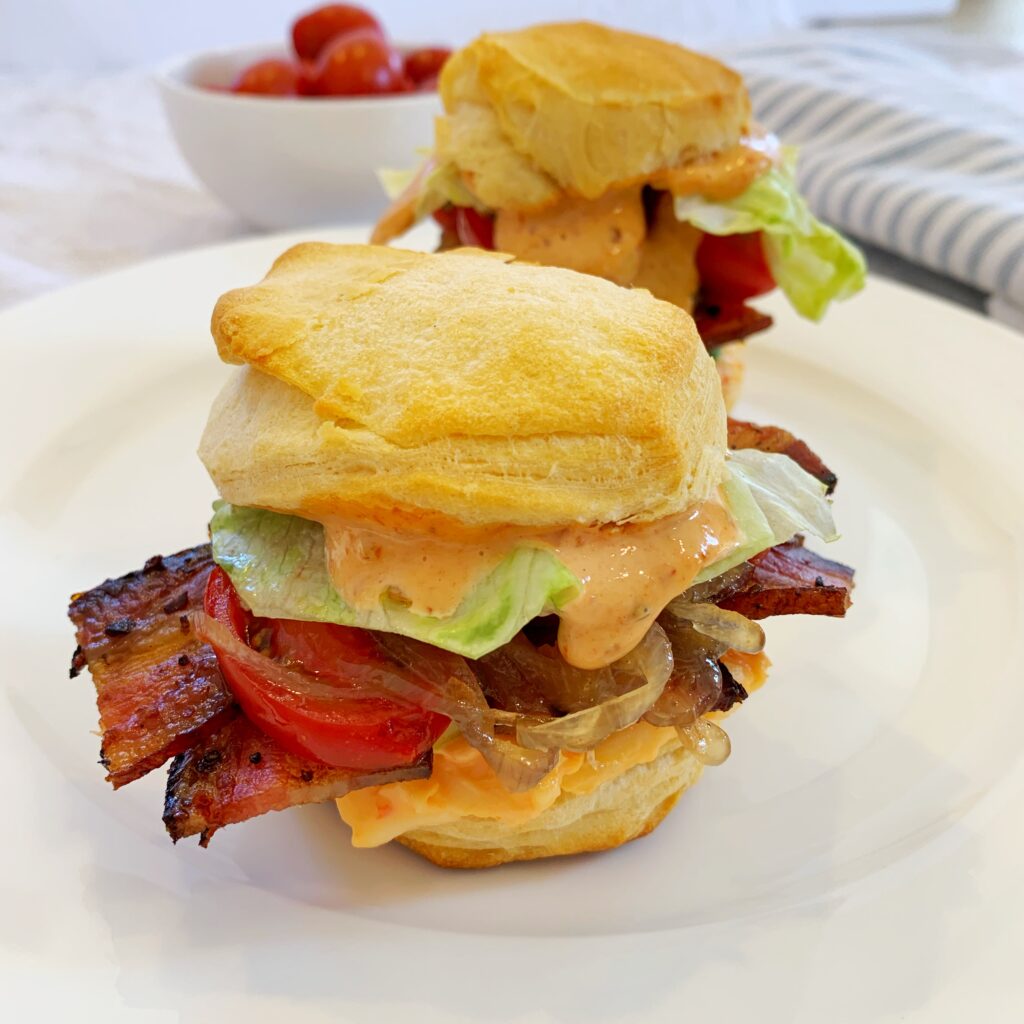
If you were wondering how many beautifully (and weirdly) complimentary flavors you could pack into a tiny sandwich that stands alone as a miniature celebration of life and gastronomy – now you know.

Ingredients –

1 can biscuits (Can you make your own? Yes. Get it, if you have the energy.)

Tub pimento cheese (Yes, you can also make your own, but again, I’m tired.)

Thick cut bacon of your choice (I went with a fancy sun-dried tomato peppered bacon but literally any kind will do)

Cucumber – peeled and sliced thin

Cherry tomatos – sliced in half

1 shallots – sliced thin

1 teaspoon olive oil

2 teaspoons honey

Lettuce

5 Tablespoons mayonnaise

6 teaspoons chipotle peppers (we use canned – if you don’t want to get into this you can just do a Tablespoon of your prefered hot sauce, it won’t be quite the same, but still delicious)

Pinch oregano

Directions:

Bake biscuits according to can/recipe

Cook bacon and cut to smaller (slider sized) pieces

Sauté shallot in olive oil and when almost translucent, drizzle honey on it. Continue cooking until soft.

Mix mayonnaise, chipotle, and oregano in blender or food processor.

Assemble (our order was – bottom biscuit, pimento cheese, cucumber, bacon, shallot, tomato, lettuce, mayo, and top biscuit) and eat. Wow.

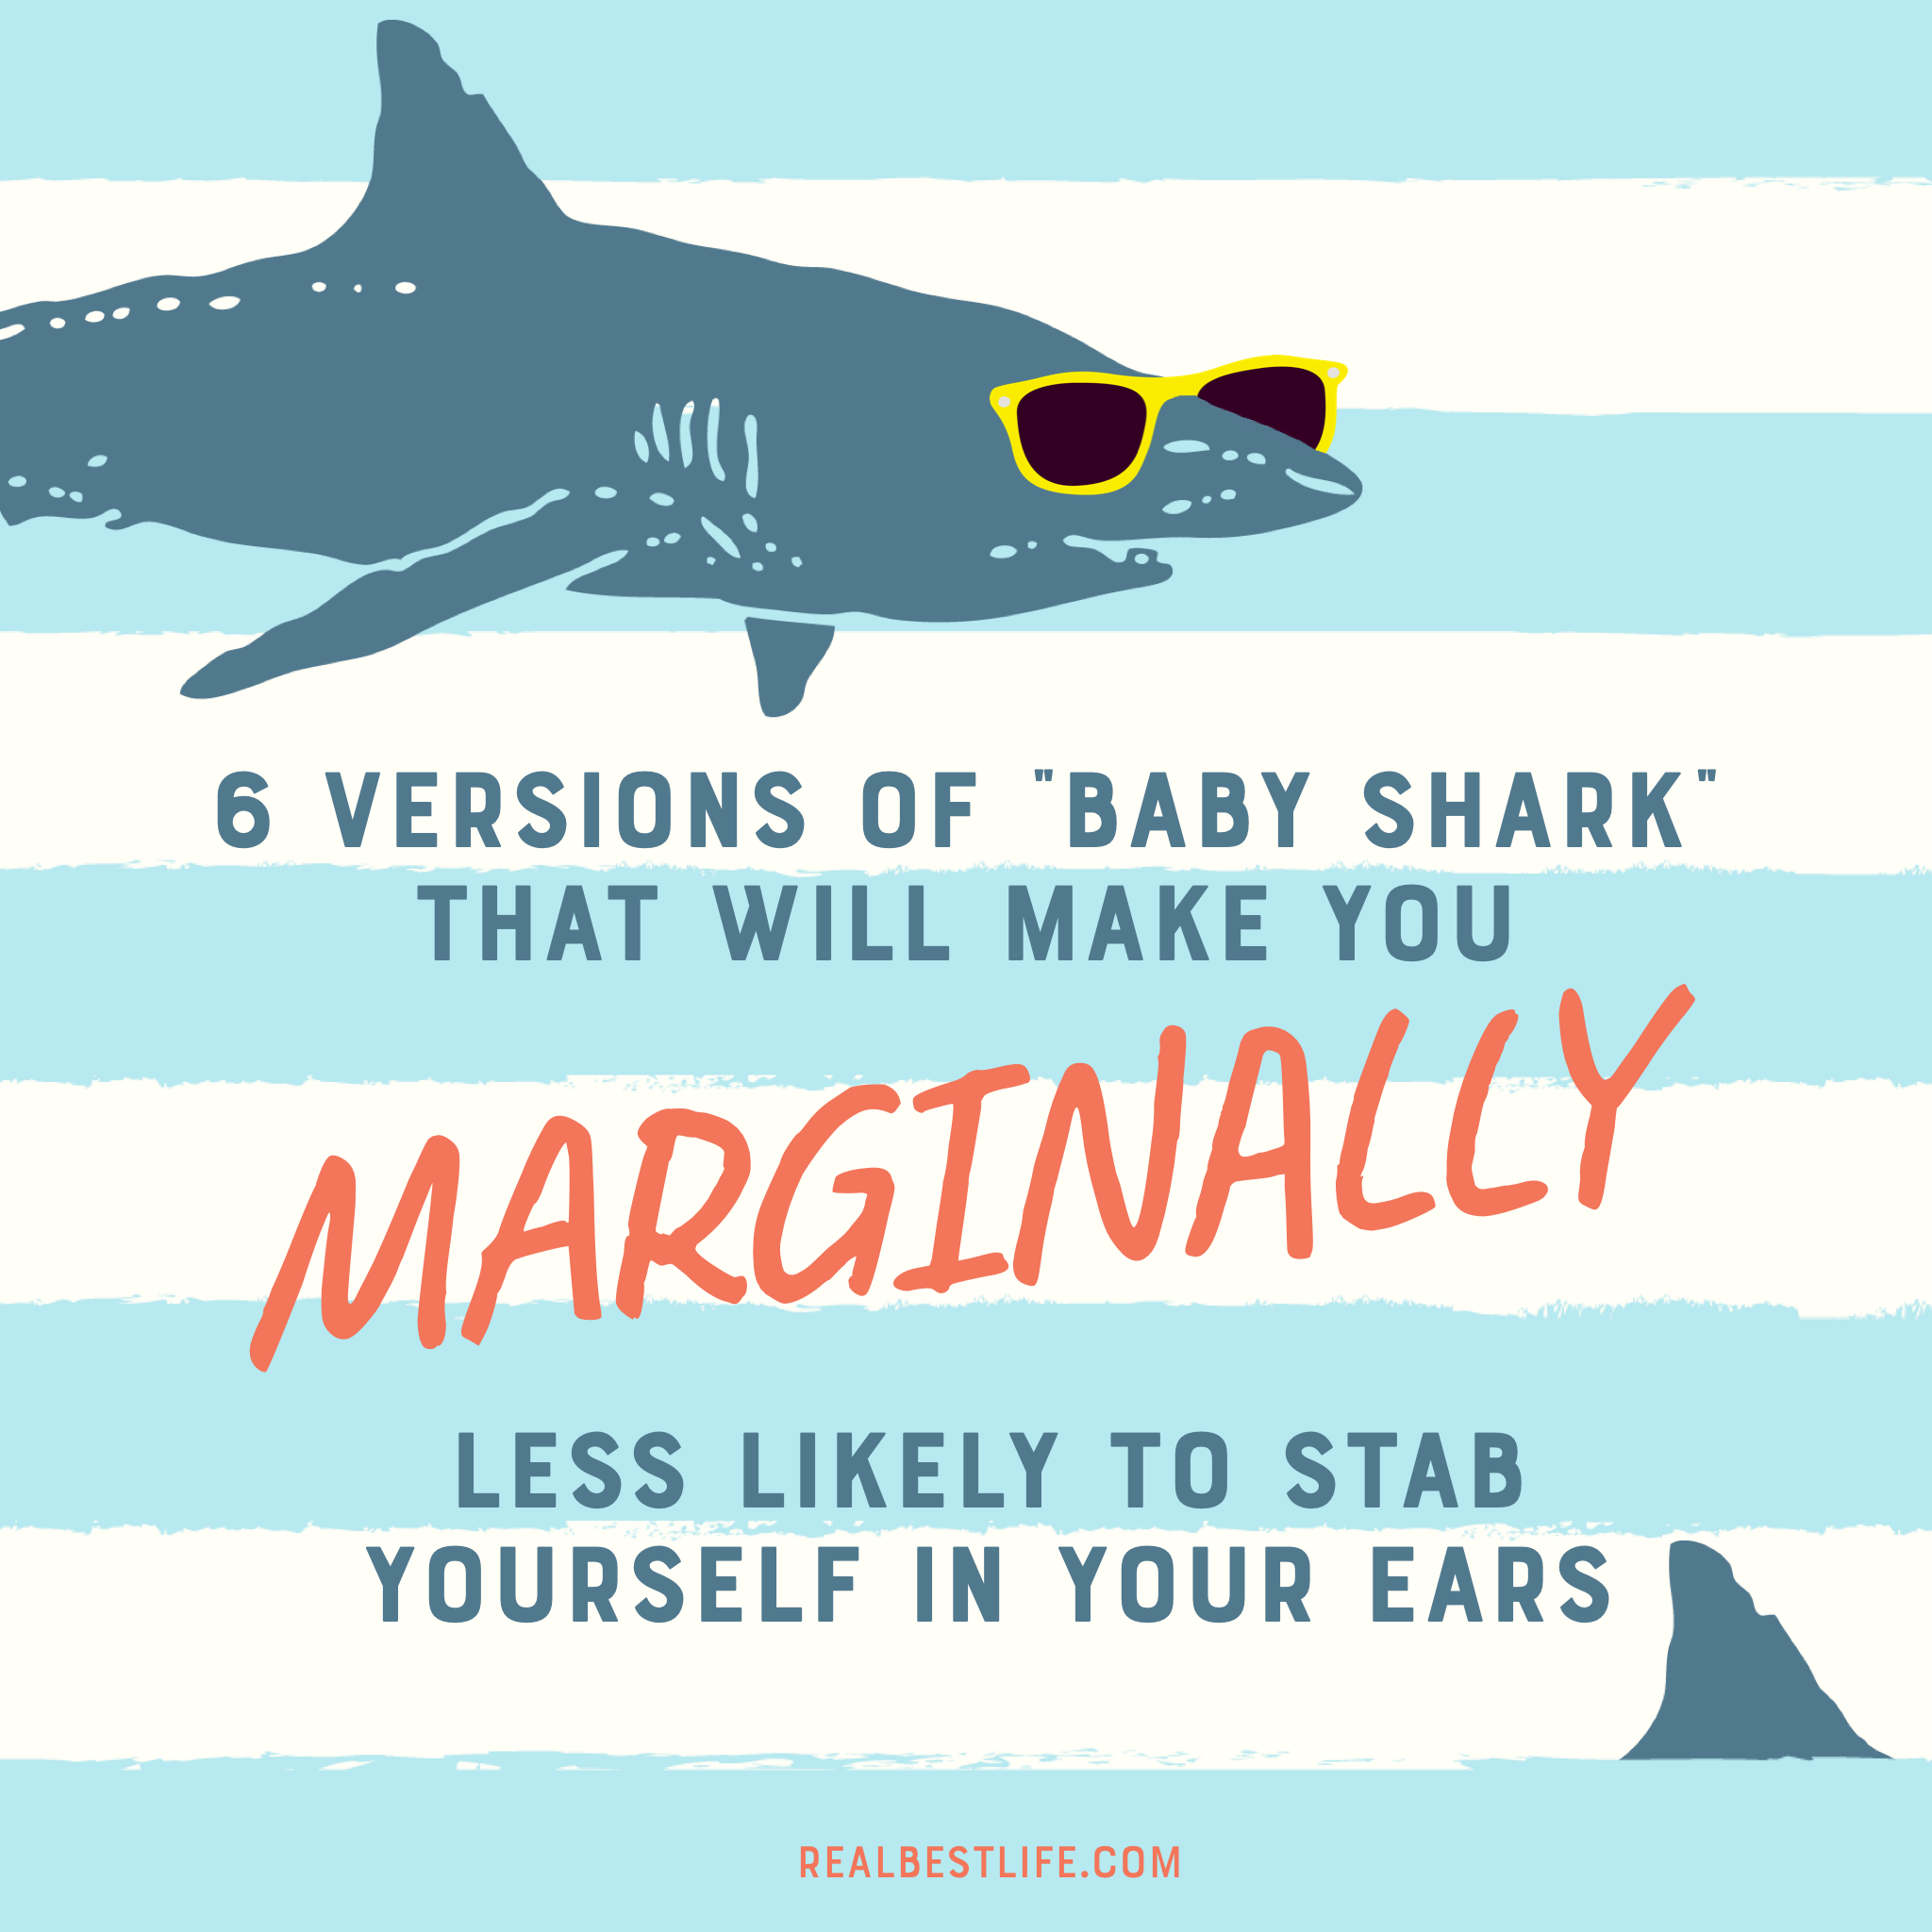
Six versions of “Baby Shark” that will make you marginally​​ less likely to stab yourself in the ears

Mar 9, 2019 ·

Baby Shark

If you’re the parent of pretty much any young person in the world right now, you have heard the Baby Shark song. Heck, you might be #triggered by just reading the words “Baby” and “Shark” together.

This song is right up there with “Small World” and that purple dinosaur who shall-not-be-named in terms of an annoying ear worm.

I have a 19-month-old who loves to sit in his high chair and sing “Dada – do do do do” in a heart-melting way. Therefore, because I’m hesitant to ban it altogether I looked for some alternatives that make me marginally less miserable when listening to them for the millionth time.

If you have to hear it, if you can at least mix it up and listen to versions without that grating kid’s voice, it will dull the pain.

Mariachi Version

Acapella Version

Acoustic Version

R&B Version

James Corden, Sophie Turner & Josh Groban (Hilarious)

Violin version

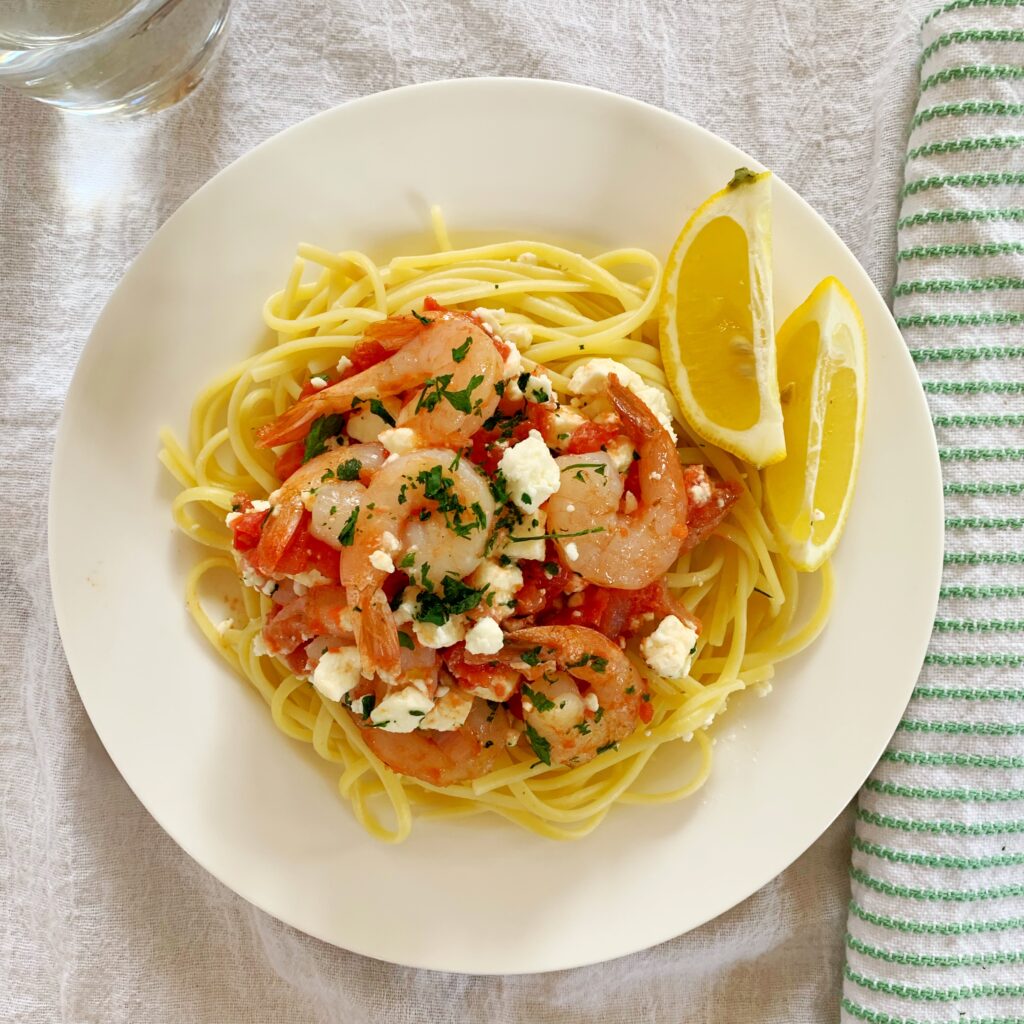
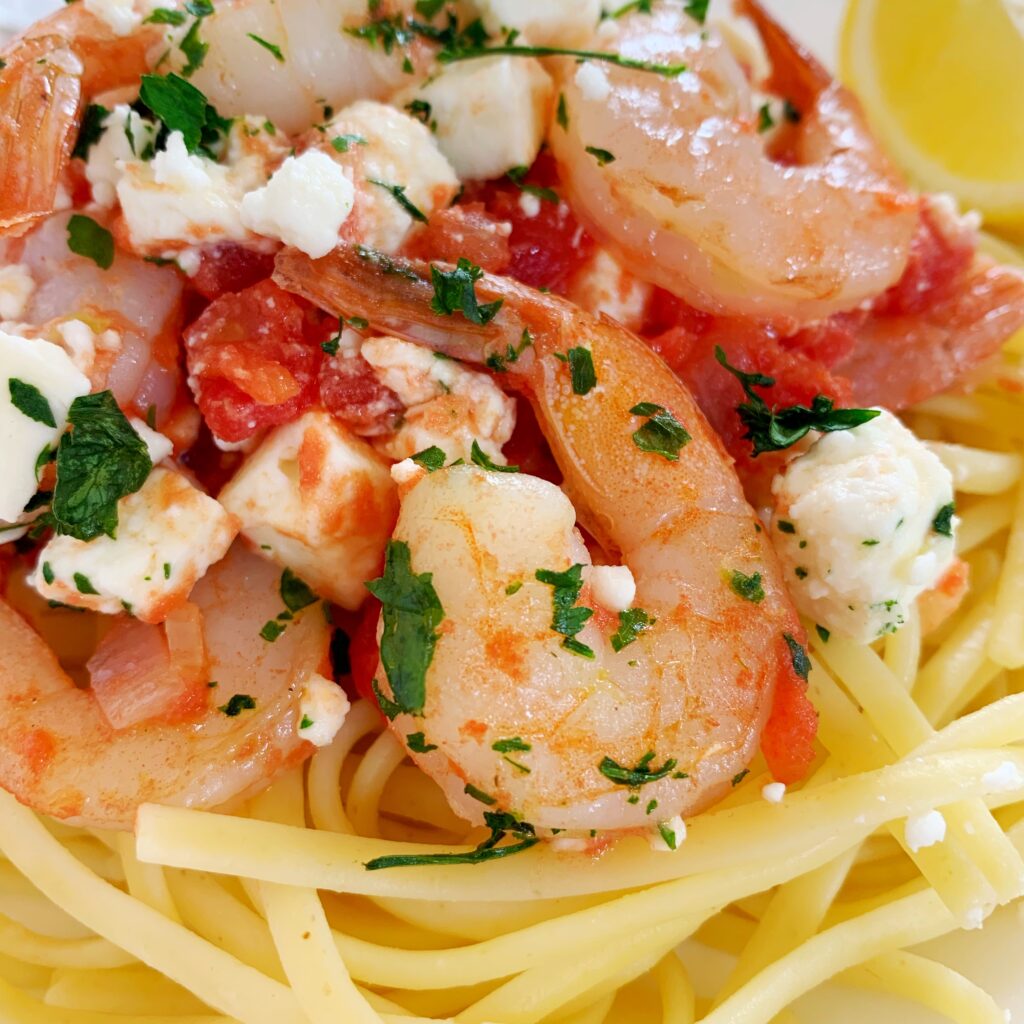
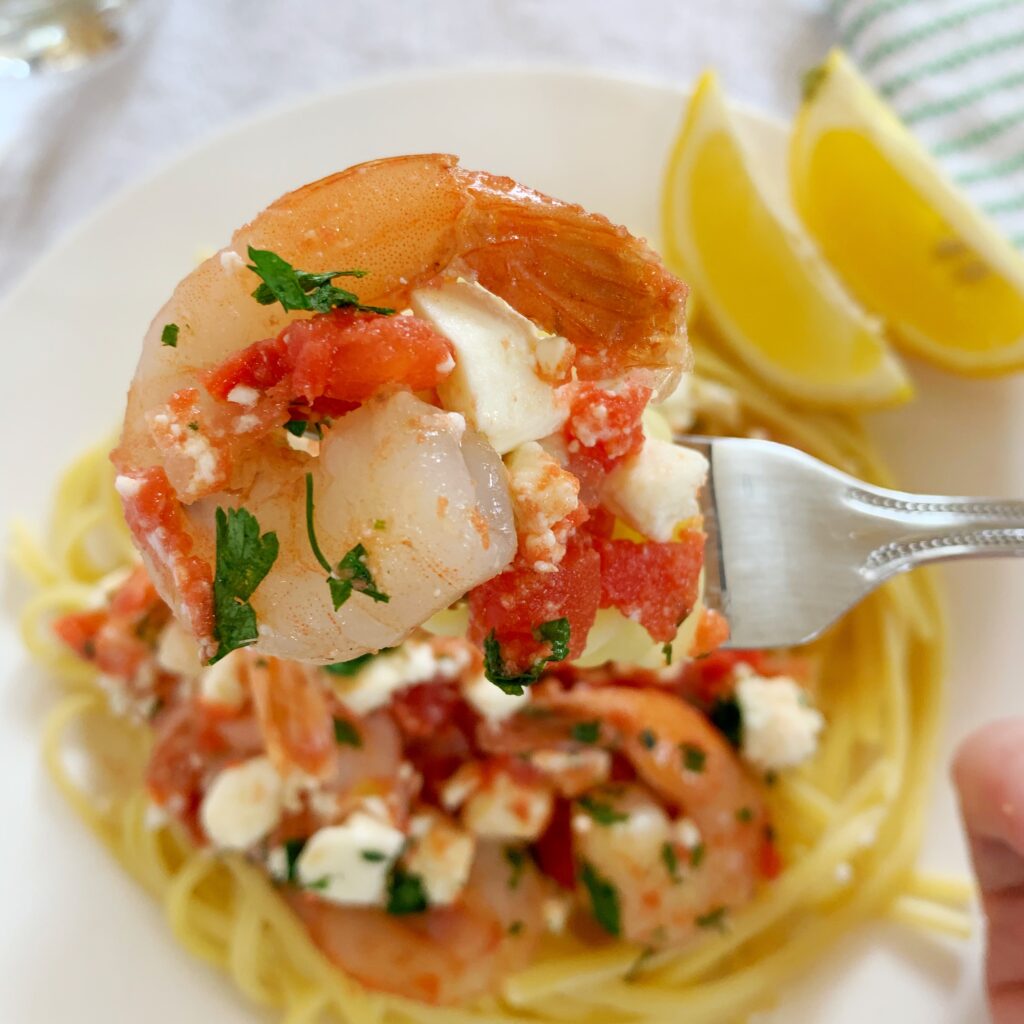
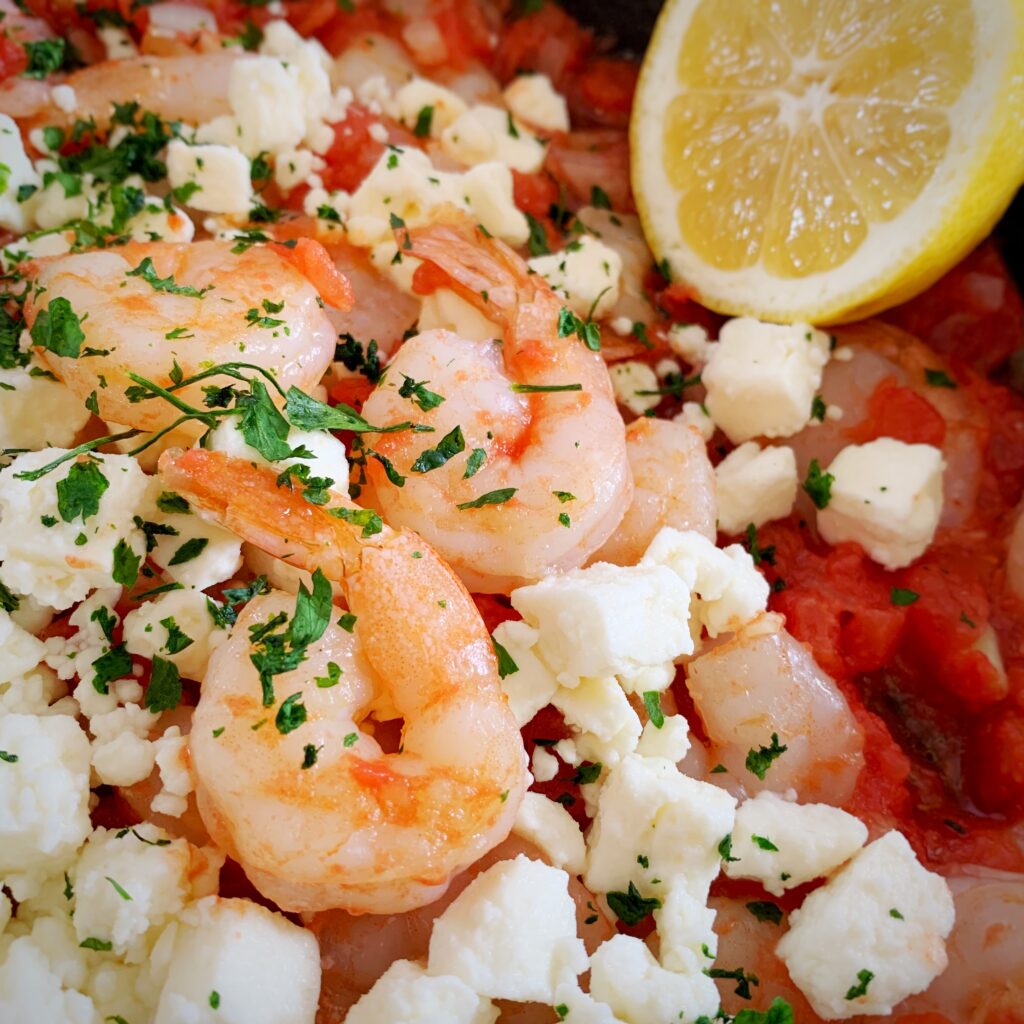
Amazing shrimp and feta pasta (or zoodles) so easy and healthy

Mar 8, 2019 ·

A legit quick and so easy recipe – my Mom has been making something similar to this since I was in high school. A perfect family pleaser.

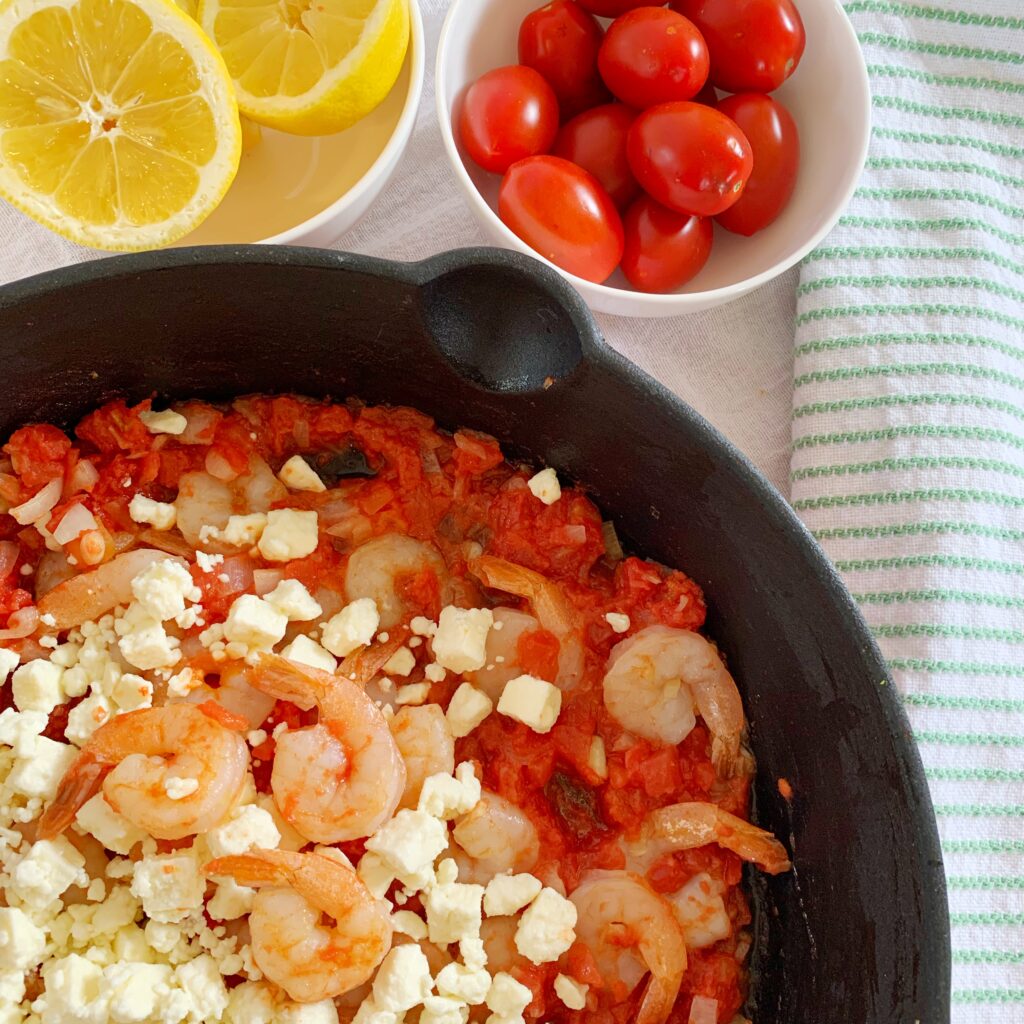
Ingredients:

1 bag (12 oz) of raw shrimp (tail on or off is your preference – I do tail-on just because it makes me shovel this in my mouth at a slightly slower pace)

2 Tablespoons extra virgin olive oil

1 shallot or 2 garlic cloves – finely chopped

1-14.5 ounce can petite diced tomatoes (you can substitute tomato sauce if you like yours less chunky)

Juice of 1/2 lemon

12 ounces of feta

Noodles or zoodles

Parsley to garnish

Directions:

Sauté shallot or garlic in olive oil. Once garlic or shallot is translucent add shrimp – cook to rare (gray is gone but still rare in the middle). This might take two rotations of shrimp depending on shrimp and pan size. Reserve.

Add tomato and juice of half lemon to pan. Allow to simmer.

Add shrimp back in and finish cooking, add feta when almost fully cooked (this allows the feta to warm, but hold its structure.)

Serve over pasta, zoodles – or just eat plain. Garnish with parsley. Eat with a chunk of crusty french bread for the extra sauce.


Baby milestones no one talks about

Mar 7, 2019 ·

There are all the parenting milestones people talk about – the first time your baby rolls over, her first steps, his first words. Those are all nice and exciting to talk about in polite conversation. Let’s be honest, there are other milestones which are just as important.

When your baby can hold his own bottle

There’s nothing better than holding your little bundle in your arms and feeding him. Watching that little sucking motion is hypnotic while you smell him and hold him close. Except, he needs to eat ALL THE TIME. Literally, that’s all you do – over and over – for months.

If you’re pumping to feed or a formula Mom (no judgment here – if your baby is fed, you’re killing it) the minute that your little baby reaches up and grips that bottle so he can hold it himself feels like a breath of freedom. This doesn’t prevent you from still holding your little bundle while he eats, it just means that you finally have a choice. Finally.

The first time your baby blows when you hold a tissue up to her face and say “blow”

No matter if you’re part of the “Nose Frida,” (which – I am not making this up – is an apparatus where you literally use your mouth to suck your child’s boogers from her head) group or the bulb booger sucker group – your baby probably hates when you have to clear her nostrils.

The first time you hold a tissue up to her face and say “blow” and she does it? Life changing.

When your baby can spit on command

If it’s the age-old terrifying toddler question, “What’s in your mouth?” or the end of a tooth-brushing session where you’re trying to teach your child not to swallow all the paste – getting them to expel whatever is in their mouth voluntarily is a huge step. Not having to pin your child like a pro-wrestler and physically remove whatever it is from their mouth is such a relief.

Who told you when you were pregnant that you would be thrilled when you could finally get your child to spit at you? No one. We’ll add this to the long list of “things you didn’t think you would ever have to actually teach a person.”

Once your walking/running baby learns what “sit” means

Is your daughter a dog? No . . . mostly . . . not really . . . but some of the principles are similar. One day though, as she’s tearing away from you in a way where you wonder if you’ll catch her, or she stands up on her changing table and makes your heart stop, and you say “SIT” and she does it? It’s the best.

When your child can wipe

Everyone talks about potty training – and that’s great. It’s SO gratifying when you hear the tinkle in the potty after years of diaper changes. Do you know what else is a huge deal though? Wiping. The day your child can do the entire process of a bathroom routine – soup to nuts (pun intended) – is the day you’re finally free.

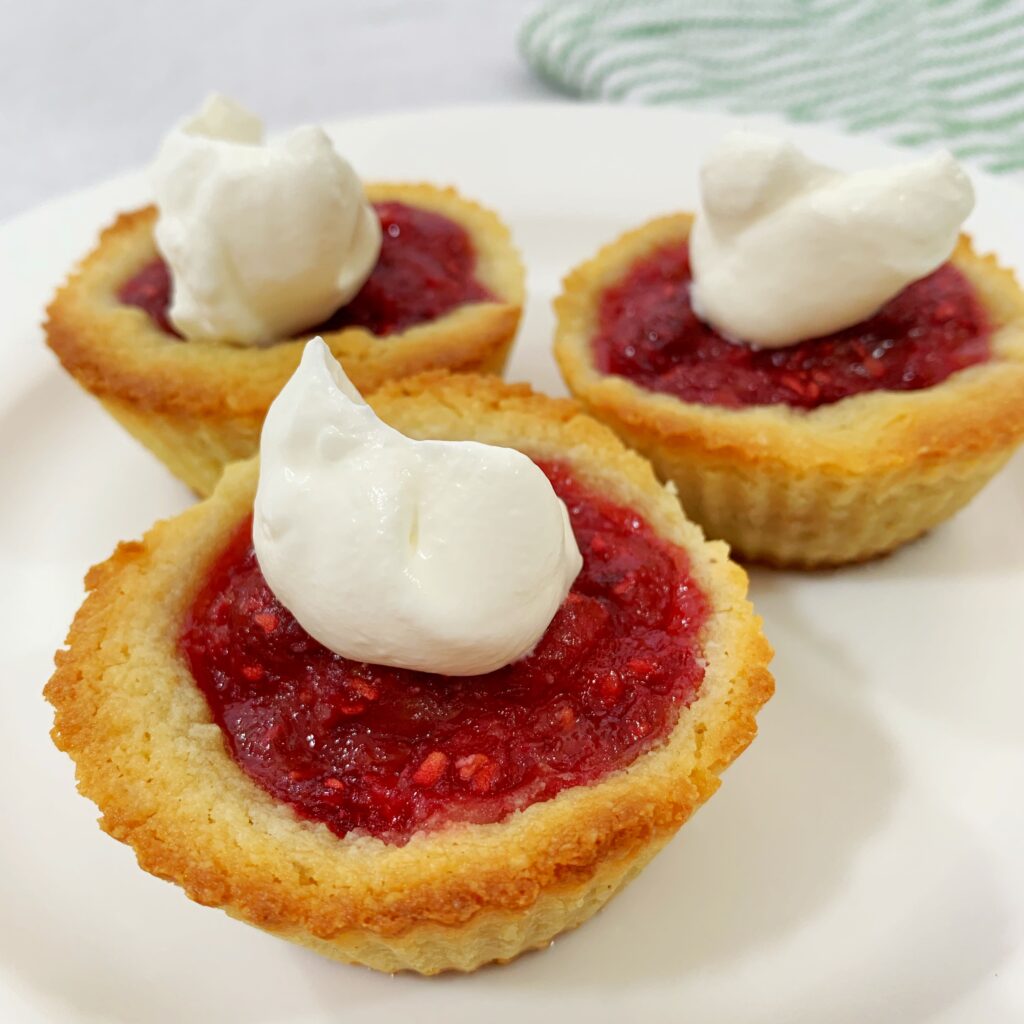
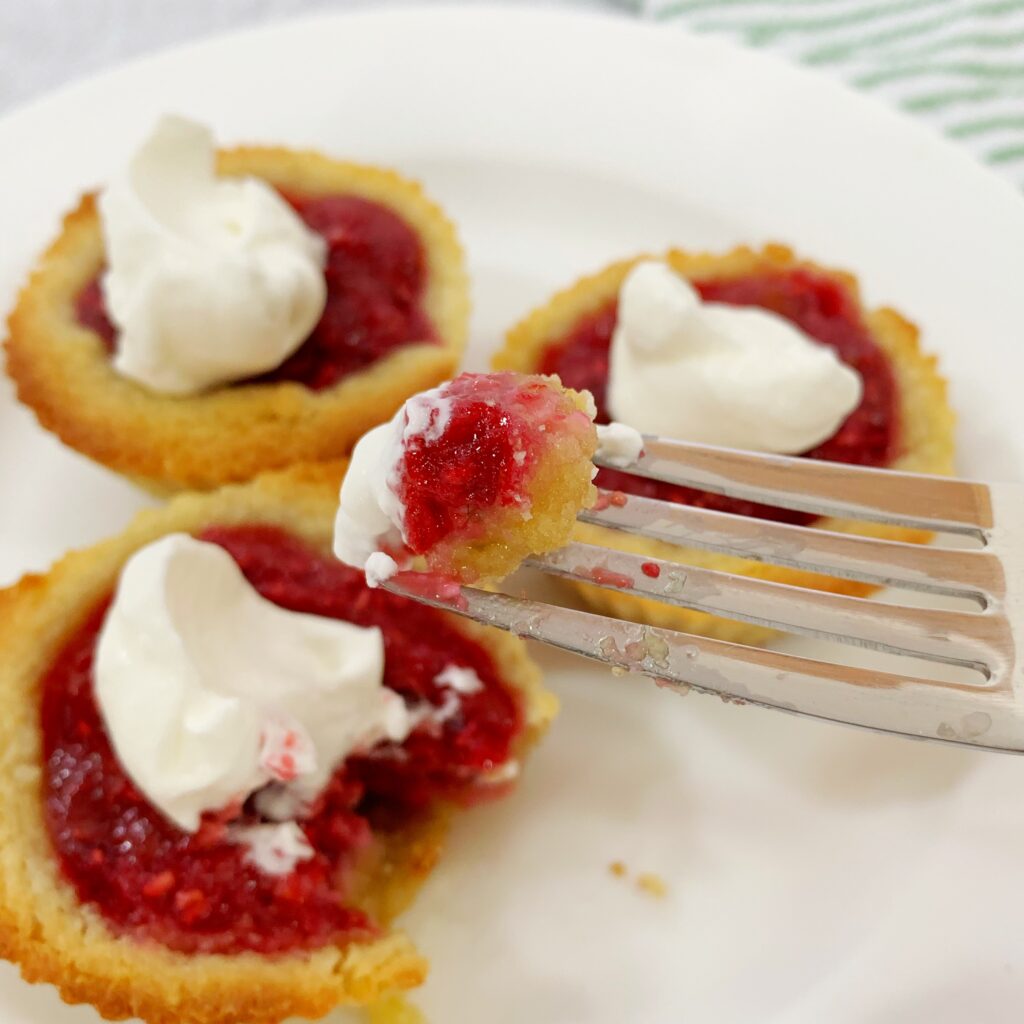
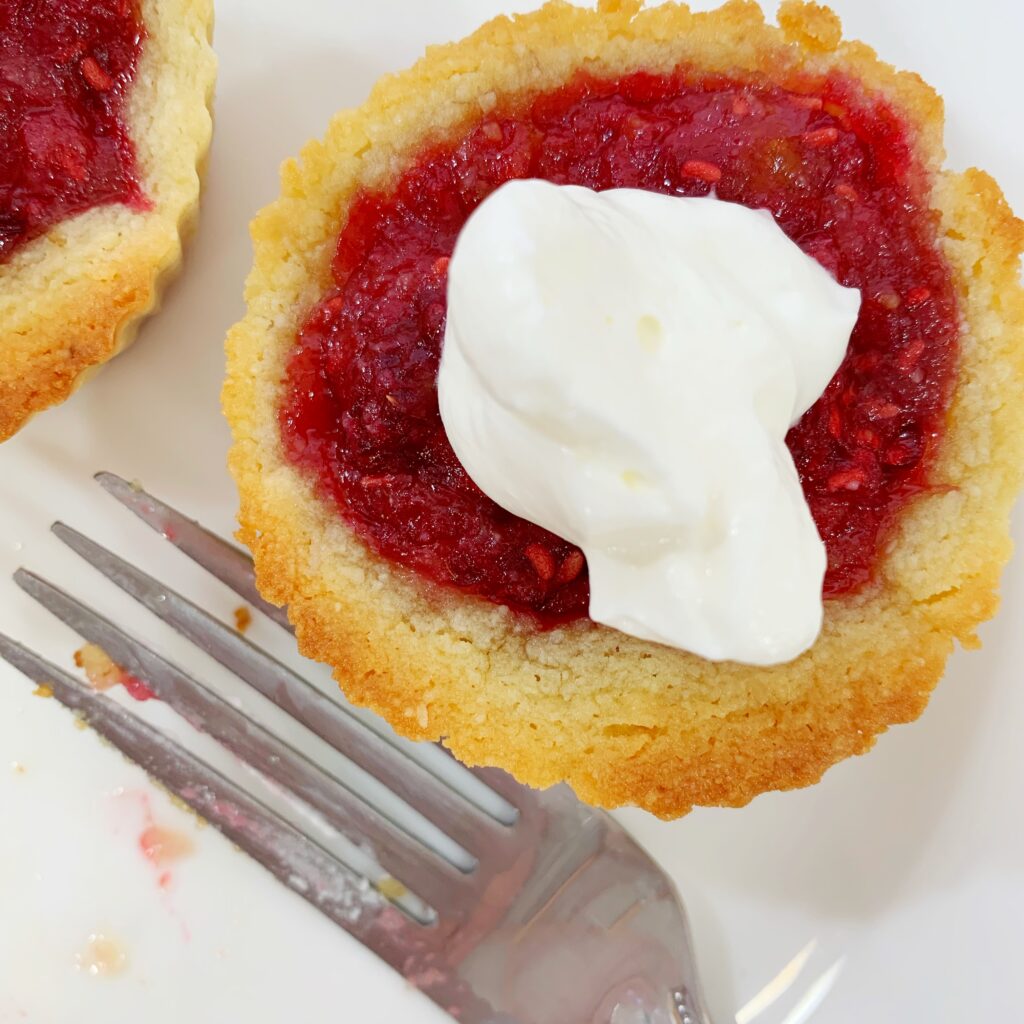
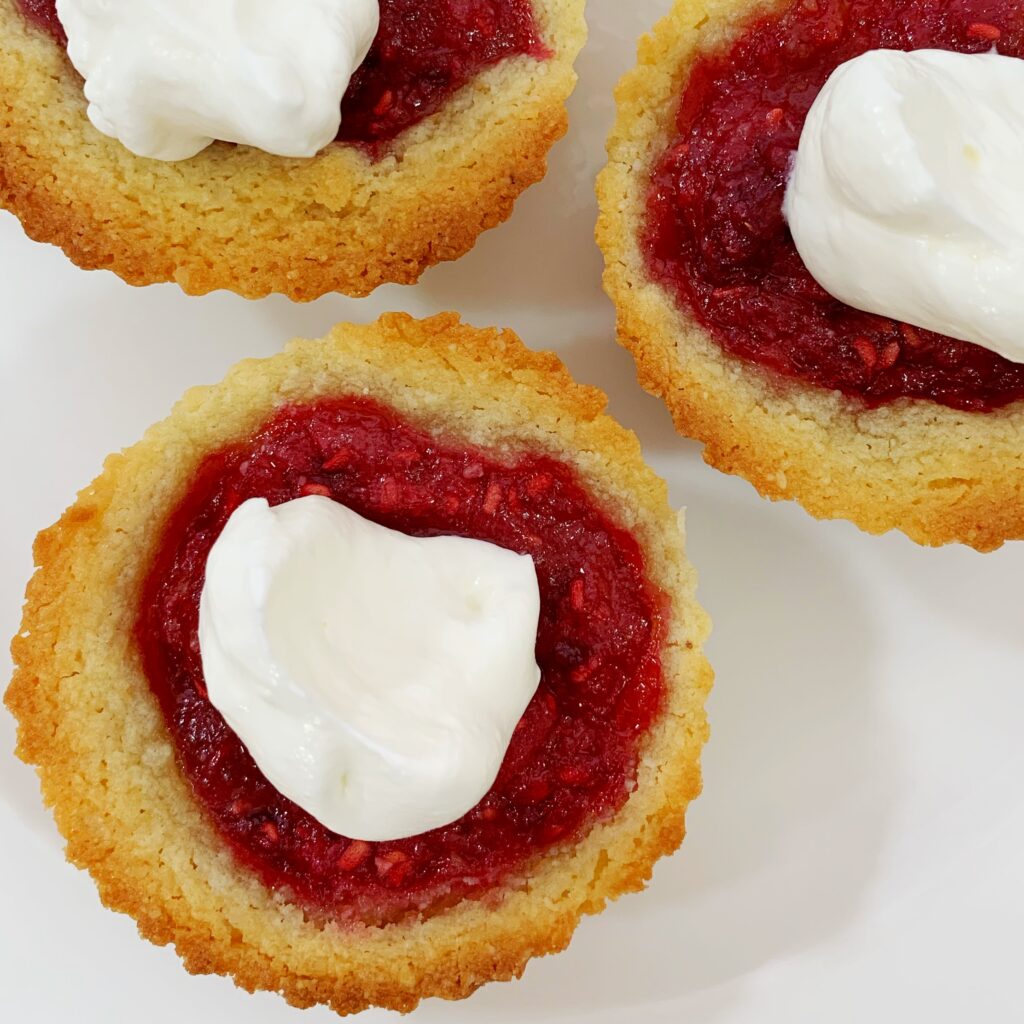
Unreal almond & raspberry tartlets (gluten-free)

Mar 6, 2019 ·

Some days certain ingredients just call out to your from the shelf at the store – for me this week it was raspberries. I had some leftover almond flour from the gluten-free avocado fries – and the truth is, the almond and raspberry combo just sounded so good to me.

I didn’t go out of my way to make a gluten-free recipe, it just ended up that way (which means that even if you’re not a gluten-free person you should make this anyway because it’s really good).

Ingredients:

3/4 cup almond flour (crust)

1 tube of 7-ounce almond paste

1/4 cup oats

6 Tablespoons salted butter (softened)

Pinch of salt

2 egg yolks (one for the crust and one for the filling)

12 ounces of fresh raspberries

1/2 teaspoon lemon juice

1/2 cup sugar

1/4 cup almond flour (filling)

Directions:

Preheat oven to 375 degrees.

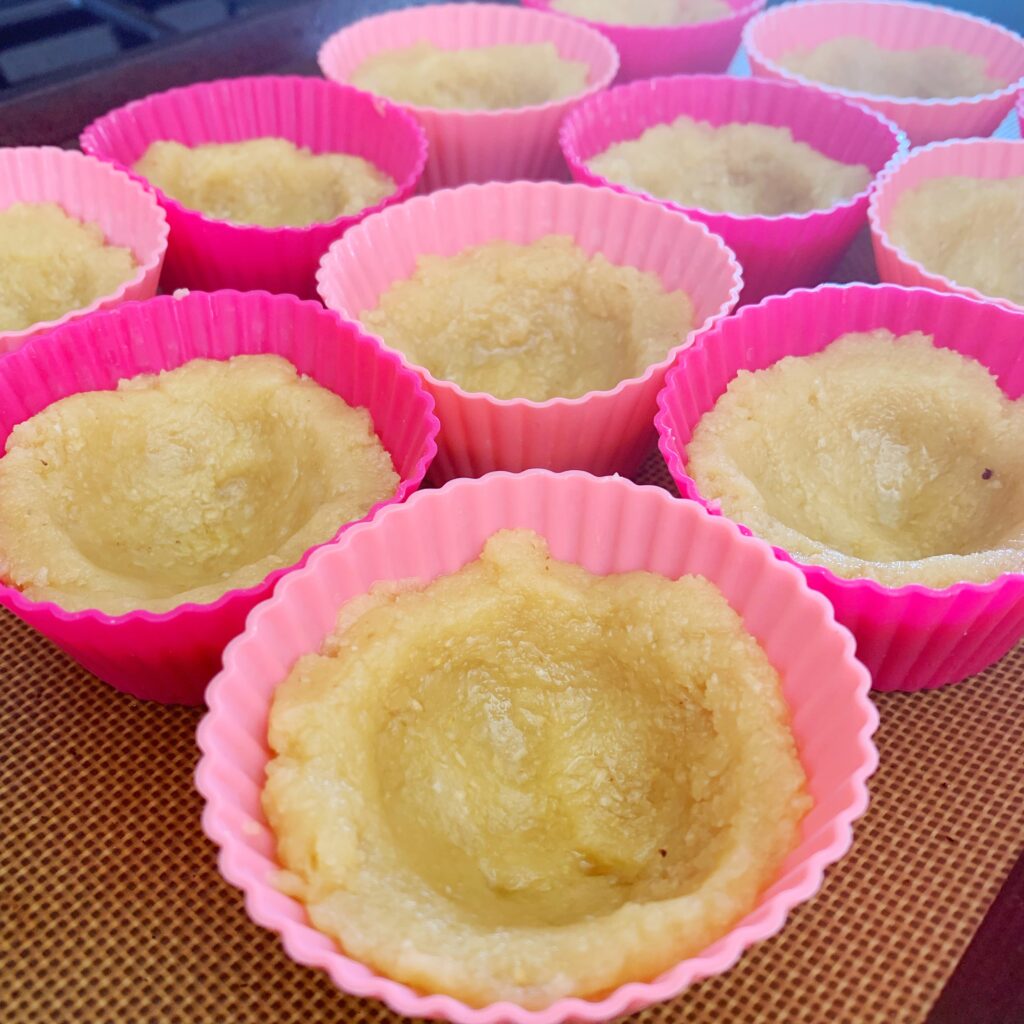
Combine 3/4 cups almond flour, almond paste, oats, butter, and one egg yolk and salt in a food processor. Divide into 12 tartlet pans or cupcake baking cups (I like and use these silicone ones all the time).

Press crust into sides leaving an indentation in the middle.

Bake crusts for 3-5 minutes to barely set.

Combine raspberries, sugar, additional 1/4 cup almond flour, lemon, and egg yolk in a bowl. Spoon into crusts. (If you have a little left over bake it in a ramekin and pour it over some ice cream – totally worth it).

Bake for 20 more minutes on 375 or until crusts just brown on the edges.

Cool and serve with whipped cream or vanilla ice cream.

Things no one told me about starting a farm

Mar 5, 2019 ·

Since we started dating, my husband and I knew we wanted to live the “farm-to-table” life. At the time we first talked about it, “farm-to-table” wasn’t a phrase hipsters used yet. We’ve always lived at the confluence of all the aspects of that lifestyle, though. We’re adventurous foodies who grew up near and around farms, appreciating agriculture, and we love to be outside.

I’ve also always been an aggressive gardener. Even when I lived in a high rise in the middle of downtown Denver I had a rooftop garden and grew my own tomatoes and basil. There’s something incredibly satisfying about being able to create food from scratch yourself.

So, we watched for a long time to find some acreage that was close enough to work for us but would also allow us the ability to do some small-scale food production. We finally found the perfect place just north of Denver.

My ideas about living a farm-to-table life were pretty romantic. Luckily, I had a better idea of what we were getting into than most, but here are the things no one told me:

You’ll never have nice nails again

This might seem shallow and unimportant, but it’s true. Once you get on the chore train you won’t ever have the pristine nails of urban or suburban life again. You can get them done and have them for a day or so, but the chances of you keeping 10 nice nails clean, unbroken, and at a respectable length start to approach zero with every additional goat or chicken you acquire. Let them go.

You have no idea how hard you can work until you do it

I think back to the me of even a year ago, and I was so tired, but I feel like I wasn’t doing even a small percentage of the work I do today. People ask me how I manage to get up, work, do chores, shower, go to work, come home, do more chores, be a Mom and wife, and start all over again the next day.

It’s a stretch some days but I’ve never felt more capable than I am now. When it simply has to be done, you just simply do it.

There are times when it’s negative degrees outside and I wonder what I was thinking. How could I have gotten myself into this? But I throw on a coat and a scarf, my work gloves, and have feeding and watering all the animals down to a 20-minute routine. Animals don’t rely on you only when it’s nice out.
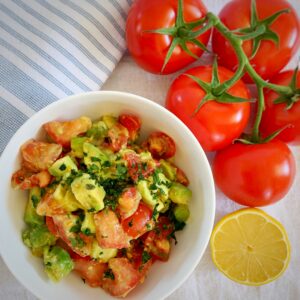
On the days I want to quit, I come inside and cook myself a farm-fresh egg in the early-morning silence and think about all the opportunities I’m giving myself and my family to grow. It’s hard, but so worth it.

You’ll learn more and become more creative and innovative

Who knew that there was an entire latch department at the hardware store and it was so useful? Someone with an escape-artist goat – that’s who.

From creative ideas for cheap planters (I spray-painted 5-gallon buckets and drilled holes in the bottom because for some reason actual planters of the same size were $40 each) to new ways to keep in the animals you want, and out the animals you don’t – you reach new levels of innovative when you have to. It’s amazing.

You will look at food differently

Food is something that so many of us take for granted in our lives. It takes on a new meaning and vitality when you grow, milk, or collect it yourself.

From being more careful with portions in an effort not to waste, to composting everything I can find, being an active participant in the process has made me more conscientious. It’s one thing to absent-mindedly throw away half a salad from a restaurant, it’s completely different when you sowed the seeds, watered them, picked them and then assembled them into a salad. You’re gonna eat the whole thing.

Although I have always loved good flavors, I’d never been a person to carefully consider my food. That all changed when I started to make my own food from “scratch scratch.”

Once you first make an entire meal from seeds, water, sun, and your animals, (mine was a zoodles with egg dish that I will have to recipe for you someday), it’s hard to not sit down at any restaurant and start to think about all the people, work, and inputs that go into every simple meal.

Once you really think about it, the ability to order a cheeseburger in the middle of winter is basically a miracle.
Your relationship with animals will change

I’ve always been an animal lover. Yes, I have even referred to my dogs as “fur-babies” before. They have outfits. I’m that girl. But, I’ve also spent years as a bird hunter, which is a favorite past-time with my dog. Having a pet, though, is an entirely different experience than having an animal that you’re either going to eat or which you use to procure food.
For all the guff Disney has gotten over the years for giving young women princess complexes, they should have received as much if not more for anthropomorphizing all animals, (don’t get me started on the Brave Little Toaster). Yes, animals have emotions and are complex creatures, but they are not human. Our animals should be treated well and given their due respect.

You can still love your animals and appreciate them, but also realize they have an additional purpose. I aspire to give all my animals the best possible life they can have. They free-range around a large fenced pasture, are fed an all-organic diet and are treated well. The difference is the dog, the cat and wallaby are my pets – my ducks are not my pets.

Goats, incidentally, exist in a weird middle ground, at least for now. Although I can’t imagine eating any of the goats we currently have, we have discussed the idea of getting meat goats at some point. Right now I’ll just enjoy their milk, make cheese, and take selfies with them.

You’ll never be the same

No matter what happens with our little farm, I can never fully go back. The early mornings, the aching back, finding straw in the most random places – it’s all worth it. When you walk to the gate and all the animals come running, when you see the first sprouts push out of the ground, and when you see the buds on the fruit trees – it’s all worth it.

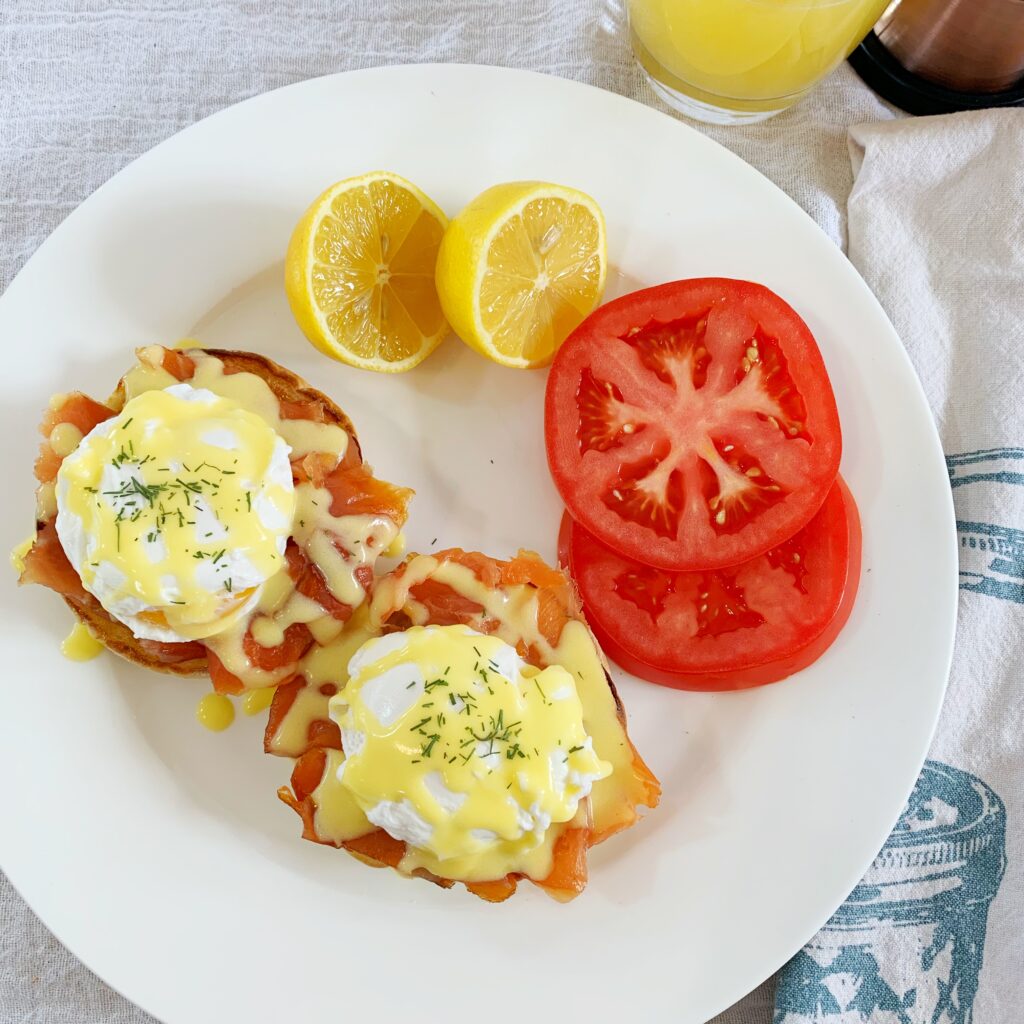
This salmon & eggs benedict is everything you need

Mar 3, 2019 ·

Is there any better meal than brunch? The only problem is, you go out – sometimes have to wait in line – and no matter what you order your tab somehow ends up north of $40 – for just you. It more fun and cheaper if you eat at home, and the food is as good or better.

Salmon eggs benedict is a crowd pleaser (and a self-pleaser) it’s so much easier to make than you think. This brunch staple used to intimidate me, but it’s SO EASY. I promise – if I can do it – you can too.

Ingredients:

English muffins

Smoked Salmon (HINT: Because this dish is served and then usually cut into small pieces, you can save money by buying the “salmon ends and pieces” package that’s often by the salmon in the seafood case. It’s just mismatched sizes but so much cheaper and perfect since you don’t need an intact filet.)

4 eggs

Unsalted Butter (1 stick (1/2 cup) for hollandaise and a little to butter your muffins)

2 egg yolks

1/2 lemon

1 Tablespoon warm water

1/4 teaspoon salt

Pinch tarragon

1 cup white vinegar

Pinch of dill for garnish

Directions:

Hollandaise – Combine 2 egg yolks, warm water and squeeze half a lemon into your blender. Blend until frothy.

Microwave 1 stick of butter in the microwave until bubbly, but not brown (the warm butter will pasteurize the egg) and add in a slow and steady stream to the blender while on low. Taste and add salt if desired and a pinch of tarragon.

Toast English muffins. Butter when brown.

Assemble desired salmon on muffin.

Bring a medium-sized pot of water with vinegar to a rolling boil (this is the hardest part but I know you can do it). The secret is to have the bubbles rolling up the sides, but not have the water boiling violently.

Gently break an egg into the water. The white should solidify almost immediately, a few stray strands of white may come off, but that’s ok. You’re really watching the yolk and the white surrounding it. Using a slotted spoon gently lift the egg in the water to test for doneness (at around 3-4 minutes) cook until all whites are cooked, yolks are warmed but not hard cooked.

Use slotted spoon to drain egg and place on top of salmon.

Drizzle on hollandaise, add a pinch of dill, and enjoy!

Makes 4 benedicts.

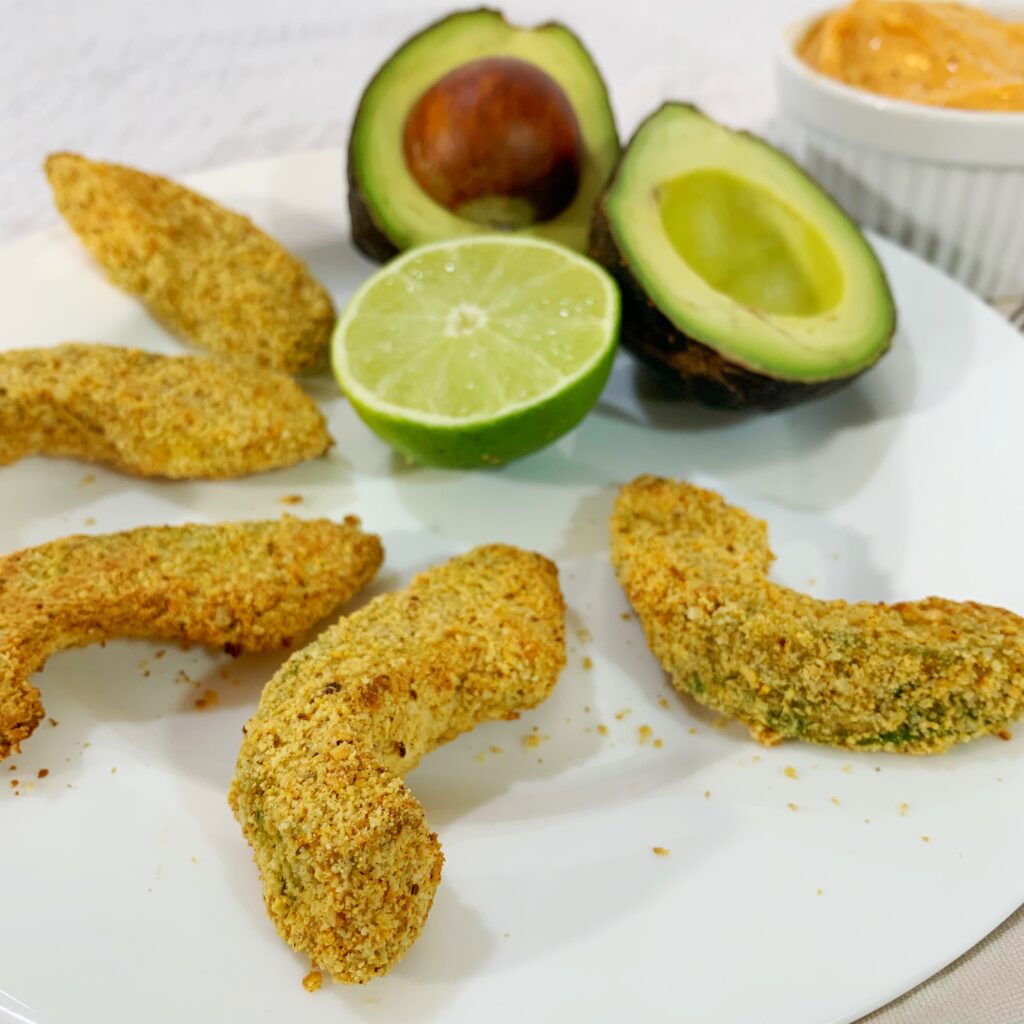
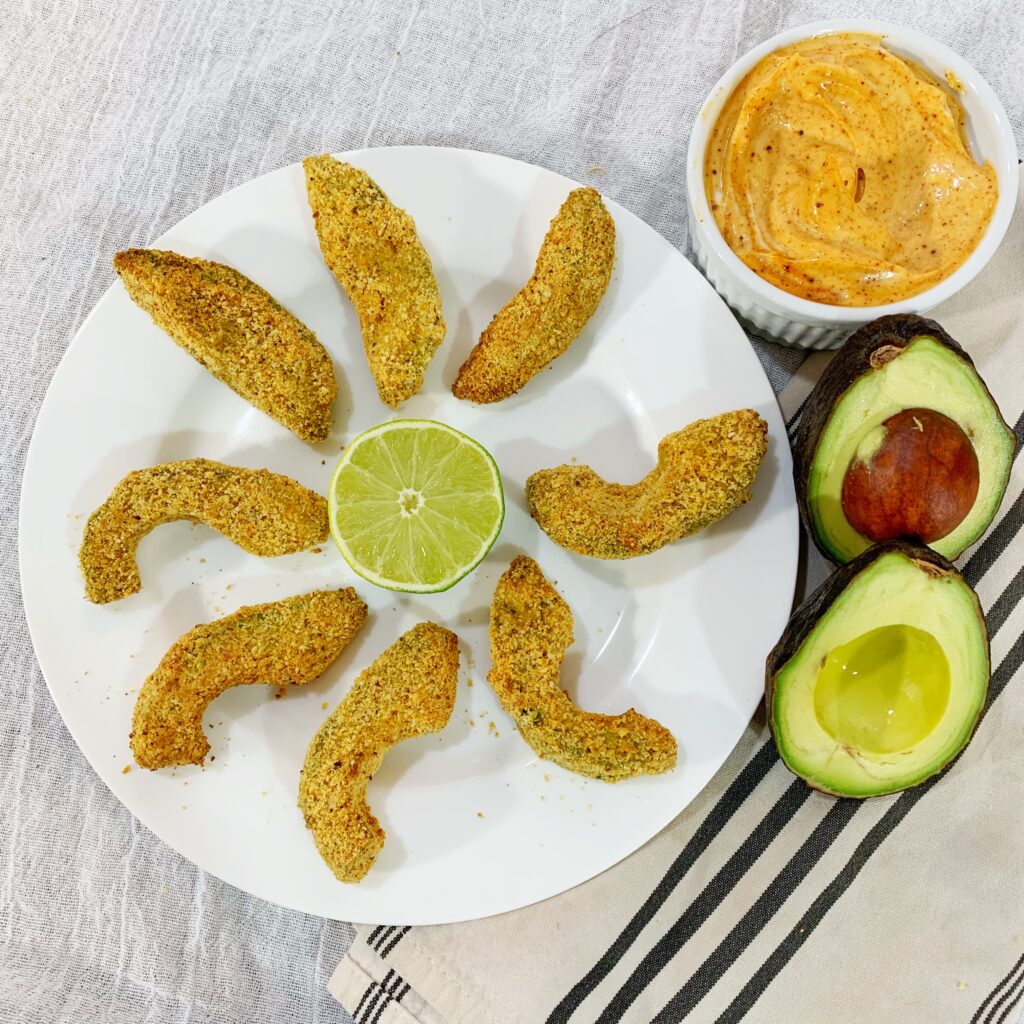
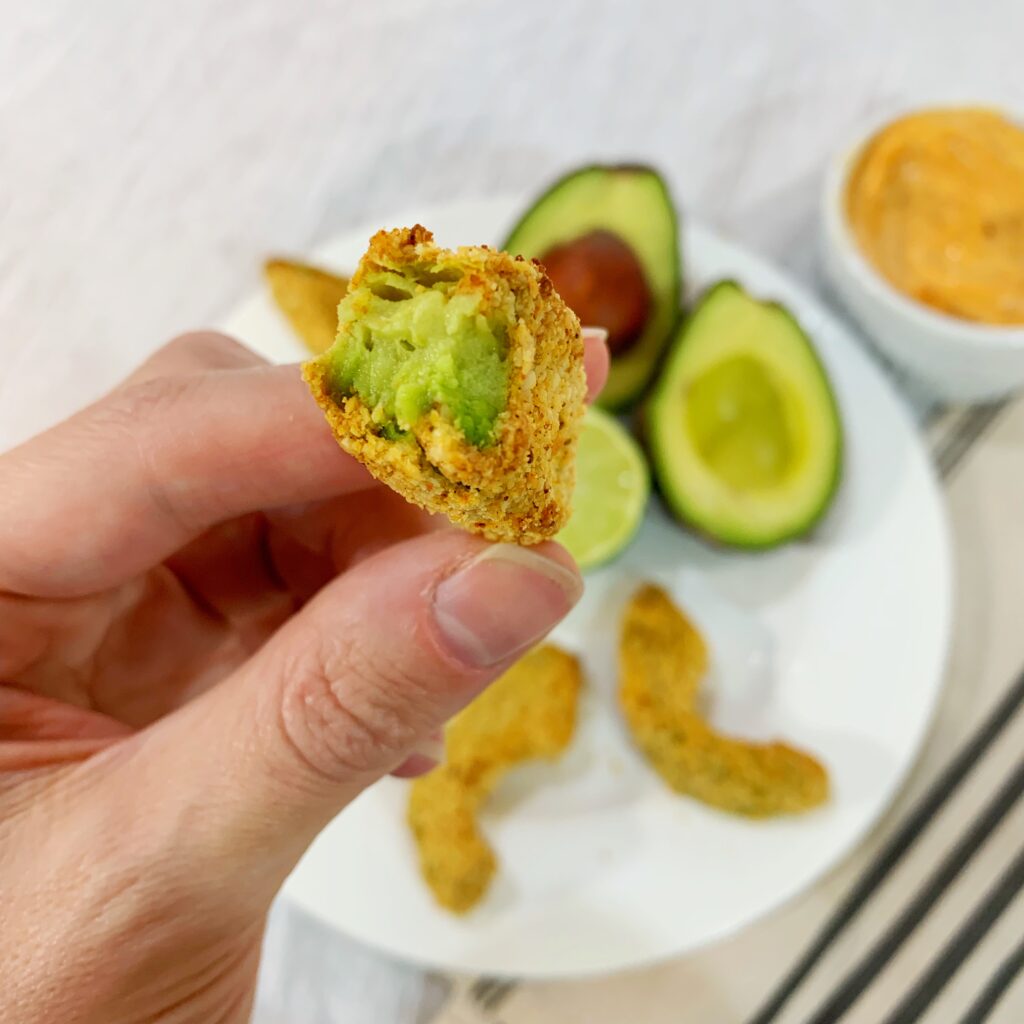
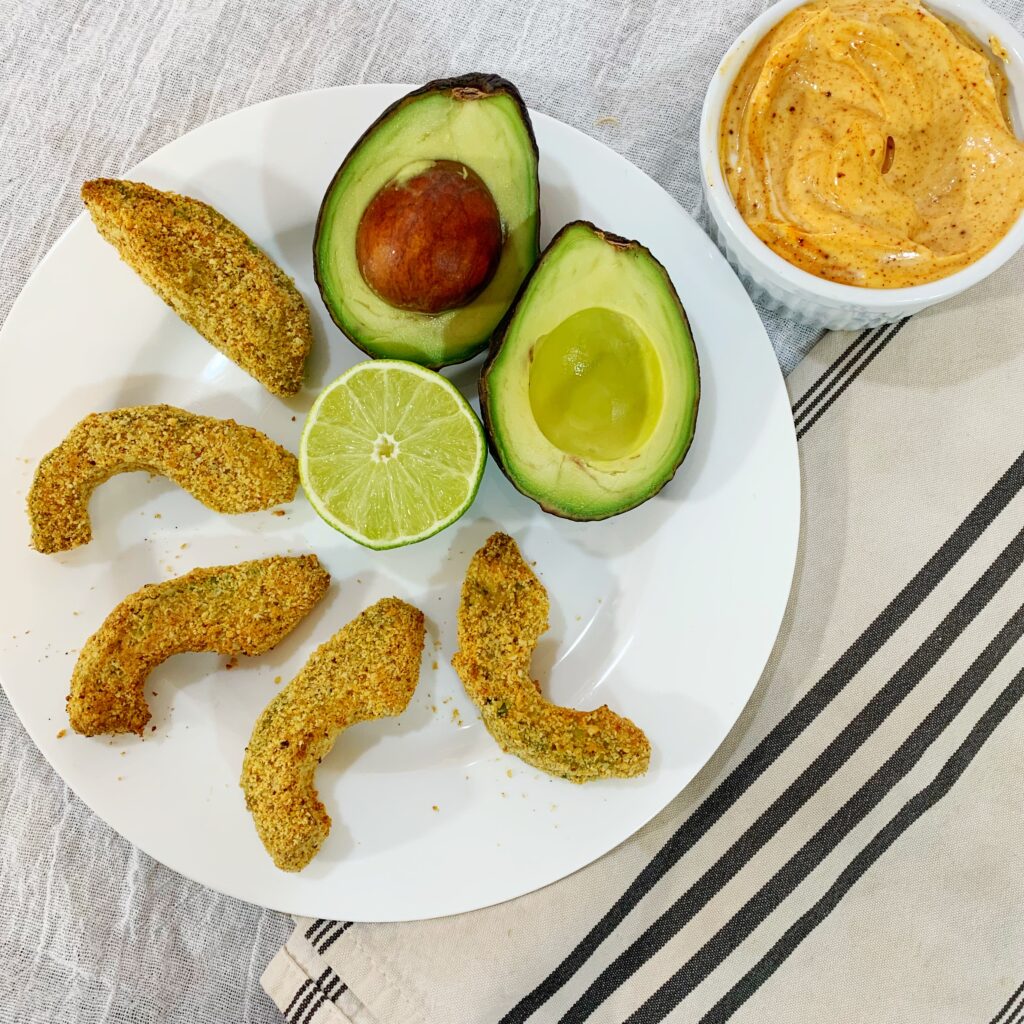
Air fryer Keto and gluten-free avocado fries

Mar 1, 2019 ·

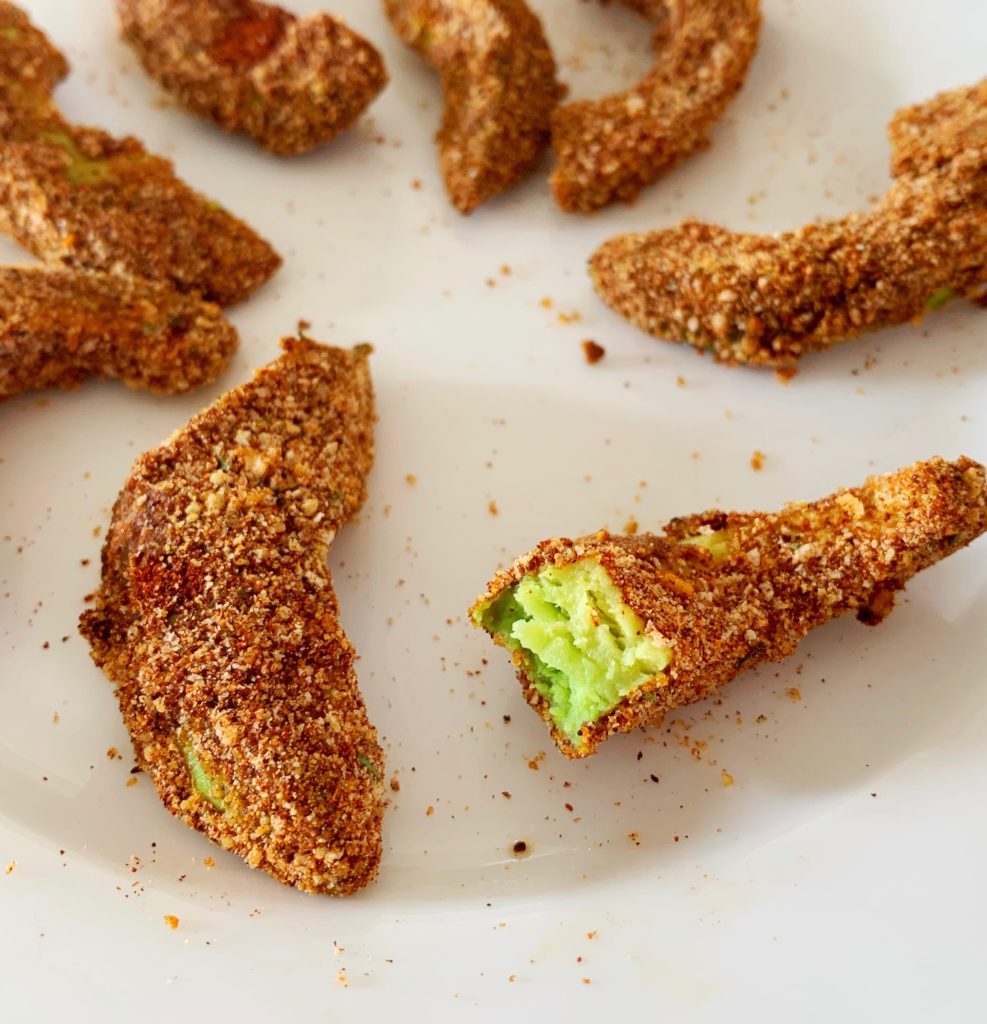
After I made air fried avocado and bacon tacos I had several friends ask if I could make air fried avocado fries that are keto-friendly and gluten-free. So, about 57 avocados and a lot of testing later, I think we’ve finally got it.

Ingredients:

Fries –

2 avocados

2 eggs

1/4 teaspoon salt

1/2 cup almond flour

1 1/2 teaspoons Old Bay Seasoning

Olive oil spray can

Sauce:

1/2 cup Keto mayonnaise (My preference for low carb mayo, when I don’t want to make it myself, is Duke’s. It’s not available in stores in Colorado so I buy it on Amazon. Yes, I buy my mayonnaise on Amazon – this is a no judgment zone.)

1 1/2 Tablespoons your preferred hot sauce

A squeeze of lime

Salt to taste

Directions:

Slice avocados in half, remove pit and, cutting lengthwise, divide each avocado into 8-12 slices.

Beat eggs and salt together in a bowl.

In a separate bowl, combine almond flour and Old Bay Seasoning.

Carefully dip avocado in egg mixture. Then dip in dry mix, covering all surfaces.

HINT: Between each slice, you’re going to want to have a towel close by to wipe your hands. You need batter-free dry hands for each slice because once you get goo on them, it’s all downhill from there. Almond flour is a little sticky so you want to keep it out of the egg.

Once all slices are batter refrigerate for at least 30-45 minutes to chill and set.

Working in batches of 5 or 6 so they don’t touch, air fry on 355 degrees for 5 minutes. Remove and spritz with olive oil. Replace (flipped over) in the fryer for an additional 5 minutes. Do the same for additional batches.

HINT: I added the extra step of removing them from the fryer and spritzing them down to get a nice crusty finish on the batter. Skipping that step is ok, but the fries are a little crumblier – this is totally up to you. Essentially in the first 5 minutes of air frying, you’re setting the egg – and in the second 5 minutes, you’re getting a really nice toast on the almond.

Mix dipping sauce ingredients – note that the salt in the egg and the Old Bay in the crust already give the avocados some salt, so be careful to not oversalt the sauce.

Cool and eat. Serve with a spicy mayo dipping sauce.

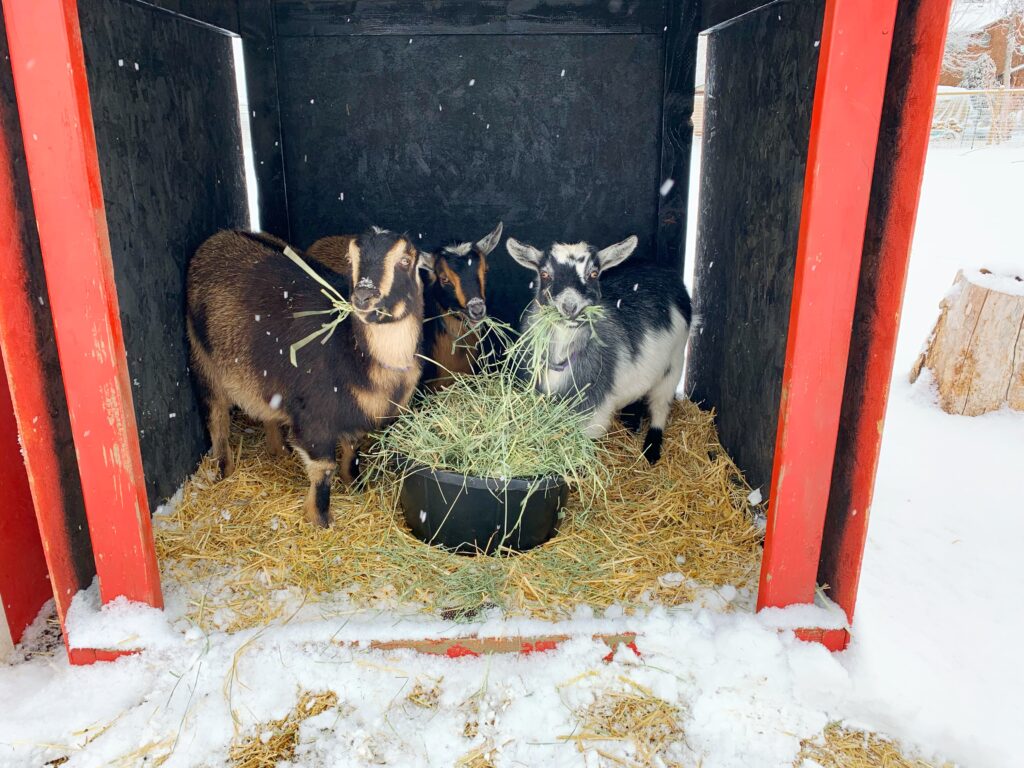
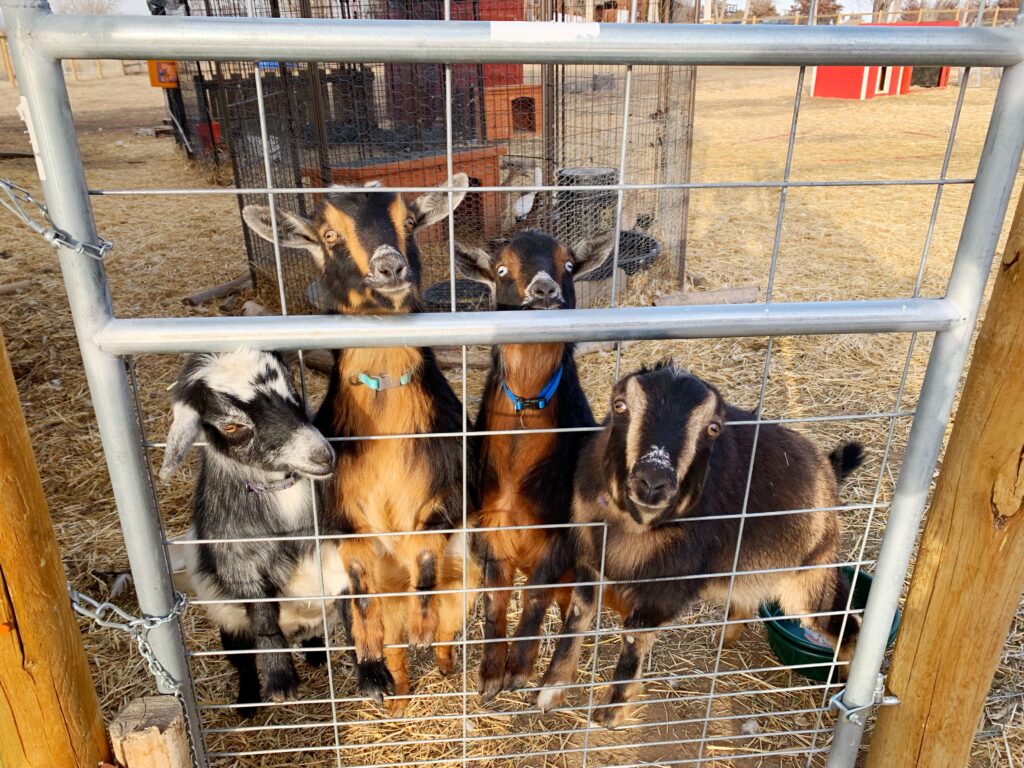
The top seven questions people ask about goats

Feb 28, 2019 ·

I was lactose intolerant child, which meant that I couldn’t drink cow’s milk for most of my childhood. My Mom would buy me either special lactose-free milk or goat’s milk to drink.

I grew to love the goat flavor in both milk and cheese. There’s nothing better than fresh goat’s milk, it’s even better than store-bought goat’s milk, which is delicious. Once I had fresh goat milk for the first time, I knew I would never go back.

Add to it that as far as I’m concerned, cheese is a food group all it’s own.

My passion for cheese can’t be understated. All cheese, but particularly a beautiful goat cheese, can change your whole day. There’s really nothing better than crumbling a soft goat cheese over a fresh crisp salad, a warm crusty bread, or steaming pasta and then drizzling over the top a spicy olive oil.

A little less than a year ago my husband and I moved only a few miles – but took a big leap. As foodies who love the slow and local movements, we decided to join the farm-to-table revolution. We bought just a few acres north of Denver – zoned for agriculture – to start our little farm.

I knew one of the first things I wanted to do was get my own milk and cheese makers. Enter – goats. All my friends had all the questions. So, I’m going to answer the ones you didn’t even know you had, today.

Do they smell?

Yes, and no. Goats have a distinctive scent – just like their cheese has a distinctive flavor. This can only be described as “goaty” and if you’ve ever had goat cheese, you know exactly what I’m talking about. It’s distinctive and unique, but not really bad. Some people hate it. I find it kind of musty and sweet. The same way horses have a distinctive smell.

The goats who smell most goaty are bucks – uncut males. Even that’s only primarily around mating season. It’s really not too bad unless you decide to keep a huge herd around for some reason. I’ve met people who have goats in their backyard in the suburbs and their neightbors have no idea.

Do you do yoga with them?

I could, I guess. We have baby goats on the way right now, so that might end up being a lot funnier. I guess the real question is “do you do yoga at all?” The answer would be “no.”

Right now, my favorite thing to do is pull out a blanket and sit on the ground when it’s nice out with my goats during happy hour. They’re great to hang out with and sip wine as the sun sets.

Do they eat everything? Cans? Fence?

That’s a myth. Goats don’t eat cans or fencing. They have taken a few chunks out of the side of the chicken shed, but for the most part, they’re grazers. Goats are a great part of comprehensive land management because they tend to eat weeds first and leave the grasses until later. It’s been really good for us to get our weed problem under control.

What does the milk taste like?

It’s a little hard to describe. Different breeds of goats have different milk butterfat percentages – so not even all goat’s milk tastes the same. The smallest goats give the highest fat milk (like little cream machines) while the larger dairy breeds give a higher volume of milk but lower fat percentage. Goat’s milk has a sweetness and a depth that feels rich and velvety on your tongue.

Are they nice? What are their personalities like?

Goats are sweet. They’re not like dogs though. Although domesticated, they can be skittish if they don’t know you. Some people bottle feed their baby goats to help them become more people friendly at a younger age.

We got some of our goats from a milking herd who took a while to warm up to us. But we also got one of our girls from – and I am not making this up – a lady at a suburban house who was just keeping them in the back yard. She was raised with children playing with her all the time, so she’s basically like a puppy goat.

How big are they?

Goats can run the gamut from the size of a medium dog to the size of a small pony. It all depends on the breed. Although we only own miniature goats, we have a friend who boards her larger dairy goats with us as well. So we have goats ranging from 30 pounds to 200-plus pounds on the property.

One of our goats is a hybrid of a larger dairy breed with the smaller miniature goat. The hope is with her we’ll get the high butterfat content milk from the mini breed with the higher volume milk from the dairy breed. Also, the smaller the goat, the less they eat.

Can I get one?

It depends. It’s actually crazy to me all the places I’ve seen people keep goats – particularly the smaller ones. You pull up to a normal looking house in a normal neighborhood and walk into the backyard and there they are – goats!

Check with your zoning to see if you can have one. Like with any animal, make sure you try to at least meet one first before you jump in. That said, goats are herd animals so you have to have at least two. Maybe you’ll start collecting them like me.
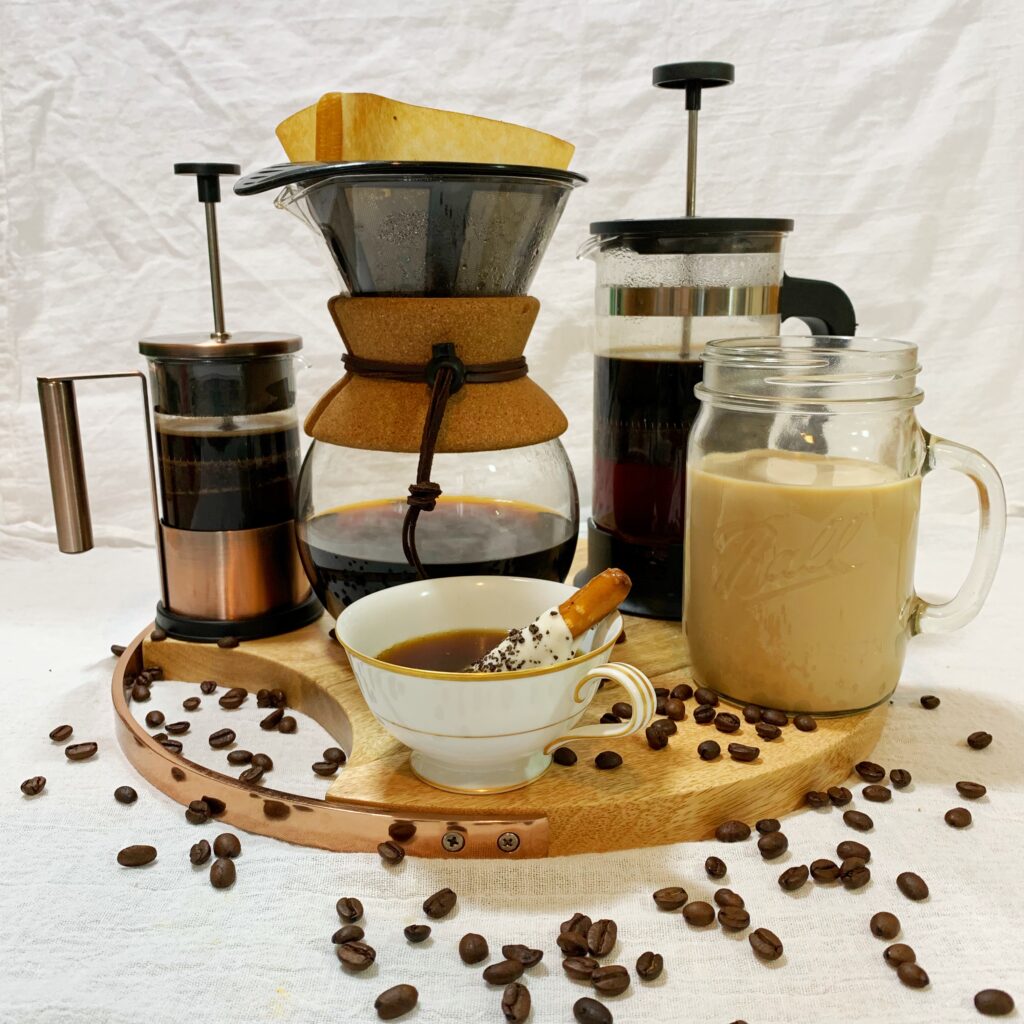
Yes, it’s time to reconsider your coffee routine

Feb 27, 2019 ·

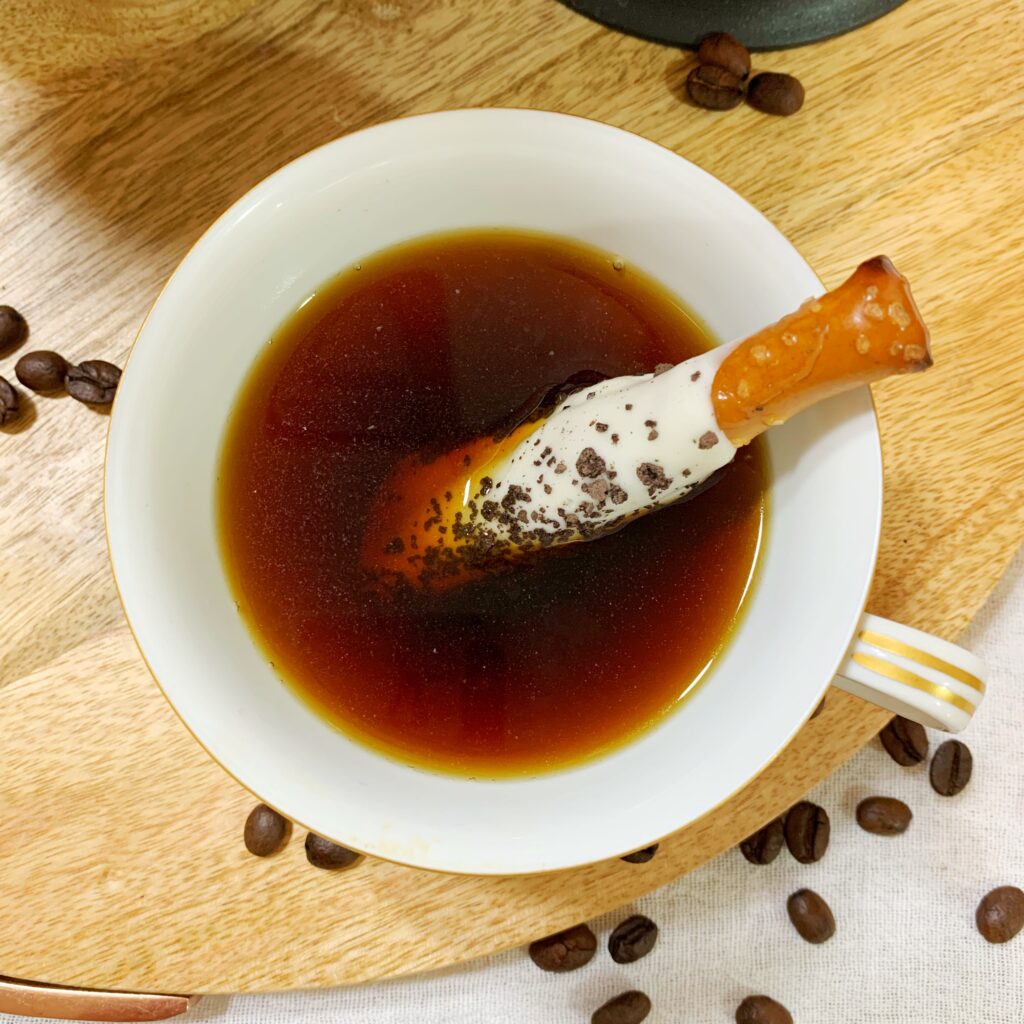
Put the pods down and step away from the machine. No matter how you take it – with milk or cream, sugar, flavor, iced, or black – it’s time to think about the habit you have every morning and what it means to you.
I made a small mindful change in my routine and it’s saving me over $500 a year, reducing a not insignificant amount of my waste, is giving me a better garden, and is making me happier.

I, like you, jumped on the K-Cup bandwagon the minute the first shiny machines went on sale at Costco. Over a decade, and who knows how many thousands of dollars later, I’m growing up and thinking twice.
Millions of people across America wake up every day, stumble to their respective machines, pop in a pod, and depress the top until they feel the satisfying hiss of the punctured foil. They then push the button and wait the 30 seconds for the liquid black gold to fill their cups and jolt them from their bleary-eyed stupor. I had been one of those people for a long time.
Then, I reread (again and again, I need constant refreshers) a book that’s had a transformative effect on my life, “The Power of Habit” by Charles Duhigg. It inspired me to truly examine some of the ramifications and motivations behind my daily rituals.

It’s so easy, once you get into a routine, to take for granted the first thing you do every morning. The 5 am version of me is not capable of asking myself, “Why am I choosing to make coffee this way? What are the outcomes in terms of time, convenience, flavor, cost, joy, and my impact on the world around me?”

I can’t do much more than grunt at that time in the morning, much less tell you why I’m making coffee the way I do.

Here’s what I loved about my K-Cup machine: it was fast, convenient, had little to no cleanup and was a mindless operation.

However, there were real drawbacks: the cost of the machine itself was not insignificant, and the cost of daily operation – even with pods on sale – was high. For someone who drinks 4-6 cups of coffee a day, (remember, this is a no judgment zone and I have a baby under two) the waste associated with it was getting ridiculous. Most importantly, it was just a mindless habit – it wasn’t adding anything to my life but a quick shot of caffeine as a jump start.

Cost

Yes, the K-Cup machine itself is expensive, usually over $120. With daily use, you have to replace them about once a year.

That cost pales in comparison to how quickly the daily operation costs add up. I used to wait for the Costco house brand coffee to go on sale and would go buy the large boxes of pods in bulk. After years of searching for inexpensive K-Cups, that was the best deal I could find. If you buy those, though, you only get one type and no flavors.

Don’t even get started on Big K-Cup’s attempt to shut down “black market pod makers” by creating the new “2.0” machines that would only accept pods licensed through them. After getting the latest maker I was stuck with boxes of pods incompatable with the new digital machine that gleefully informed of that fact in a message scrolled across the screen.

Even at the cheapest price – .30 a pod – I was spending at least $1.20 a day on coffee, but most days cost more because I like to mix up flavors. I calculate my average pod cost at over $2 a day.

Want organic pods or flavors? Newman’s Own costs .46 a pod in bulk, over .50 at the grocery store. Flavors almost always cost more than .55 a pod. Compostable pods will set you back .58 – .60 a cup. It doesn’t seem like a lot on the margins, but I was spending $900-$1000 a year just on coffee at home!

Contrast that with ground coffee (or grinding your own). Coffee can vary from bulk ground prices at .17 an ounce to fancy flavored name brand coffee at .45 an ounce. I used to always hit the biggest button on the K-cup machine (10 ounces). To make an average 12-ounce cup of drip coffee requires .75 ounce of ground coffee. I like mine strong, so I’ll just call those equal for these purposes. So, my average cup of coffee is now .13 – .33 a cup. This means my current coffee program now costs me .83 to $1.03 a day (including a compostable coffee filter).

It may not seem revolutionary, but over the course of a year, I expect to save over $500 by just changing up my coffee routine.

Waste

Those little pods add up. Yes. They’re small. I’m not going to be all sanctimonious about using disposable plastic every day, I’m not that person. So, I did the math just for me. I was using somewhere between 1,440 and 2,160 pods a year. ME. Just me. Considering the bulk cases come in a 120 pod size, that’s 12-18 cases worth of pods. That’s not small.

The other thing that put me over the edge on the waste front was composting. I love to garden and years ago started a compost pile after looking at the insane prices associated with bagged compost. My kitchen compost started with veggie peels, eggshells, newspapers and dead plant trimmings. Coffee grounds are GREAT to add to compost. They add nitrogen and break down beautifully.

Here’s my secret shame: my local coffee shop would save me their coffee grounds in a bucket to pick up once a week for my compost, while I was using K-Cups at home. That’s how ridiculous of a person I am.

Time/Convenience

I had convinced myself I couldn’t possibly make time to actually MAKE coffee, and that idea kept me chained to the K-Cup machine much longer than I should have been. I’m really that lazy.

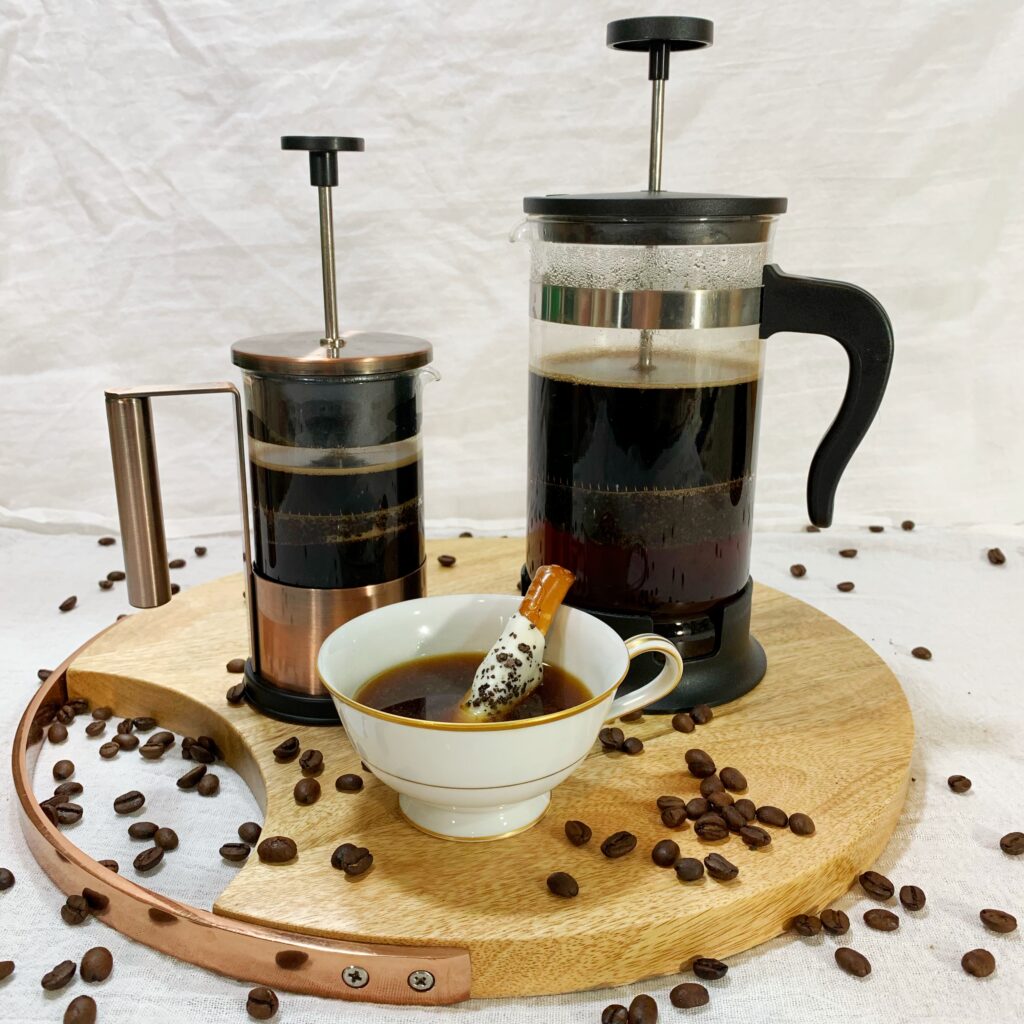
My French press was only for weekends and brunches. It was a pain to clean, and the few times I used it on weekdays left me with either grounds in the bottom, whatever leftover grounds I couldn’t bop out into the compost were stuck in the sink, or it took so long compared to the ease of the machine it left me with a feeling of panic trying to get out the door.

I failed to consider, though, all the things that took more time with the K-Cup machine. The time spent using the special expensive descaling solution (and eventually vinegar – I mean come on) to descale the whole thing once a month was annoying. The replacement of the water filters needed to be added to my calendar. The filling of the water tank daily takes time. Most annoying was time spent using a safety pin trying to unplug coffee grounds to blow through the top and bottom needles, and at the times it worked, ending up with a cup full of grounds. Yes, it was a great machine when it worked, but it was vexing when it didn’t.

What ultimately pushed me to reconsider the coffee situation, once and for all, was the time I was sitting down with a cup in the morning to Facetime one of my best friends, (a modern-day version of getting together for coffee). Although I knew she had a K-Cup machine, I watched her pour herself a second cup from a French press instead – on a Wednesday. She was on a similar habit-analysis track to mine and we discussed the change.

She was using the reward of objectively better-tasting slow coffee to help make her pick up her kitchen in the mornings. She would pour the grounds and water into the press, then put away dishes while it steeped, and would reward herself with a joy-filled cup afterward. She became happier because she liked what she was drinking better, and her kitchen was cleaner as a result. It was a small change, but it set the tone for her whole day.

My solution

I still save the French press for weekends, because I do get annoyed with getting the grounds out of the bottom and cleaning it. It’s a bridge too far for my regular weekday routine.

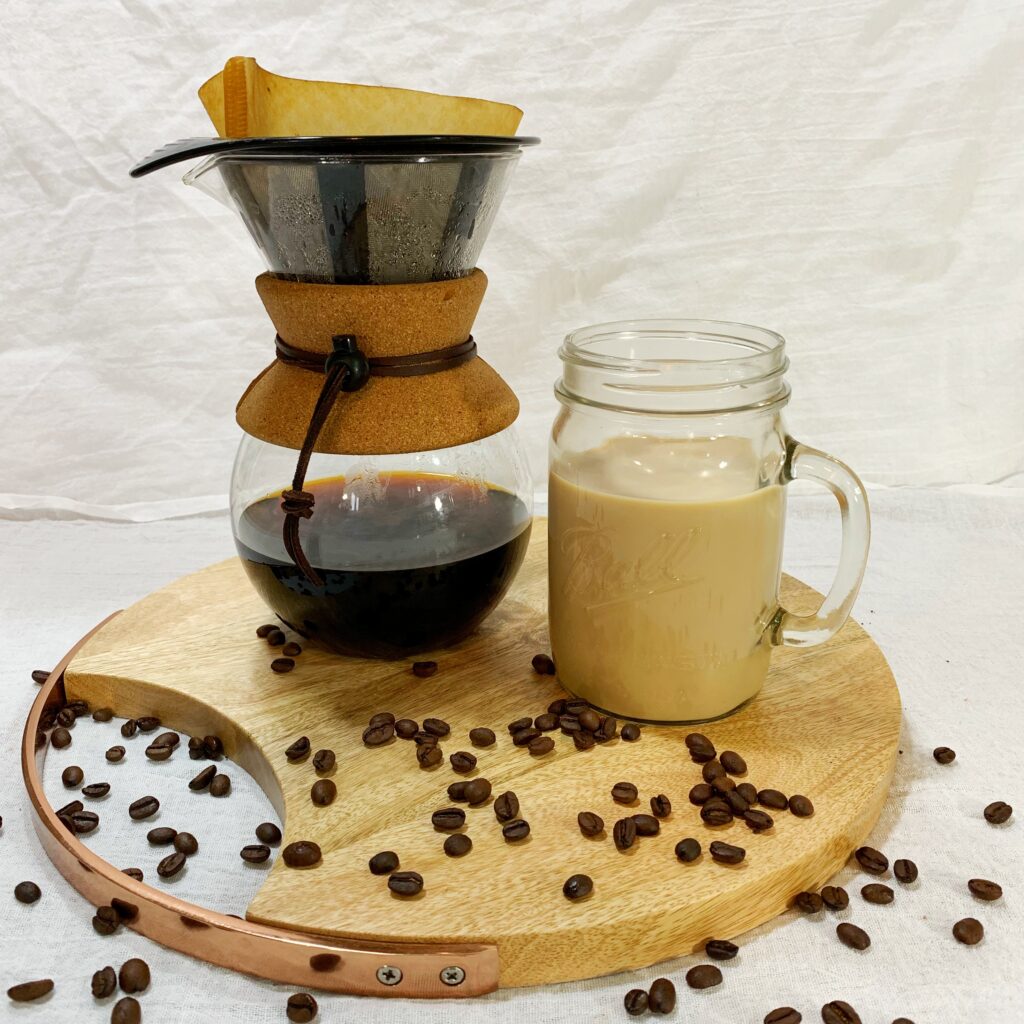
After trial and error, I’ve finally figured out what works for me. I bought an electric kettle for $20, which takes less time to heat up the water I need. I bought a cheap one, but there are a ton of options on the market. Some are quite beautiful. In addition, for the actual coffee, I bought myself a $20 pour over coffee maker.

My morning routine has changed, too.

I found the perfect middle ground for me between the French press and the K-Cup coffee machine with this set-up. I use a coffee filter inside the wire basket with the pour over maker so I don’t have to bop out or rinse grounds. The time from heating up water to coffee in a cup is still less than five minutes. Inspired by yet another of my friends, I turn it into a game to see how many junk emails I can delete in the three minutes it takes to go from turning on the kettle to hot water.

Once I have boiling water, I methodically pour it over the grounds (in the filter) in a swirling motion and watch it drip down. I think about my blessings and breathe in the spicy aroma. It’s such a small ritual, but adding a piece of mindfulness and gratitude sets a new and different tone. It feels like a small celebration every day. There’s something about a K-Cup machine that seems hurried, automatic, and flat. Being an active participant allows a brief moment of presence in the early mornings.

When I’m done I simply toss the coffee grounds and filter in the compost bin (which makes me feel good) and do a quick rinse of the ground-free carafe. I wash it in the dishwaher top rack once a week. Easy.

Ultimately, this might seem like a lot of over-analysis for the simple act of making coffee in the morning – but if we’ve learned anything about how habits can shape our lives, it’s that small changes can reverberate throughout your whole day.

Life-changing air fryer avocado and BLT tacos

Feb 26, 2019 ·

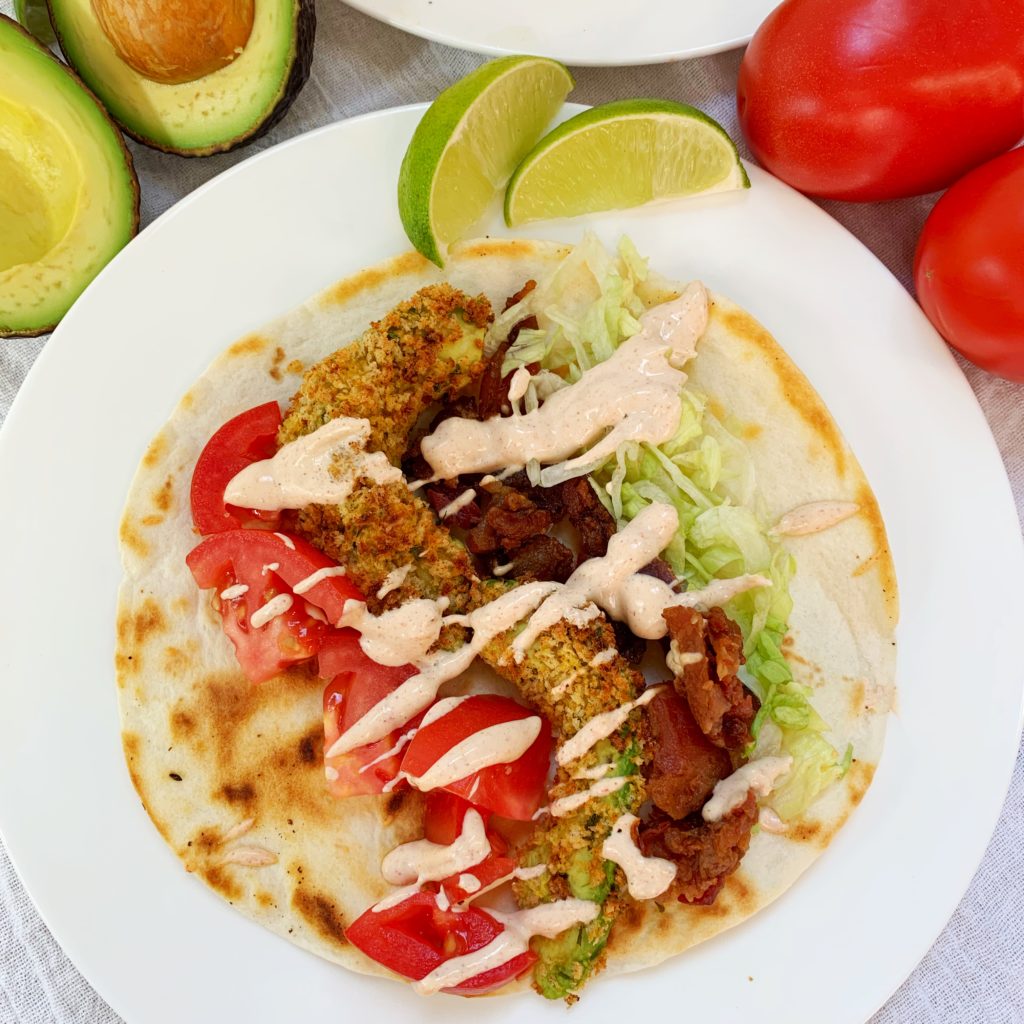
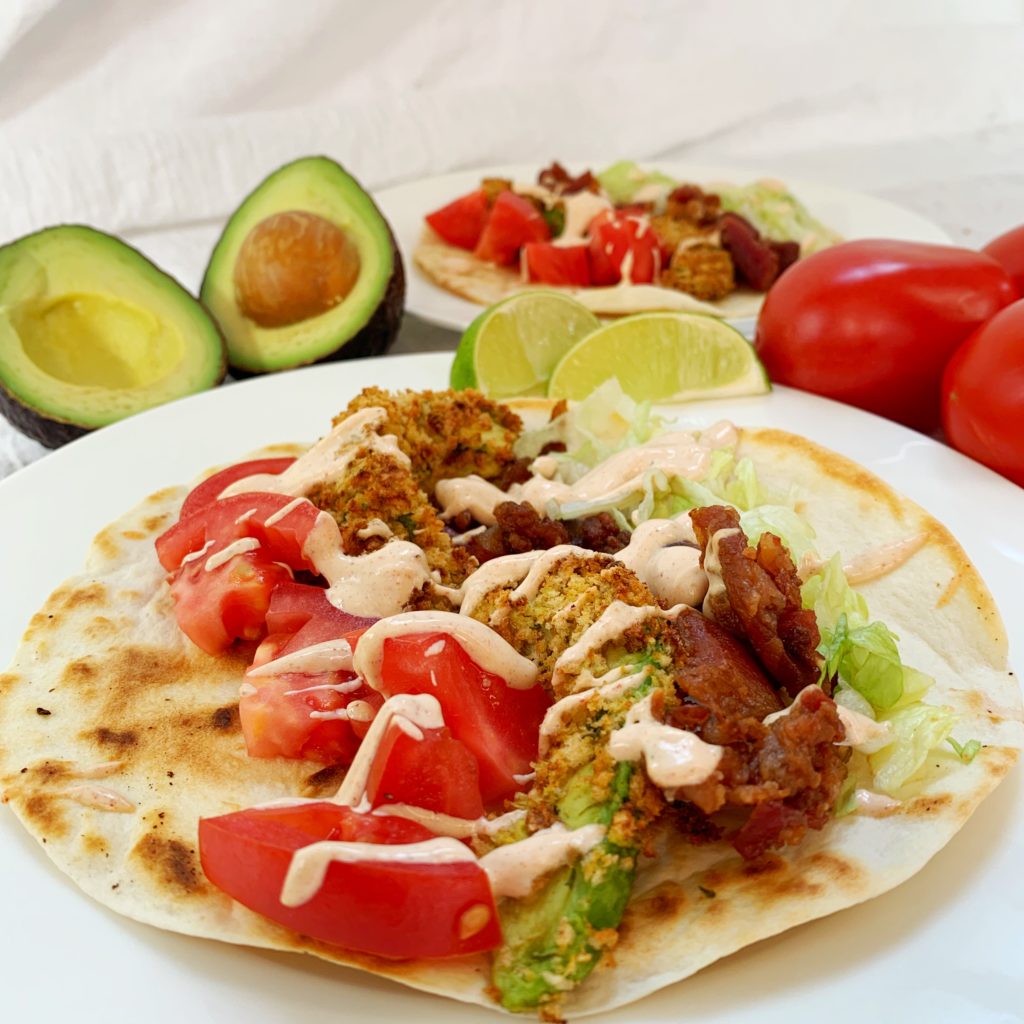
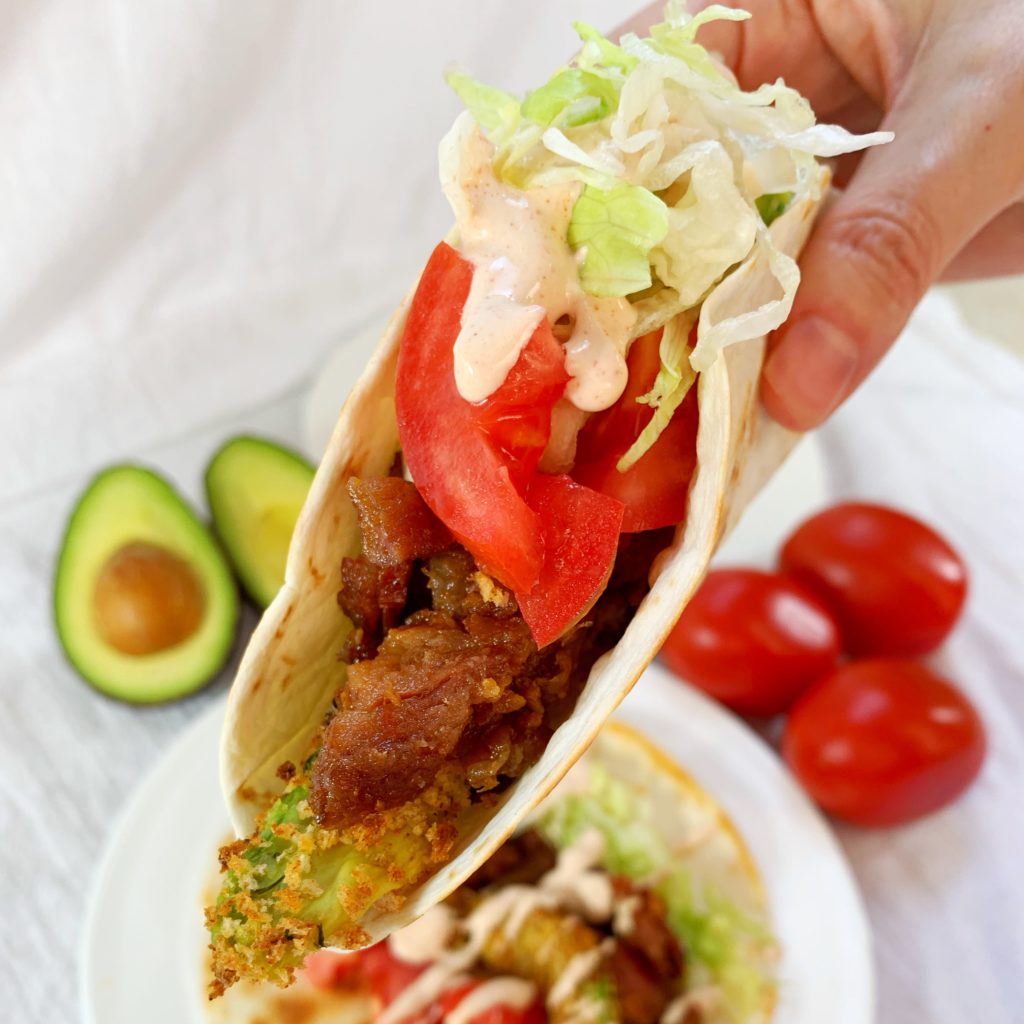
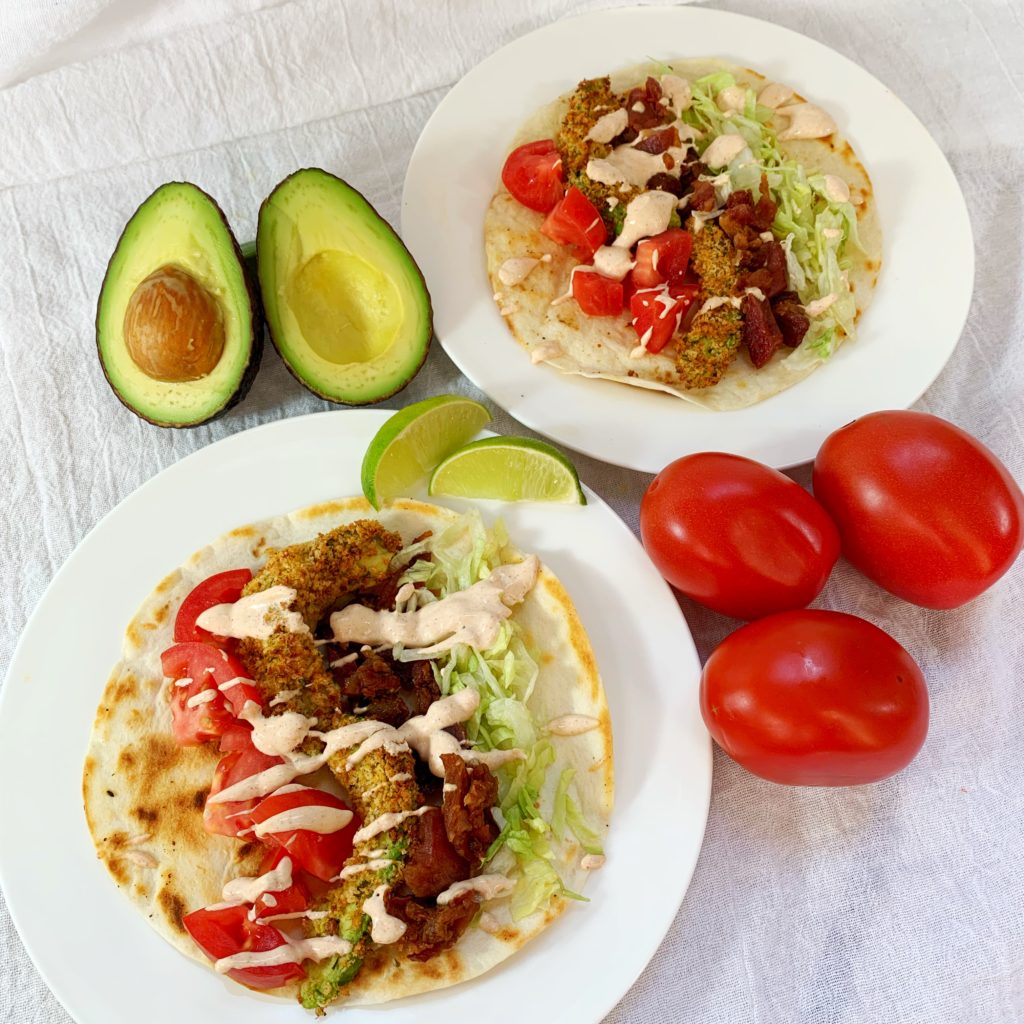
There are tacos – then there are “holy moly, where have you been all my life?” TACOS. These are the latter. I would apologize for overly Americanizing them, but I won’t, because once you taste them you’ll understand. Also, it’s not like we don’t have some more authentic choices too.

The real cornerstone of this taco is the air fried avocado slices. They’re crispy on the outside and warm and gooey on the inside. Topped with a chili creama, these are sure to disappear quickly.

Ingredients:

1 large ripe avocado

1 egg

1/4 teaspoon salt

1/2 cup panko bread crumbs

1 12-ounce package of bacon (for this recipe I usually use the “ends and trimmings” package you can get for about 1/3 the price – also if you want to be fancy or are having guests, you can use pork belly instead – but that’s pricey pricey)

1/4 cup sour cream

1 Tablespoon milk

1/4 teaspoon chili powder

1/4 teaspoon seasoning salt

2 dashes of hot sauce

Shredded lettuce

2 Roma tomatoes – chopped

Tortillas

Instructions:

Slice avocado lengthwise into 8-12 slices. Whisk egg and salt together. Dip avocados in egg mixture and coat with panko crumbs. Dip again for a thicker coat if desired. I’ve done it several ways and prefer it with a little of the green from the avocado peeking through. Refrigerate for at least 30 minutes, (the chilling makes the egg and breading stick better in the fryer.)

While avocados are chilling, fry up bacon/bacon ends/pork belly until crispy. Crumble or chop into small cubes.

Air fry avocados for 9 minutes total on 355 degrees. Stop the fryer every three to four minutes and gently flip the avocados. I generally do these in two separate batches so the slices don’t touch one another and receive a uniform browning.

Whisk sour cream, milk, chili powder, seasoning salt and hot sauce.

Assemble and eat.

Makes 4-6 fajita-size tacos.

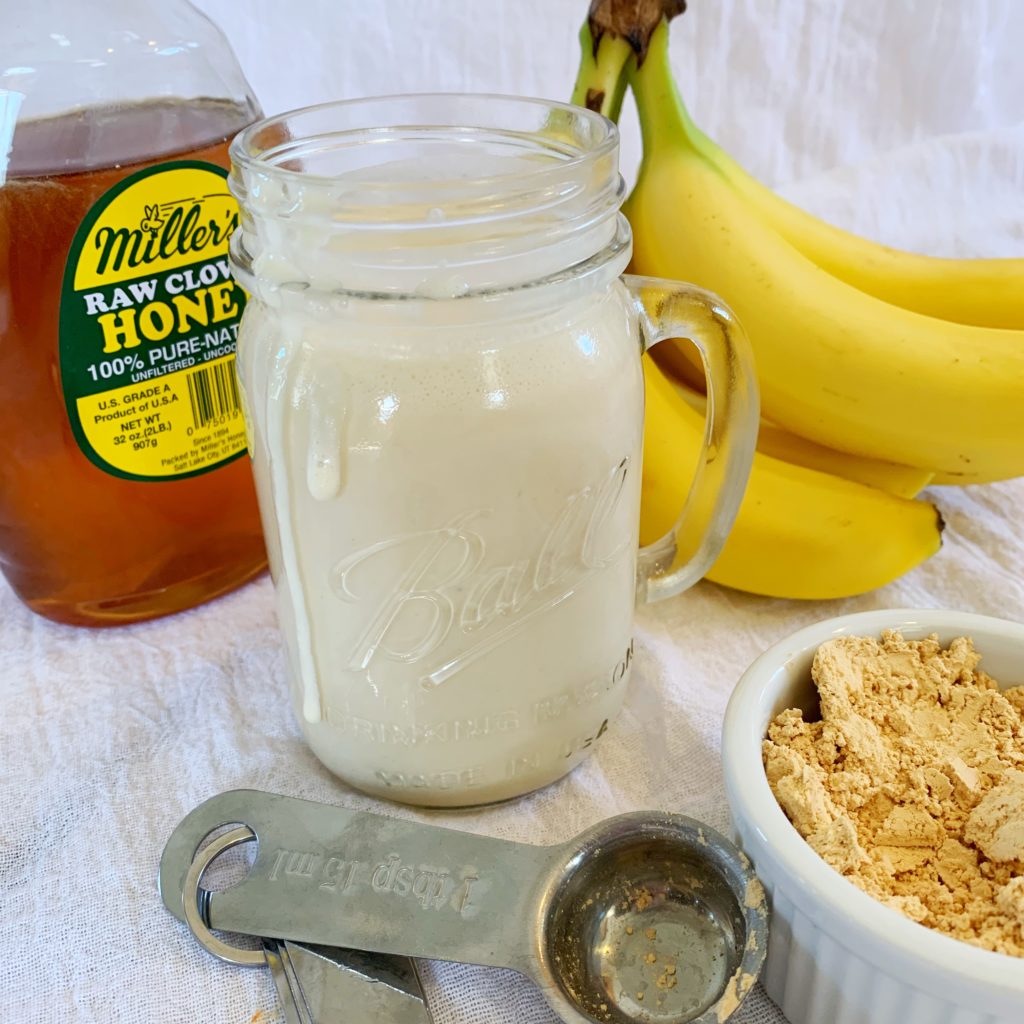
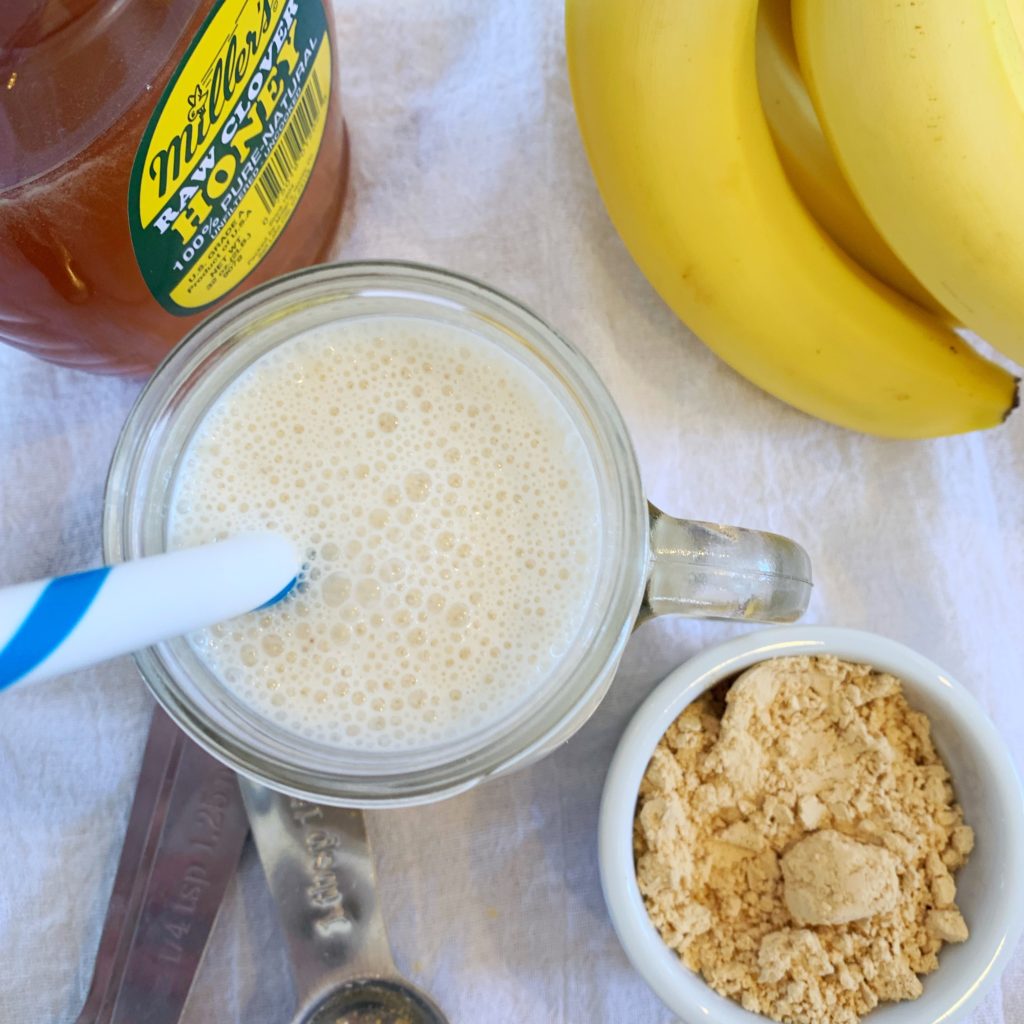
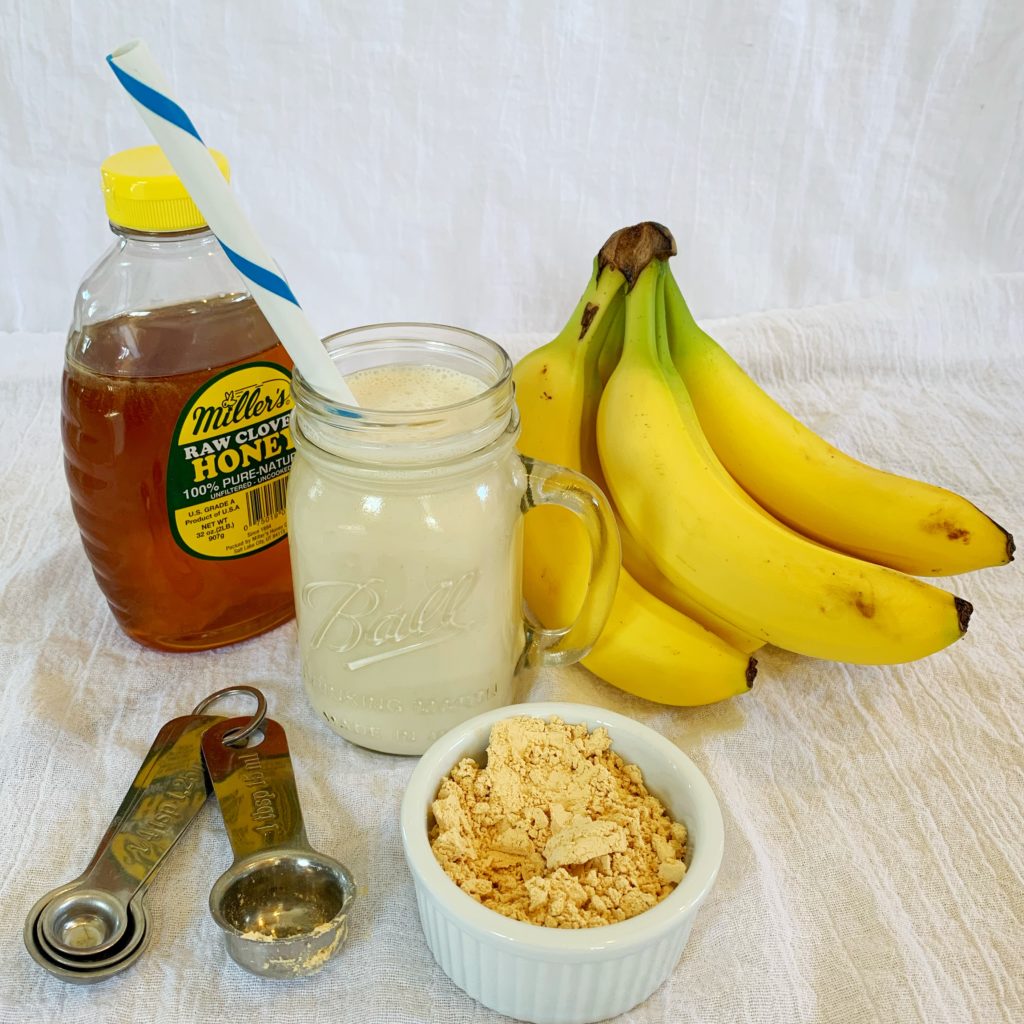
Power protein banana peanut smoothie

Feb 25, 2019 ·

Was there anything better than when you were little and your Mom would make you a banana peanut butter sandwich? Now you can recapture that feeling every morning and get the protein you need to go out and slay your day.

Ingredients:

1 banana

1 cup Greek yogurt

2 Tablespoons powdered peanut butter (can be found at the grocery next to the actual peanut butter)

1/2 cup milk

2 teaspoons honey

10 ice cubes

Directions:

Blend everything together. If you drink it straight from the blender – I won’t judge.

Note: this recipe can be made kosher.

Power protein banana peanut smoothie. The perfect thing to start off your day right and with a touch of nostalgia.

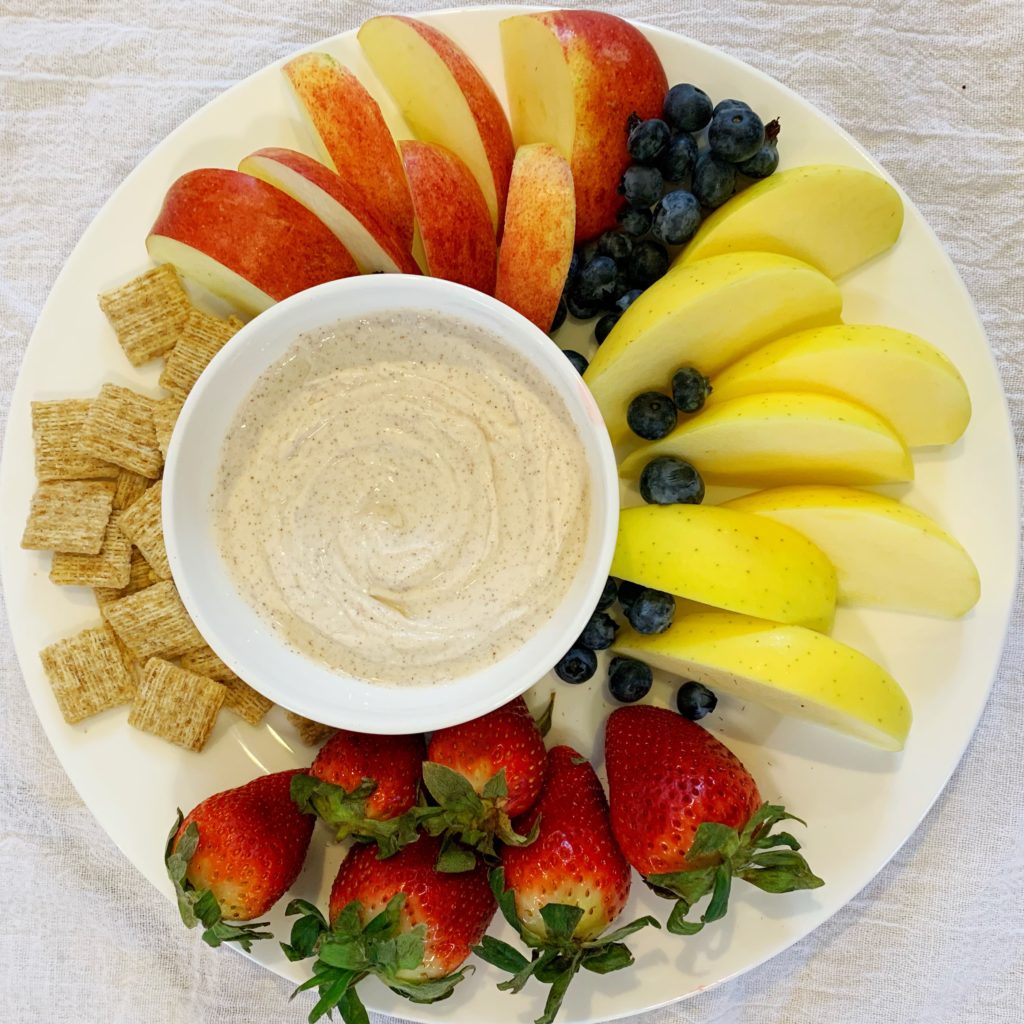
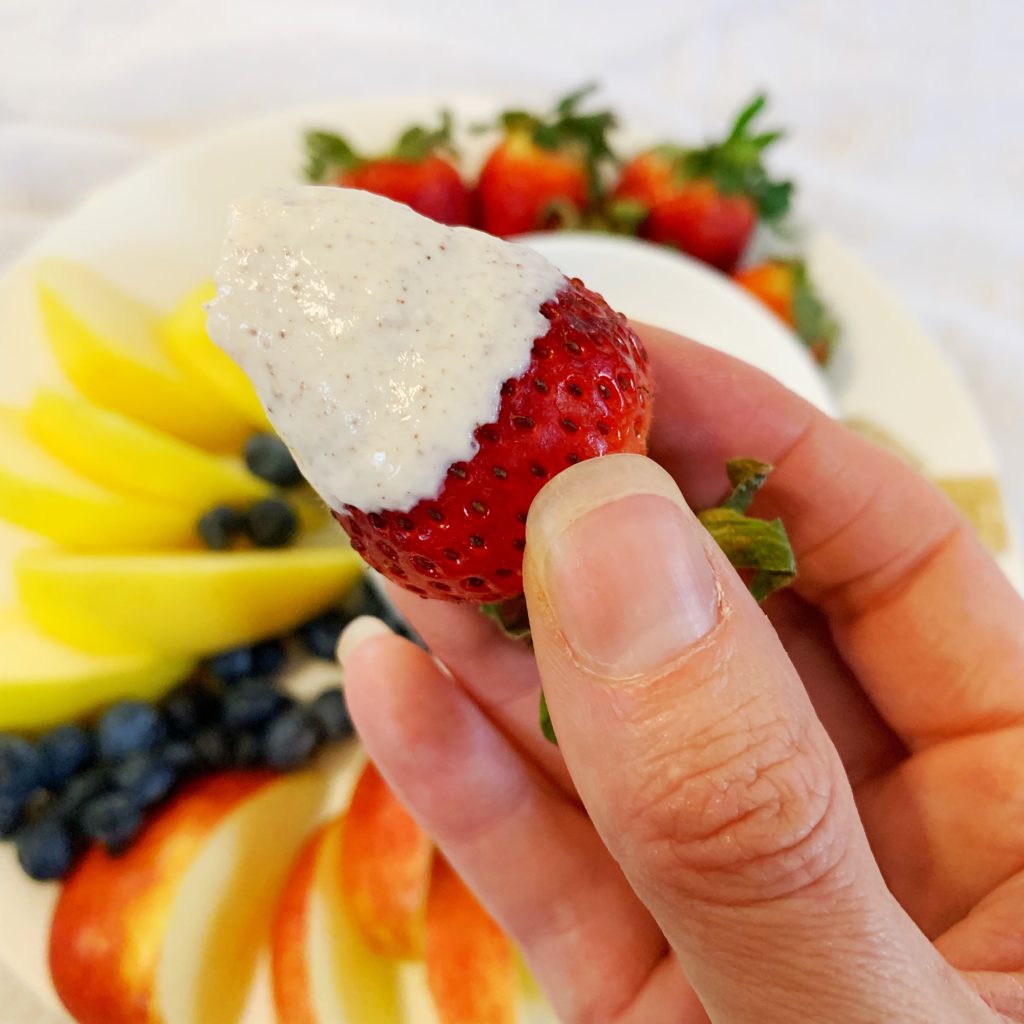
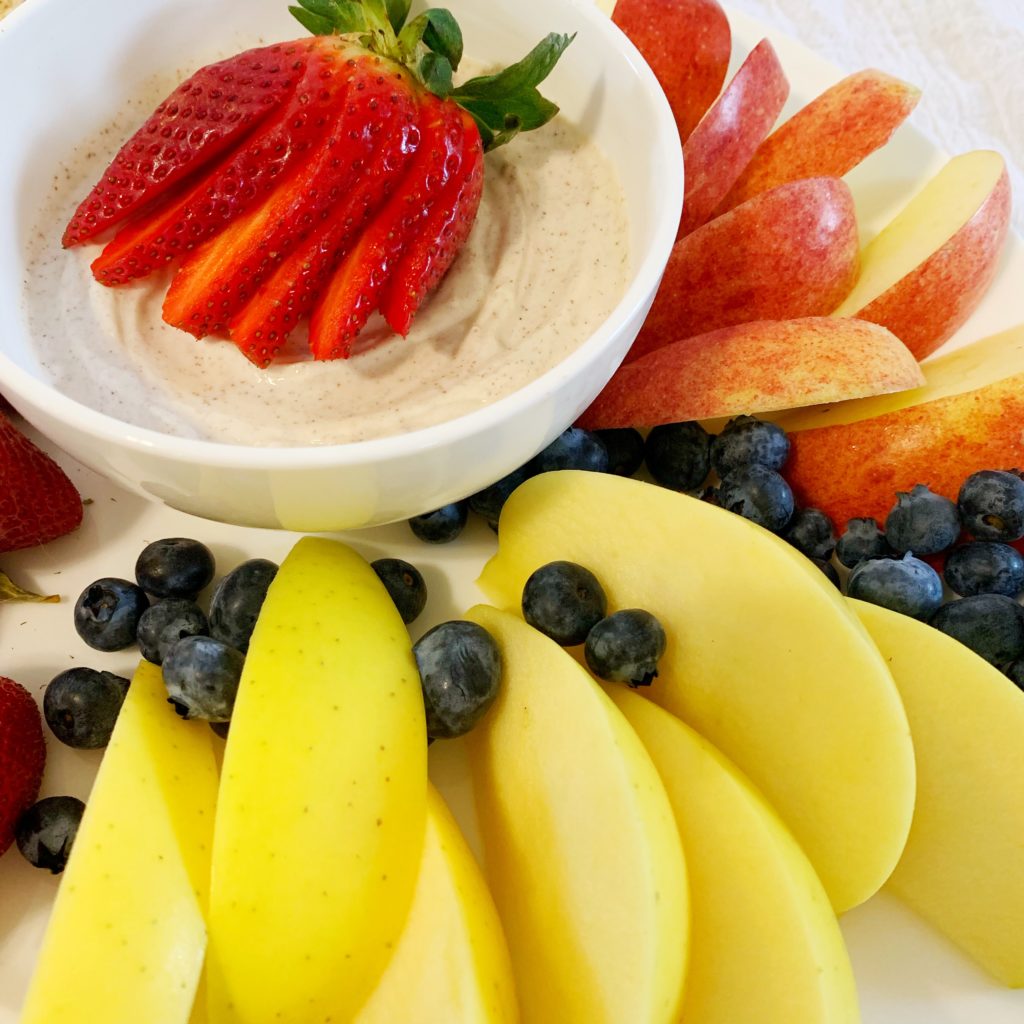
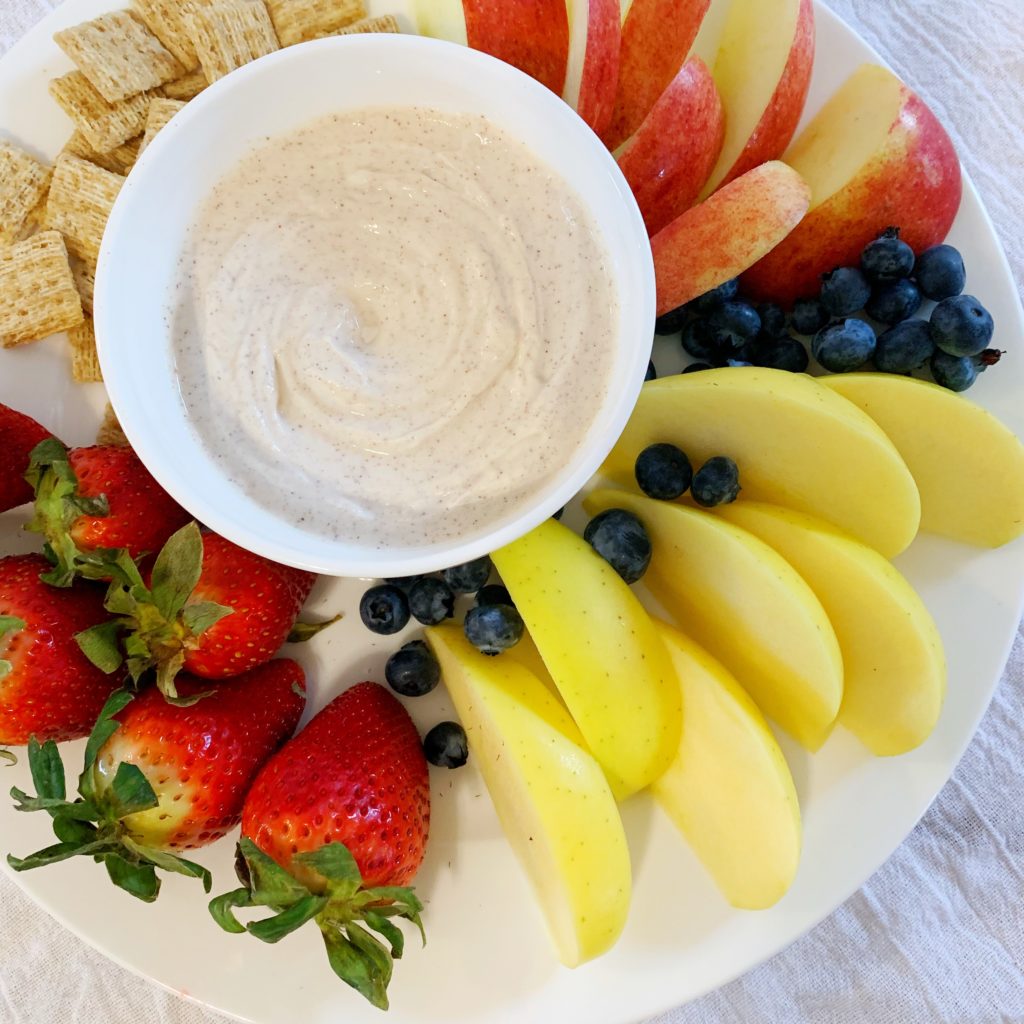
Healthy cinnamon​ ​fruit dip​ (kid-friendly)

Feb 22, 2019 ·

My son’s fourth word was “dip.” His first word was “Oxley” (our dog’s name) followed by “Welby” (pet wallaby’s name), “Dada” (I’m sorry, did HE give birth to you?!?!?!?!) and finally “dip”. Okay, to be fair, I would have been equally proud of “Mama” or “dip” – he’s mine for sure.

Now that “dip” constitutes its own food group in our house, it’s a challenge to come up with variations that still make me feel like he’s still eating well. We try to keep juice for special occasions, but encourage the eating of fruit instead. I also want him to get enough protein (greek yogurt, FTW) with as little sugar as possible – enter my perfect fruit dip compromise.

Ingredients:

1 cup Greek yogurt

1 Tablespoon agave syrup

1/2 teaspoon ground cinnamon

1 pinch salt

Directions:

Stir/whip all ingredients together. Refrigerate for 1 hour.

Serve with fruit or crackers (we really like this with the Smoked Gouda Triscuits – it sounds weird, but trust me).

Good luck keeping grubby kid fingers out of it.

Yes, a “default parent” is a thing

Feb 22, 2019 ·

Shortly after our son was born, I started to feel little bits of resentment and jealousy well up inside of me toward my husband.

Don’t get me wrong – my husband was an amazing first-time Dad. He would drive across town to the donor milk bank and sit in the parking lot, waiting for it to open as I sat with the baby at home, crying because I physically could not feed my new baby boy enough myself. He would cook dinner every night (a thing he still does) and did all the shopping. Before the birth, he even got his own monogrammed diaper bag, and a “tactical baby carrier.”

So why, in an ideal situation with a supportive partner, did I still feel resentment and jealousy toward a man who was text-book perfect as a father? In one of the many fights he and I had over what was a stressful transition in our lives, I finally figured it out as I yelled: “Yeah, but you don’t have to ASK!!!” – I was the “default parent” and it was making me feel trapped.

All the things my husband could just go out and do in a carefree way the same way he did before the baby was born – shopping, business meetings, washing cars, a quick run to the bank – seemed like things I would never do again without an added logistical feat. I had to either find someone to watch the baby, ASK my husband to watch him, or pack up all the (now seemingly superfluous) baby accouterments with the baby just to accomplish the simplest of tasks.

Even though my husband readily embraced the mentality that it wasn’t “Dad is babysitting,” it was “Dad is parenting” the default still fell to me.

It was a sticking point I couldn’t get past: could I go and do the things I had before? Yes, but I was the one who had to coordinate it. I was the one to ask “Hey, can you take the baby for an hour while I go to the store?” While my loving husband would wake up, jump in his truck, and go do the things that needed to be done – secure in the knowledge that I had the baby.

Because my husband and I hadn’t anticipated or discussed any of this ahead of time, we had no plan for it. We had planned for our financial lives, discussed our parenting styles, talked about our priorities, religion, our values, diets, our health goals, even what kind of education we wanted our child(ren) to have. We had plans and thoughts on everything – except for who would be the primary parent.

My husband and I are partners in so many parts of our marriage. When we were married (and still today) we work comparable hours, and we make similar incomes. Although we discussed the option, we never considered that either he or I wouldn’t continue our work as before. We both love what we do and are equally dedicated to our careers.

I read articles at the time about “mental load” and although they came close to describing what I felt, it wasn’t exactly right. My husband and I are equally bad about so many of the mental load logistical issues in our lives, (sorry to all the people who didn’t get birthday/wedding presents – or even a Christmas card this year). In many ways my husband is my logistical superior.

At the time I talked to several friends about the resentment I felt. At first, it seemed silly and frivolous to feel that way. I had/have the ideal partner with whom to navigate parenthood. Most women would rejoice over a husband as helpful and thoughtful as mine, (and one who COOKS none-the-less). However, particularly those friends of mine who were trying to navigate the transition from “working woman” to “working mom” understood this feeling of becoming the “default parent” without deliberation or conversation.

Did the baby get sick? I had to either juggle to figure it out or ask my husband if he could pinch hit. Don’t get me wrong, he did when he could, but it fell to me to figure it out. I was the ultimate baby backstop. Did our childcare provider cancel 15 minutes prior to her start time? I had to reschedule meetings or find something else last minute.

Eventually, the baby started to feel less like my little bundle of joy, and more like a ball and chain. It was a situation that was bad for the baby, and bad me, and bad for my husband.

There was no way that I could make up his income to stay home, nor could he do the same for mine. Also, neither of us wanted to give up our careers. They’re a big part of our respective identities. We’ve decided that we both want it all, which means we have to work together to get it.

Ultimately, after much consternation and more than a few tears (from me) we came to a solution. My husband is the “default parent” on Mondays and Fridays – and I am the default on Tuesday, Wednesday and Thursday.

For us, that means I pack important meetings and work on Mondays and Fridays. I usually go in early and work late those days.

We still ask one another to fill in. If the nanny cancels on Monday my husband now asks me what my day is like – not the other way around. He takes the baby to school on Fridays. If something comes up on a Tuesday, Wednesday or Thursday I ask him if he can help. I have also gotten better at calendar invites and planning things in advance, which has helped our marriage immensely.

For me, it’s a huge pressure valve to know that at least two days a week I can guarantee that I will show up on time to a meeting, and maybe even have some mascara on – like the pre-baby me used to do.

Balancing work, marriage, children, hobbies, pets, faith, and even an occasional shower is hard – but the more you have plans, even if you have to change them later, the less conflict you will have in the middle of it.

  • « Go to Previous Page
  • Page 1
  • Page 2
  • Page 3
  • Page 4
  • Go to Next Page »

Footer

Follow REALBESTLIFE

  • facebook
  • twitter
  • instagram
  • youtube
  • pinterest
  • wordpress
  • Food, furniture flipping, and farming – making urban farming a lifestyle
  • Hi, let’s be friends
  • Blog
  • Homegrown Year

Copyright © 2026 RealBestLife on the Seasoned Pro Theme